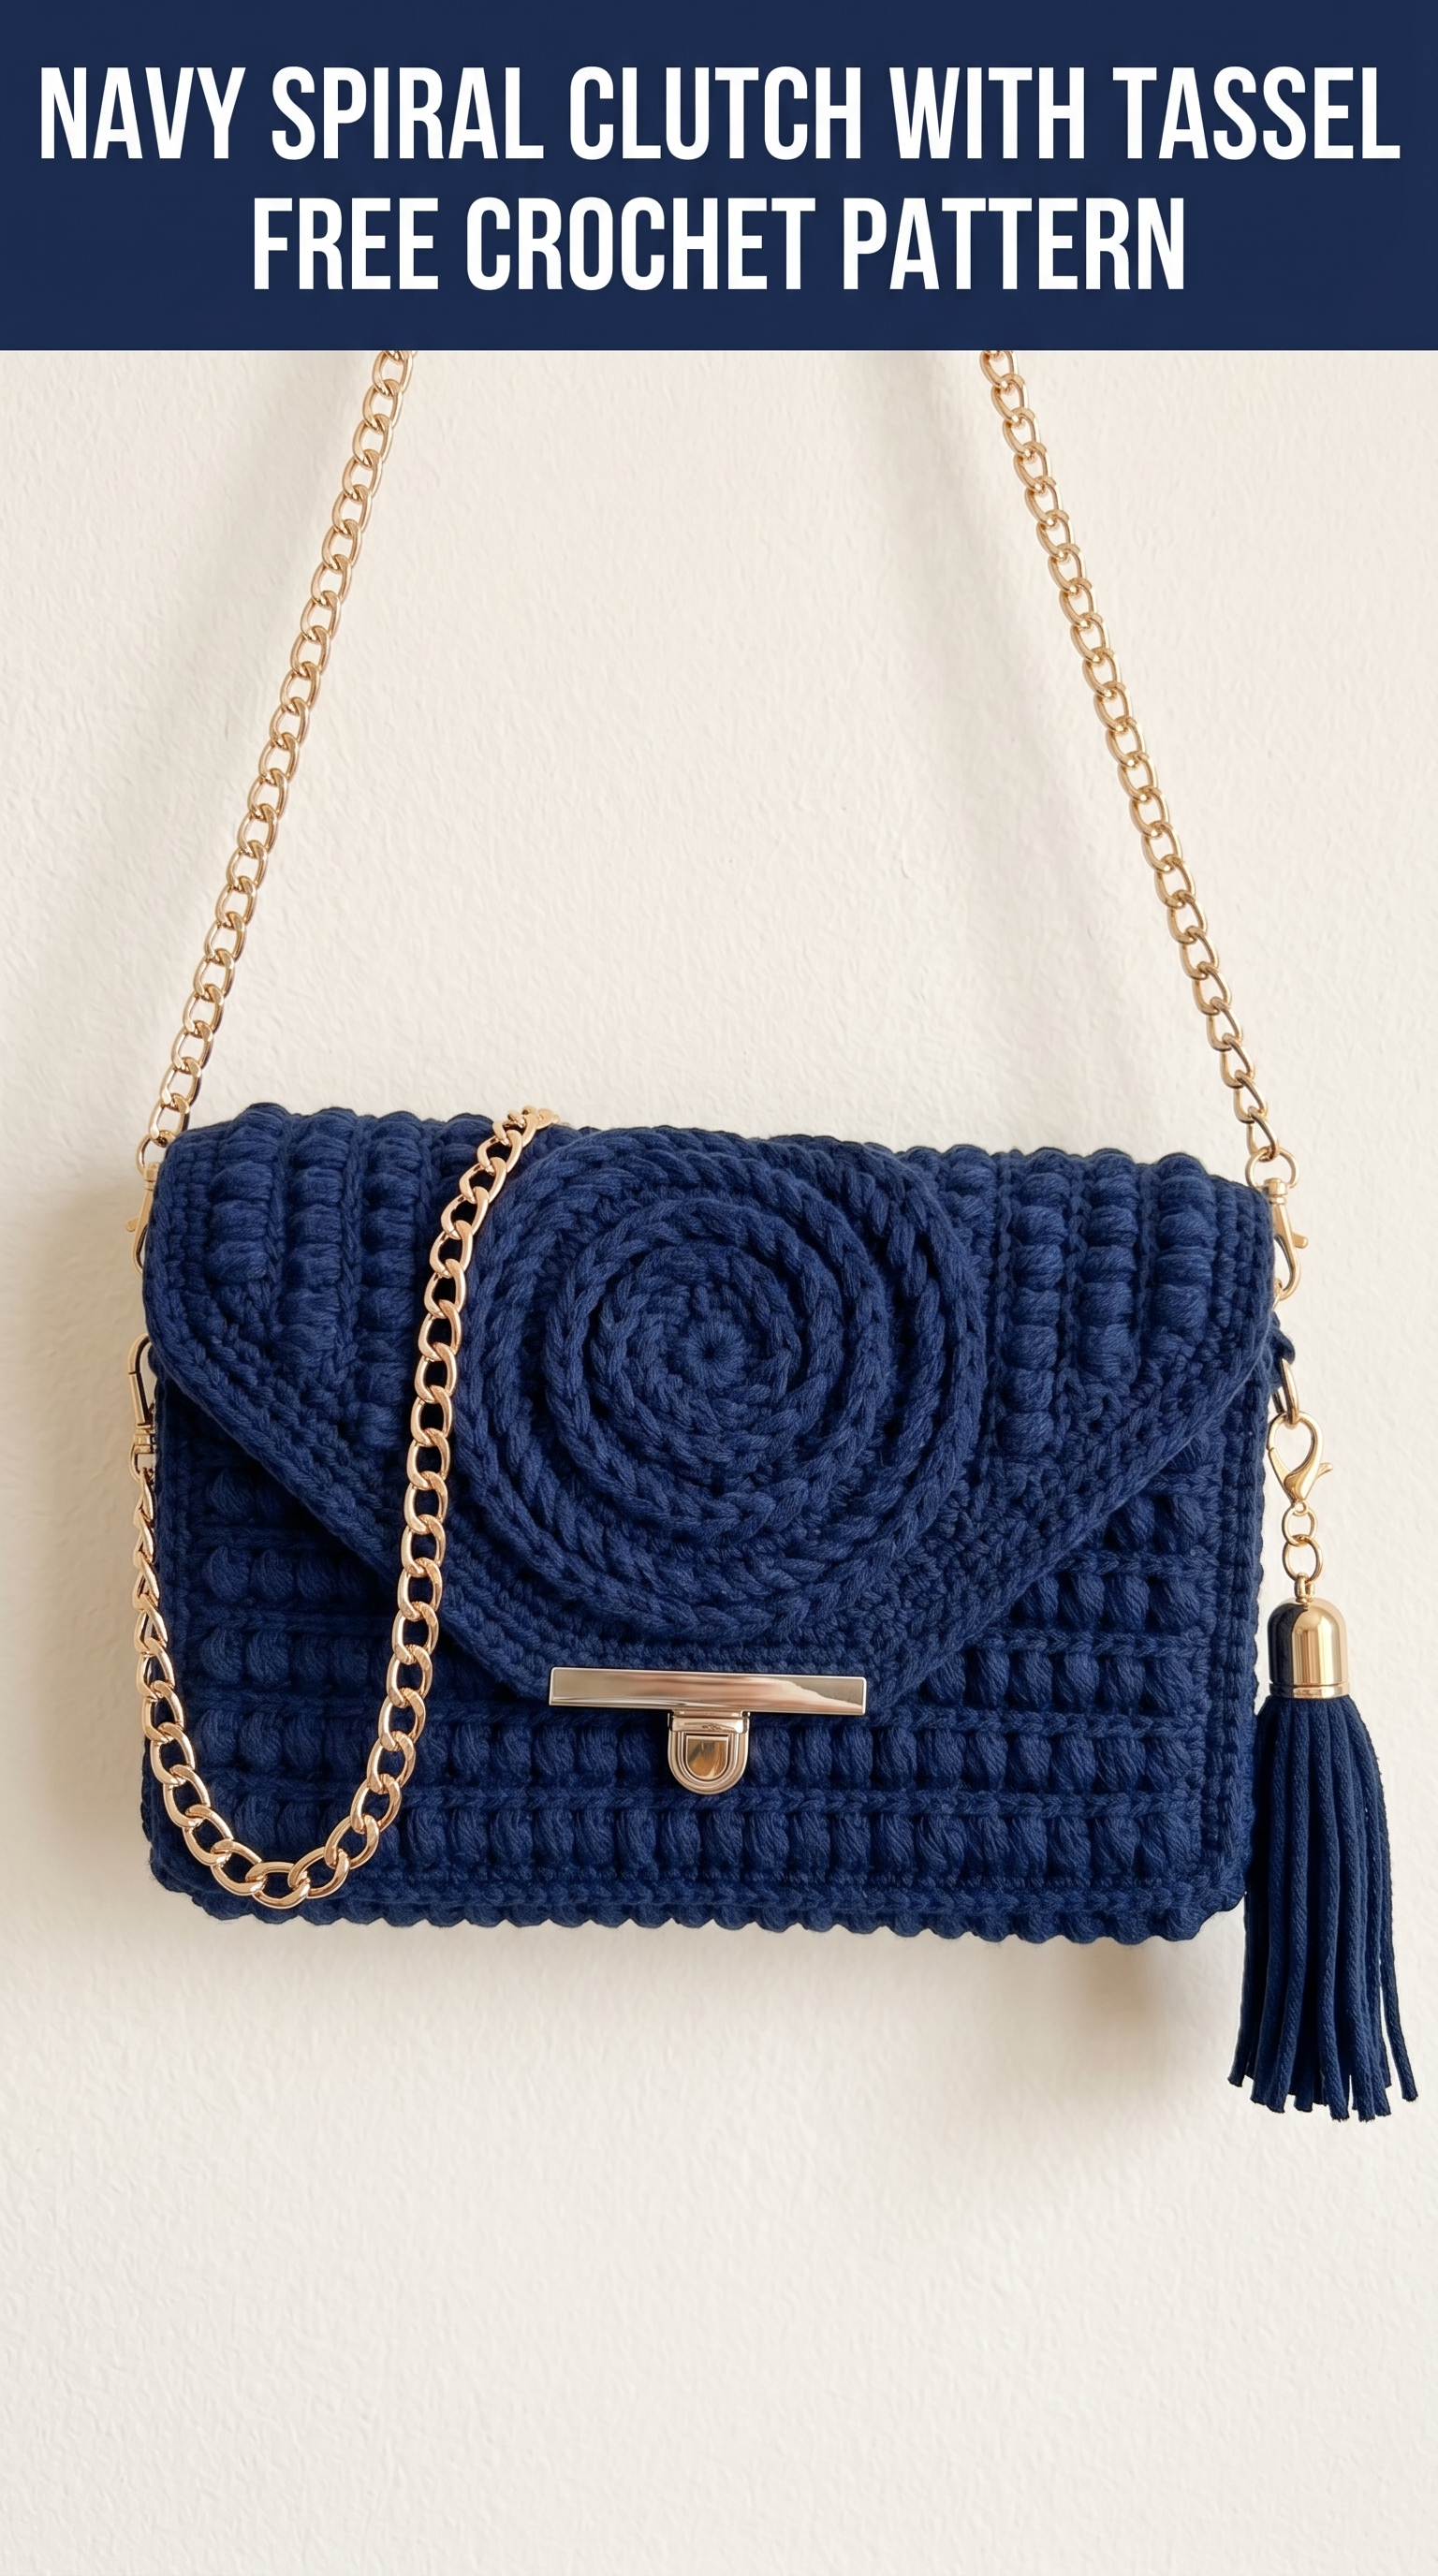
This elegant navy clutch bag is about to become your new favorite accessory. I designed this project to look high-end while still being totally achievable for intermediate crocheters. The stunning spiral appliqué on the flap gives it that designer feel, and the textured body adds visual interest without complicated techniques.
If you can work basic stitches in the round and follow a simple stitch pattern, you can absolutely make this crochet pattern. Promise.
The finished clutch measures approximately 10 inches wide by 7 inches tall when closed. It works up quickly with chunky cotton cord yarn and features a push-lock clasp plus a gold chain strap. Fancy, right?
Let me walk you through every single step.
Why This Navy Spiral Clutch Pattern Works
I wanted to create something that looks like you spent a fortune at a boutique. The secret is combining textures. The body uses a puff stitch pattern that creates those satisfying little bumps you see in the photo. The flap continues this texture around the edges, then features a flat spiral worked separately and sewn on.
This construction method means you can work each piece comfortably. No wrestling with a huge project or getting lost in complicated shaping.
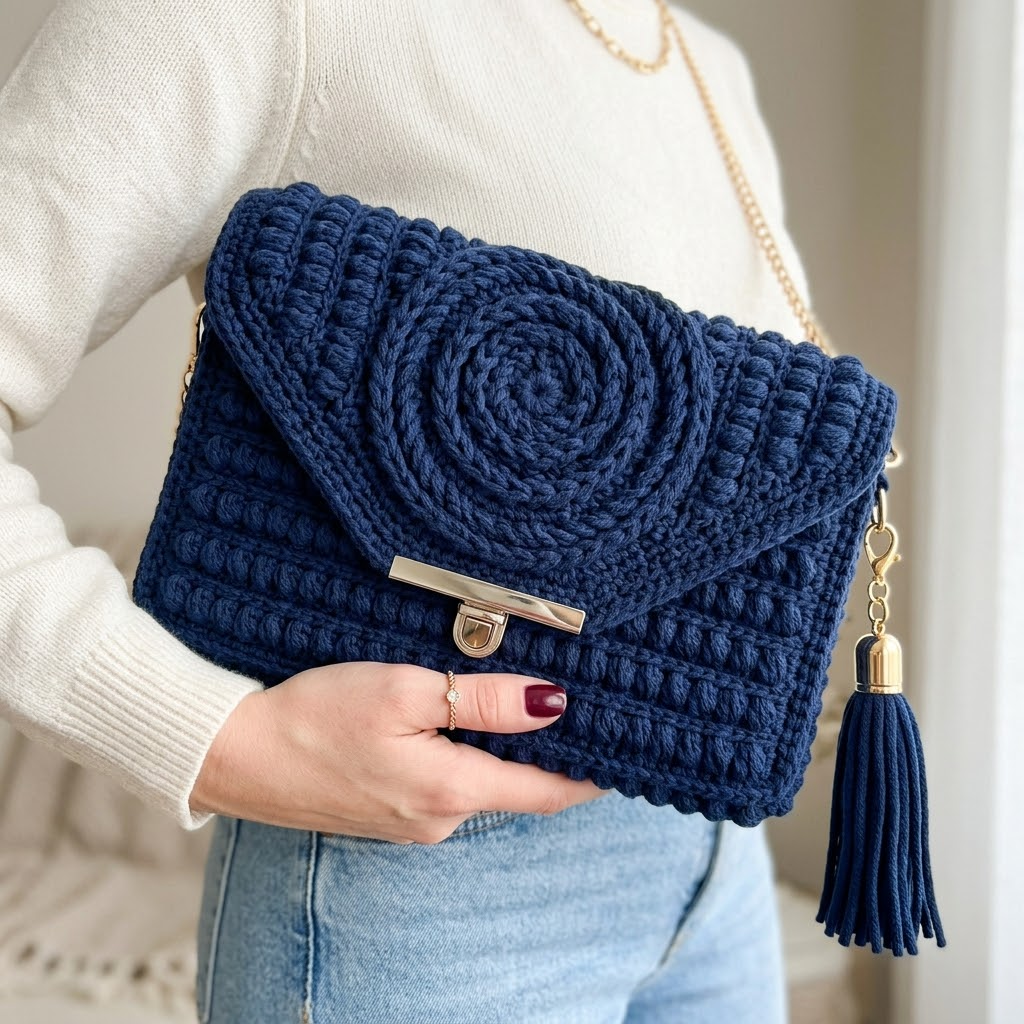
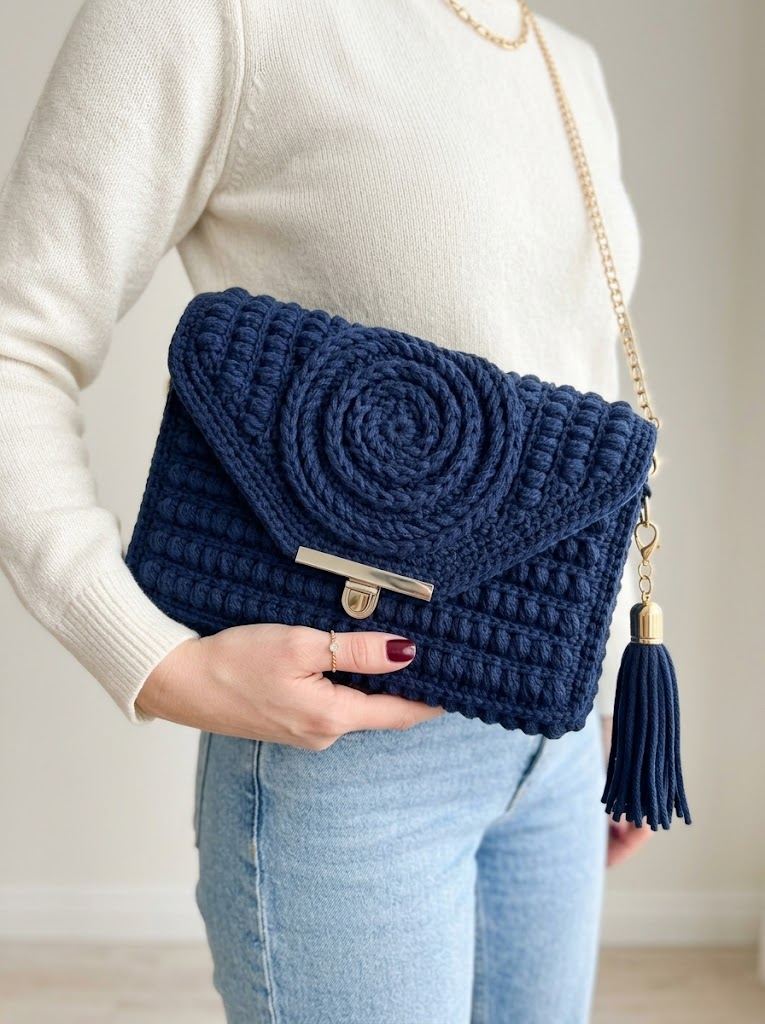
The deep navy color photographs beautifully and goes with everything. But honestly? This crochet tutorial works in any solid color. Imagine it in cream, blush pink, or even emerald green.
Materials You Will Need
Gather everything before you start. Nothing worse than stopping mid-project to hunt for supplies.
Yarn:
Hook:
Notions:
Optional:
Gauge Information
Gauge matters for bags because you want consistent sizing for your hardware.
Work 12 stitches and 10 rows in single crochet to get a 4-inch square.
If your swatch is larger, go down a hook size. If smaller, go up. Take five minutes to check this. Your future self will thank you.
Abbreviations and Stitch Definitions
Let me explain every stitch before we begin. Refer back here anytime.
ch – Chain: Yarn over, pull through loop on hook. Creates foundation or turning chains.
sl st – Slip stitch: Insert hook, yarn over, pull through stitch AND loop on hook in one motion. Used for joining rounds.
sc – Single crochet: Insert hook into stitch, yarn over and pull up a loop (2 loops on hook), yarn over and pull through both loops.
hdc – Half double crochet: Yarn over, insert hook into stitch, yarn over and pull up a loop (3 loops on hook), yarn over and pull through all 3 loops.
puff st – Puff stitch: (Yarn over, insert hook into stitch, yarn over and pull up a loop) 3 times in same stitch (7 loops on hook), yarn over and pull through all 7 loops at once. This creates a raised, puffy texture.
inc – Increase: Work 2 stitches into the same stitch.
BLO – Back loop only: Insert hook under only the back loop of the stitch instead of both loops.
Skill Level
This crochet pattern is intermediate level. You should feel comfortable with:
Never made a puff stitch? Practice on a small swatch first. Work about 10 puff stitches in a row until they look even. The motion becomes muscle memory quickly.
Step by Step Crochet Pattern Instructions
Part One: The Clutch Body
We work the body as one flat rectangle, then fold and seam the sides. This is the easiest construction method for a clean finish.
Foundation Row:
Ch 32.
Row 1: Sc in 2nd ch from hook and in each ch across. (31 sc)
Row 2: Ch 1, turn. Sc in first st. *Puff st in next st, sc in next st.* Repeat from * across. (31 sts: 15 puff sts, 16 sc)
Row 3: Ch 1, turn. Sc in each st across. (31 sc)
Row 4: Ch 1, turn. Sc in first 2 sts. *Puff st in next st, sc in next st.* Repeat from * to last st, sc in last st. (31 sts: 14 puff sts, 17 sc)
Row 5: Ch 1, turn. Sc in each st across. (31 sc)
Rows 6 through 41: Repeat Rows 2 through 5 a total of 9 more times. You should have completed 10 full pattern repeats.
Rows 42 through 45: Ch 1, turn. Sc in each st across. (31 sc each row)
Fasten off, leaving a 24-inch tail for seaming.
Your rectangle should measure approximately 10 inches wide by 14 inches tall.
Part Two: Folding and Seaming the Body
Here is where your clutch takes shape. Take your time with this part.
1. Lay your rectangle flat with the right side facing you.
2. Fold the bottom edge up approximately 5.5 inches. This creates the pocket of your clutch.
3. The remaining fabric (about 8.5 inches) becomes your flap.
4. Pin the side edges where the fold meets.
5. Using your long tail and tapestry needle, whip stitch or slip stitch the side seams closed. Work through both layers along each side edge, from the fold up to where the flap begins.
6. Weave in your ends securely.
Your clutch body is complete. Set it aside.
Part Three: The Spiral Appliqué
This is my favorite part. The spiral looks impressive but uses only chain and single crochet stitches.
To Begin:
Make a magic ring. If you struggle with magic rings, ch 4 and sl st to first ch to form a ring instead.
Round 1: Ch 1. Work 6 sc into the ring. Do not join. Place a stitch marker in the first st of each round and move it up as you work. (6 sc)
Round 2: Work 2 sc in each st around. (12 sc)
Round 3: *Sc in next st, 2 sc in next st.* Repeat around. (18 sc)
Round 4: *Sc in next 2 sts, 2 sc in next st.* Repeat around. (24 sc)
Round 5: *Sc in next 3 sts, 2 sc in next st.* Repeat around. (30 sc)
Round 6: *Sc in next 4 sts, 2 sc in next st.* Repeat around. (36 sc)
Round 7: *Sc in next 5 sts, 2 sc in next st.* Repeat around. (42 sc)
Round 8: *Sc in next 6 sts, 2 sc in next st.* Repeat around. (48 sc)
Round 9: *Sc in next 7 sts, 2 sc in next st.* Repeat around. (54 sc)
Round 10: *Sc in next 8 sts, 2 sc in next st.* Repeat around. (60 sc)
Sl st to next st. Fasten off, leaving a 20-inch tail for sewing.
Your spiral should measure approximately 4.5 inches in diameter and lay flat.
Part Four: Attaching the Spiral to the Flap
Position the spiral in the center of your flap, slightly toward the bottom edge where it will be most visible when the clutch is closed.
Pin it in place. Step back and check the placement from a distance.
Using your tapestry needle and the long tail, whip stitch around the entire outer edge of the spiral. Catch only the back loops of the spiral and a small bit of the flap fabric with each stitch. This keeps your stitches nearly invisible from the front.
Weave in your ends on the inside of the clutch.
Part Five: Adding the Hardware
Push-Lock Clasp:
1. Close your clutch flap and mark where the center bottom of the flap sits on the body front.
2. The push-lock typically has two parts: the decorative plate for the flap and the locking mechanism for the body.
3. For crochet fabric, I recommend using a needle and strong thread to secure the hardware. Sew through the pre-drilled holes in the clasp plate.
4. Some crafters add a small piece of felt or interfacing behind the hardware area for extra stability. This is optional but helps prevent stretching.
D-Rings for Chain Strap:
1. Position your D-rings at each top corner of the clutch body, right where the flap meets the side seams.
2. You can crochet a small tab to hold each D-ring: Ch 6, sl st to form a loop around the D-ring, sc 8 sts around the chain loop, fasten off. Sew this tab securely to the side seam.
3. Alternatively, attach D-rings directly to the side seams by weaving cord yarn through them and sewing to the seam allowance.
Chain Strap:
Clip your chain to both D-rings using the lobster clasps. Test the length by wearing it crossbody and adjusting if needed.
Part Six: Making the Tassel (Optional)
The tassel adds such a beautiful finishing touch. Here is how to create one that matches your clutch.
1. Cut a piece of cardboard 4 inches tall.
2. Wrap your cord yarn around the cardboard approximately 25 times.
3. Cut a 12-inch piece of yarn. Thread it under all the wrapped yarn at the top of the cardboard. Tie tightly with a double knot.
4. Cut the yarn loops at the bottom of the cardboard.
5. Cut another 12-inch piece. Wrap it around the tassel about half an inch down from the top, creating the “neck.” Wrap several times and knot securely.
6. Trim the bottom of the tassel so all strands are even.
7. If using a tassel cap, add a dot of fabric glue inside the cap and press the tassel top into it. Let dry completely.
8. Attach the tassel to one of your D-rings or chain using a jump ring or small clip.
Tips for Success With This Clutch Pattern
Tension matters. Cord yarn can feel awkward at first. Work a few practice rows to find your rhythm. You want firm, even stitches so the bag holds its shape.
Block if needed. After completing each piece, you can wet block by misting with water and pinning flat to dry. This evens out any wonky edges.
Lining is optional but lovely. Cut fabric to fit the inside of your clutch. Fold under raw edges and hand stitch in place. This protects your belongings and hides the inside of your crochet work.
Hardware placement requires patience. Measure twice. Mark with pins. Try the clasp before sewing permanently. You can always adjust.
Customization Ideas
Make this crochet pattern your own with these variations:
Frequently Asked Questions
Can beginners make this pattern?
If you have made a few projects already and feel comfortable with puff stitches, yes. True beginners might want to practice the textured stitch pattern on a dishcloth first.
What if my spiral curls up?
You are crocheting too tightly. Try going up a hook size or consciously loosening your tension. The spiral should lay completely flat.
Where do I buy the hardware?
Search for “purse push lock clasp” and “purse chain strap” online. Craft stores also carry these in their purse-making sections.
Can I make this bigger?
Absolutely. Add stitches to your foundation chain in multiples of 2 to keep the puff stitch pattern aligned. Increase rows proportionally.
Wrapping Up Your Navy Spiral Clutch
You did it. You now have a stunning handmade clutch that looks like it belongs in a designer boutique. Every time someone compliments this bag (and they will), you get to say “I made it myself.”
This crochet pattern gave you all the techniques you need: textured puff stitches, flat spiral construction, hardware attachment, and professional finishing. These skills transfer to so many other projects.
Thank you for trusting me to guide you through this tutorial. I genuinely love knowing that makers around the world are creating beautiful things from these patterns.
I would absolutely love to see your finished navy spiral clutch. Tag me on Instagram or share in my Facebook group. Your version might inspire someone else to pick up their hook and try something new.
Now go show off that gorgeous bag.
Happy crocheting, friend.
