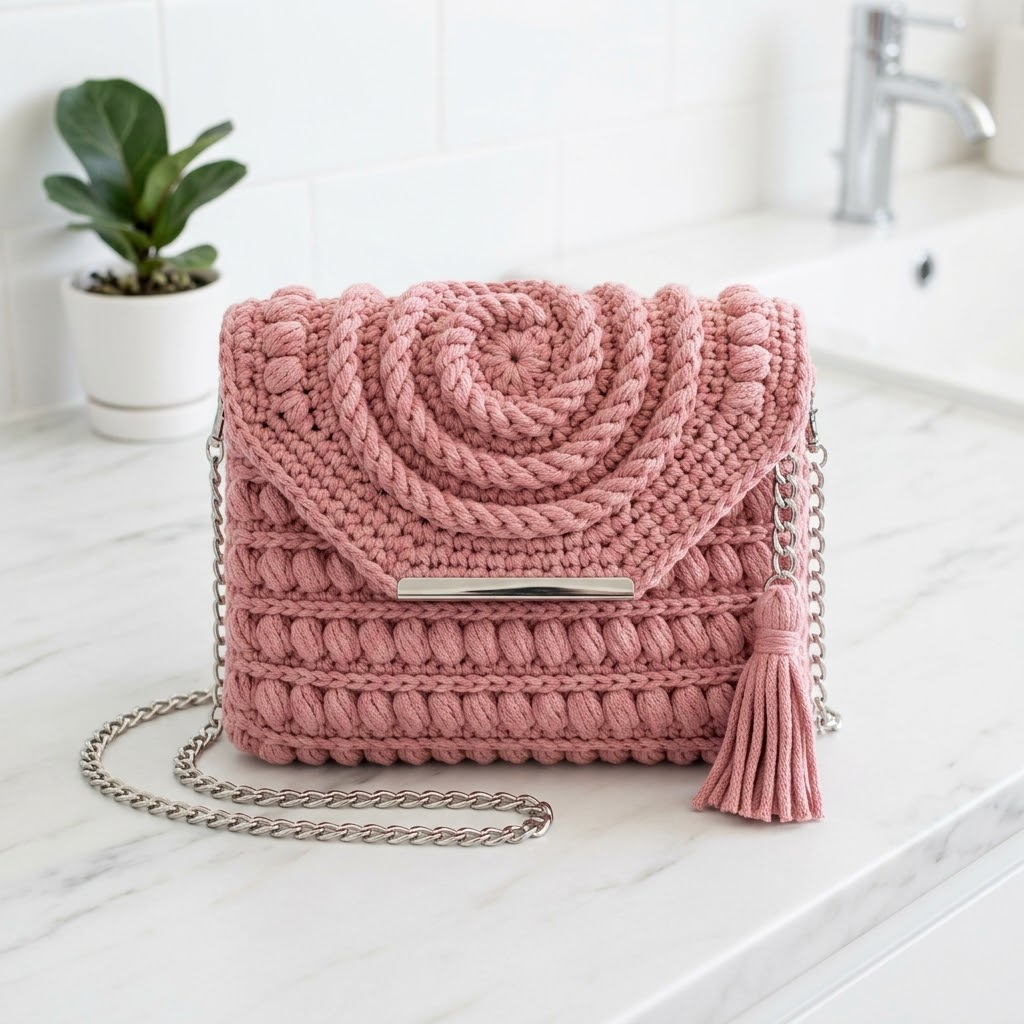
This elegant dusty rose spiral clutch is the kind of project that looks incredibly impressive but comes together faster than you might think. I designed this structured crossbody bag with a statement spiral flap, puff stitch texture, and polished hardware that elevates it from handmade to high-end. If you can work basic stitches in the round and follow a simple spiral technique, you can absolutely make this.
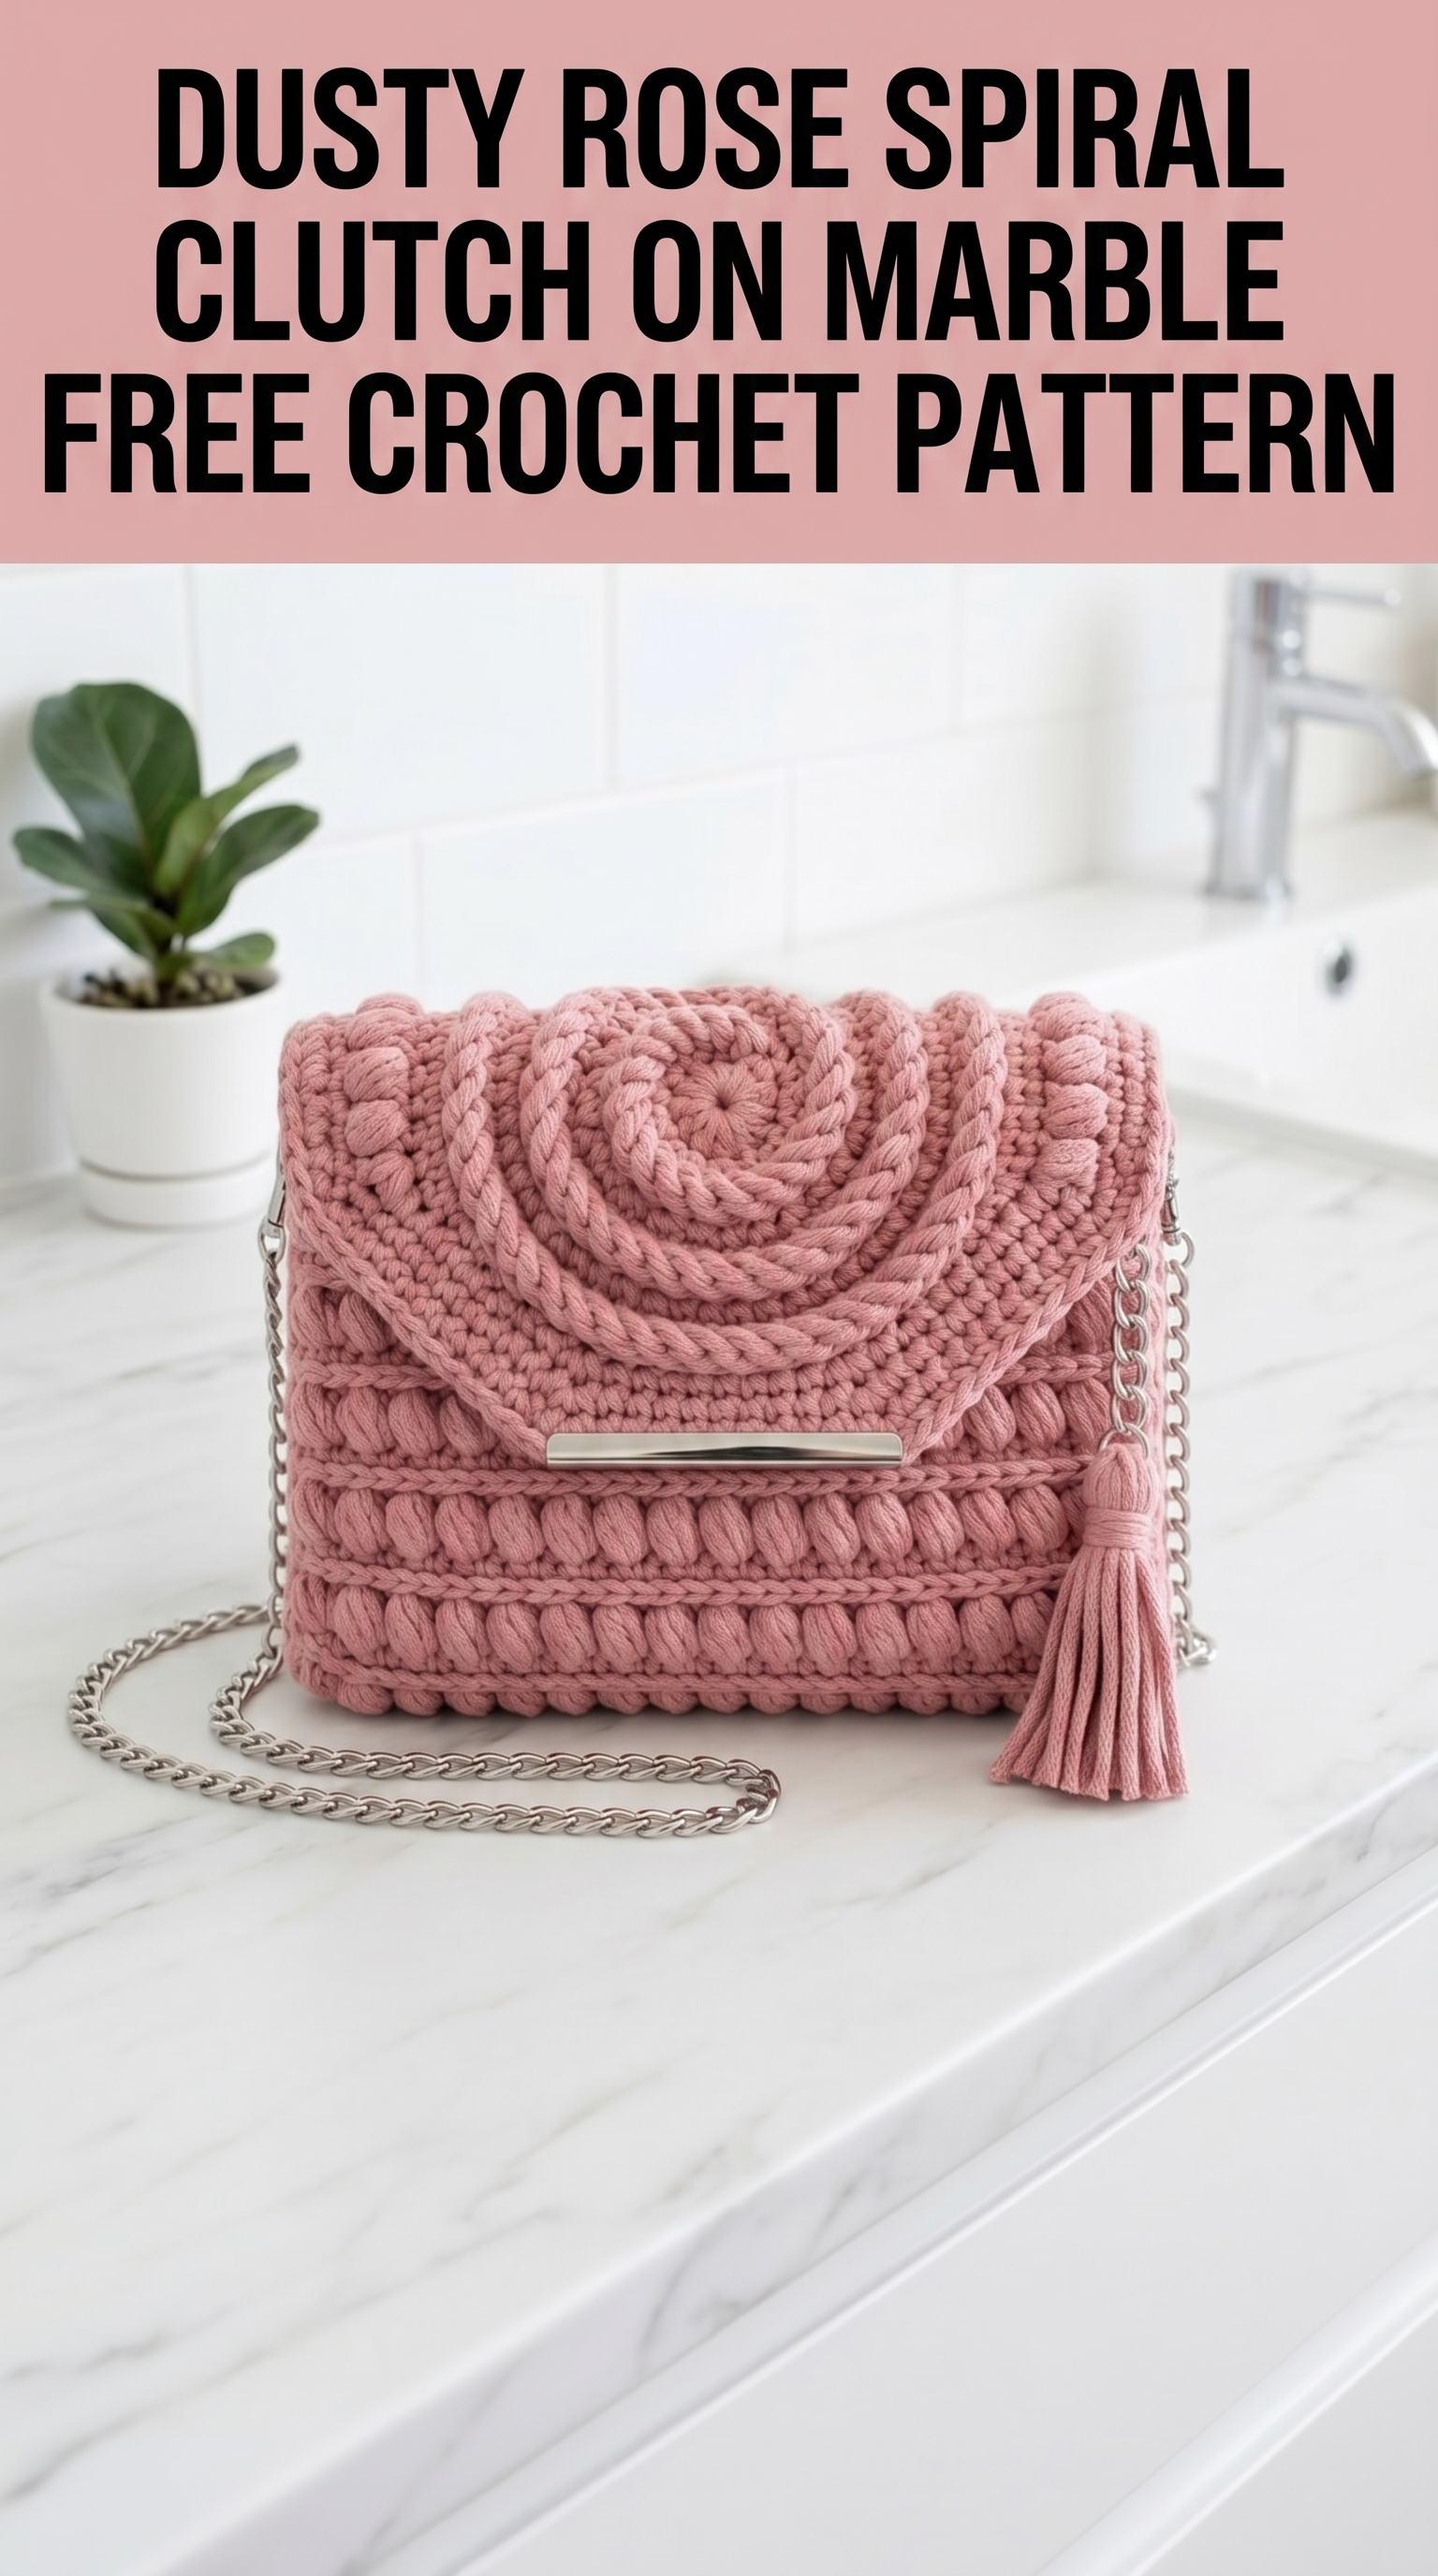
The finished clutch measures approximately 8 inches wide by 6 inches tall with a fold-over flap. It is sturdy enough for everyday use and refined enough for a night out. Let me walk you through exactly how to recreate this crochet pattern from start to finish.
Why This Crochet Clutch Pattern Works
I wanted to create a bag that felt modern and fashion-forward while still being achievable for confident beginners. The secret is the combination of textured puff stitches on the body and a dramatic raised spiral on the flap. These two elements create visual interest without complicated colorwork or advanced shaping.
The puff stitch rows give the bag its signature puffy horizontal stripes. The spiral flap uses a continuous round technique with surface crochet braiding on top. It sounds fancy, but I promise it is just single crochet worked in a circle with a braided cord added after.
This step by step crochet tutorial breaks everything down so you never feel lost.
Materials You Will Need
Gather these supplies before you begin. Having everything ready makes the process so much smoother.
Yarn:
Hook:
Hardware:
Notions:
Gauge:
10 single crochet stitches and 10 rows = 4 inches in single crochet with recommended yarn and hook. Gauge matters for sizing, so check yours before starting the main body.
Abbreviations and Stitch Definitions
Let me define every stitch before we begin. If any of these are new to you, practice on a swatch first.
ch = chain: Wrap yarn over hook, pull through loop on hook. This creates the foundation for most crochet work.
sl st = slip stitch: Insert hook into stitch, yarn over, pull through both the stitch and the loop on your hook in one motion. Used for joining and moving across stitches without adding height.
sc = single crochet: Insert hook into stitch, yarn over and pull up a loop (two loops on hook), yarn over and pull through both loops. This is your most basic stitch.
hdc = half double crochet: Yarn over, insert hook into stitch, yarn over and pull up a loop (three loops on hook), yarn over and pull through all three loops at once. Slightly taller than single crochet.
dc = double crochet: Yarn over, insert hook into stitch, yarn over and pull up a loop (three loops on hook), yarn over and pull through two loops, yarn over and pull through remaining two loops. Creates a taller, more open fabric.
puff st = puff stitch: (Yarn over, insert hook into stitch, yarn over and pull up a loop) three times in the same stitch (seven loops on hook), yarn over and pull through all seven loops, chain 1 to secure. This creates a puffy, rounded cluster.
BLO = back loop only: Work into only the back loop of the stitch (the loop furthest from you), leaving the front loop unworked. Creates a ribbed texture.
inc = increase: Work two stitches into the same stitch to add one stitch to your count.
Crochet Pattern for the Clutch Body
The body is worked flat in rows, then seamed into a pouch. This construction keeps things simple while creating clean edges for hardware attachment.
Base Panel
Row 1: Ch 21. Sc in second ch from hook and in each ch across. (20 sts)
Row 2: Ch 1, turn. Sc in BLO of each st across. (20 sts)
Rows 3 through 6: Repeat Row 2. (20 sts each row)
You now have a ribbed base panel. This will form the bottom of your clutch.
Textured Body Section
Row 7: Ch 1, turn. Sc in each st across. (20 sts)
Row 8 (Puff Row): Ch 2, turn. Skip first st. *Puff st in next st, skip 1 st.* Repeat from * to * across, ending with hdc in last st. (9 puff sts plus 1 hdc)
Row 9: Ch 1, turn. Sc in each st and in the ch-1 space of each puff st across. (20 sts)
Row 10: Ch 1, turn. Sc in each st across. (20 sts)
Rows 11 through 14: Repeat Rows 8 through 10, then repeat Row 8 once more. You should have three complete puff stitch rows with single crochet rows between them.
Row 15: Ch 1, turn. Sc in each st across. (20 sts)
Row 16: Ch 1, turn. Sc in BLO of each st across. (20 sts)
This ridge row marks where your clasp hardware will attach.
Rows 17 through 22: Ch 1, turn. Sc in each st across. (20 sts each row)
Fasten off and weave in ends. Set this panel aside.
Back Panel
Work exactly as the Base and Textured Body Section above. You need two identical panels.
Assembling the Clutch Body
Place both panels with wrong sides together. The puff stitches should face outward on both sides.
Using a tapestry needle and matching yarn, whip stitch the bottom edge and both side edges together, leaving the top edge open. Turn right side out so seams are hidden inside.
Fold the top edge down about 1.5 inches to create a clean opening. You can leave this as a natural fold or tack it in place with a few stitches.
Crochet Pattern for the Spiral Flap
This is the showstopper. The spiral flap is worked in continuous rounds from the center outward, then shaped into a curved rectangle.
Spiral Center
Round 1: Make a magic ring. Ch 1, work 6 sc into the ring. Do not join. Place a stitch marker in the first sc and move it up each round. (6 sts)
Round 2: Work 2 sc in each st around. (12 sts)
Round 3: *Sc in next st, 2 sc in next st.* Repeat around. (18 sts)
Round 4: *Sc in next 2 sts, 2 sc in next st.* Repeat around. (24 sts)
Round 5: *Sc in next 3 sts, 2 sc in next st.* Repeat around. (30 sts)
Round 6: *Sc in next 4 sts, 2 sc in next st.* Repeat around. (36 sts)
Round 7: *Sc in next 5 sts, 2 sc in next st.* Repeat around. (42 sts)
Round 8: *Sc in next 6 sts, 2 sc in next st.* Repeat around. (48 sts)
Continue this increase pattern until your circle measures approximately 5.5 inches across. My sample required 10 total rounds.
Shaping the Flap
Now you will work back and forth in rows to create the rectangular attachment edge.
Row 1: Ch 1, turn. Sc in next 20 sts. Leave remaining sts unworked. (20 sts)
Rows 2 through 4: Ch 1, turn. Sc in each st across. (20 sts each row)
Fasten off, leaving a long tail for seaming.
Adding the Raised Spiral Braid
This detail takes your flap from simple to stunning. You will create a three-strand braid and attach it along the spiral ridges using surface slip stitches.
Making the Braid
Cut three strands of yarn, each approximately 40 inches long. Knot them together at one end. Braid tightly until you reach about 2 inches from the ends. Knot to secure.
Attaching the Braid
Starting at the center of your spiral, use a tapestry needle to weave the braid along the raised ridge between each round. Work from the center outward in a continuous spiral path. Tack the braid in place every inch or so with small stitches on the wrong side.
Tuck the ends underneath and secure with a few stitches or a dot of fabric glue.
Attaching the Flap to the Clutch Body
Position the flap on the back panel of your clutch body, with the spiral facing outward and the straight edge aligned with the top back edge of the bag.
Whip stitch across the straight edge to attach. Reinforce with a second row of stitches if desired. The flap should fold over the front of the bag and cover the puff stitch section.
Adding Hardware and the Strap
Clasp Installation
Center your metal clasp on the front body of the clutch, just below the fold line. Mark the placement with stitch markers or pins.
If your clasp has prongs, push them through the crochet fabric and bend flat on the inside. If using a turn-lock style, you may need to cut a small slit for the hardware post. Secure with fabric glue or extra stitching for durability.
Attach the corresponding piece to the underside of your flap so they align when closed.
Strap Attachment
Attach D-rings or swivel clips to each top corner of the clutch body. You can crochet small tabs for this: Chain 8, sl st to form a loop, sc around the chain 10 times, fasten off. Thread through the D-ring and stitch securely to the side seam.
Clip your chain strap to both sides. Adjust length as desired.
Making the Tassel (Optional)
The tassel adds a lovely finishing touch. Wrap yarn around a 4-inch piece of cardboard about 30 times. Slip a short strand through the top and tie tightly. Cut the bottom loops. Wrap another strand around the top portion about half an inch down and knot to secure. Trim ends evenly.
Attach the tassel near the clasp or at one corner of the flap.
Tips for Success with This Crochet Pattern
Keep your tension consistent. Puff stitches can pull in if worked too tightly. Relax your hands and let the yarn flow smoothly.
Block your pieces before assembly. Wet blocking helps even out stitches and makes seaming much easier. Pin to a foam board and let dry completely.
Choose quality hardware. The metal clasp and chain elevate this project significantly. Look for purse hardware at craft stores or online suppliers. Silver tones work beautifully with dusty rose.
Customize the size. Add or subtract chains in your foundation row to adjust width. Add more rows to the body for a taller clutch. Just remember to adjust your yarn quantity accordingly.
Skill Level and Time Estimate
I rate this pattern as confident beginner to intermediate. You need to be comfortable with basic stitches, working in the round, and simple assembly. The puff stitch and spiral technique are easy to learn if you practice on a swatch first.
Expect this project to take approximately 4 to 6 hours from start to finish, depending on your pace and experience level.
Final Thoughts on This Dusty Rose Spiral Clutch Crochet Pattern
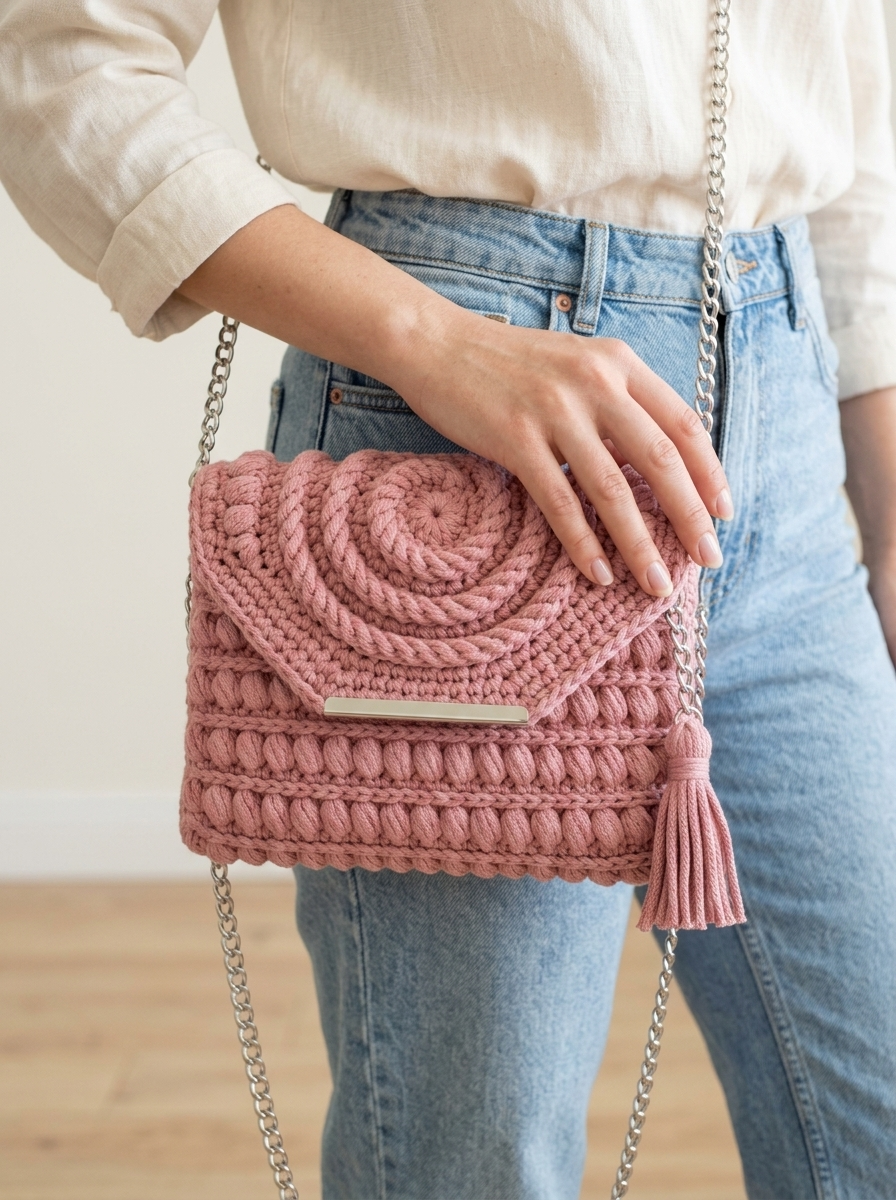
I absolutely love how this dusty rose spiral clutch turned out. The combination of soft pink cotton cord, textured puff stitches, and polished silver hardware creates something that feels both handmade and luxurious. It is the kind of bag that gets compliments every time you carry it.
Thank you so much for choosing this crochet pattern. I hope the instructions were clear and that you feel confident tackling this project. If you make one, I would love to see it. Tag me on Instagram or share in my Facebook group so I can admire your work.
Happy crocheting, friend. You have got this.
