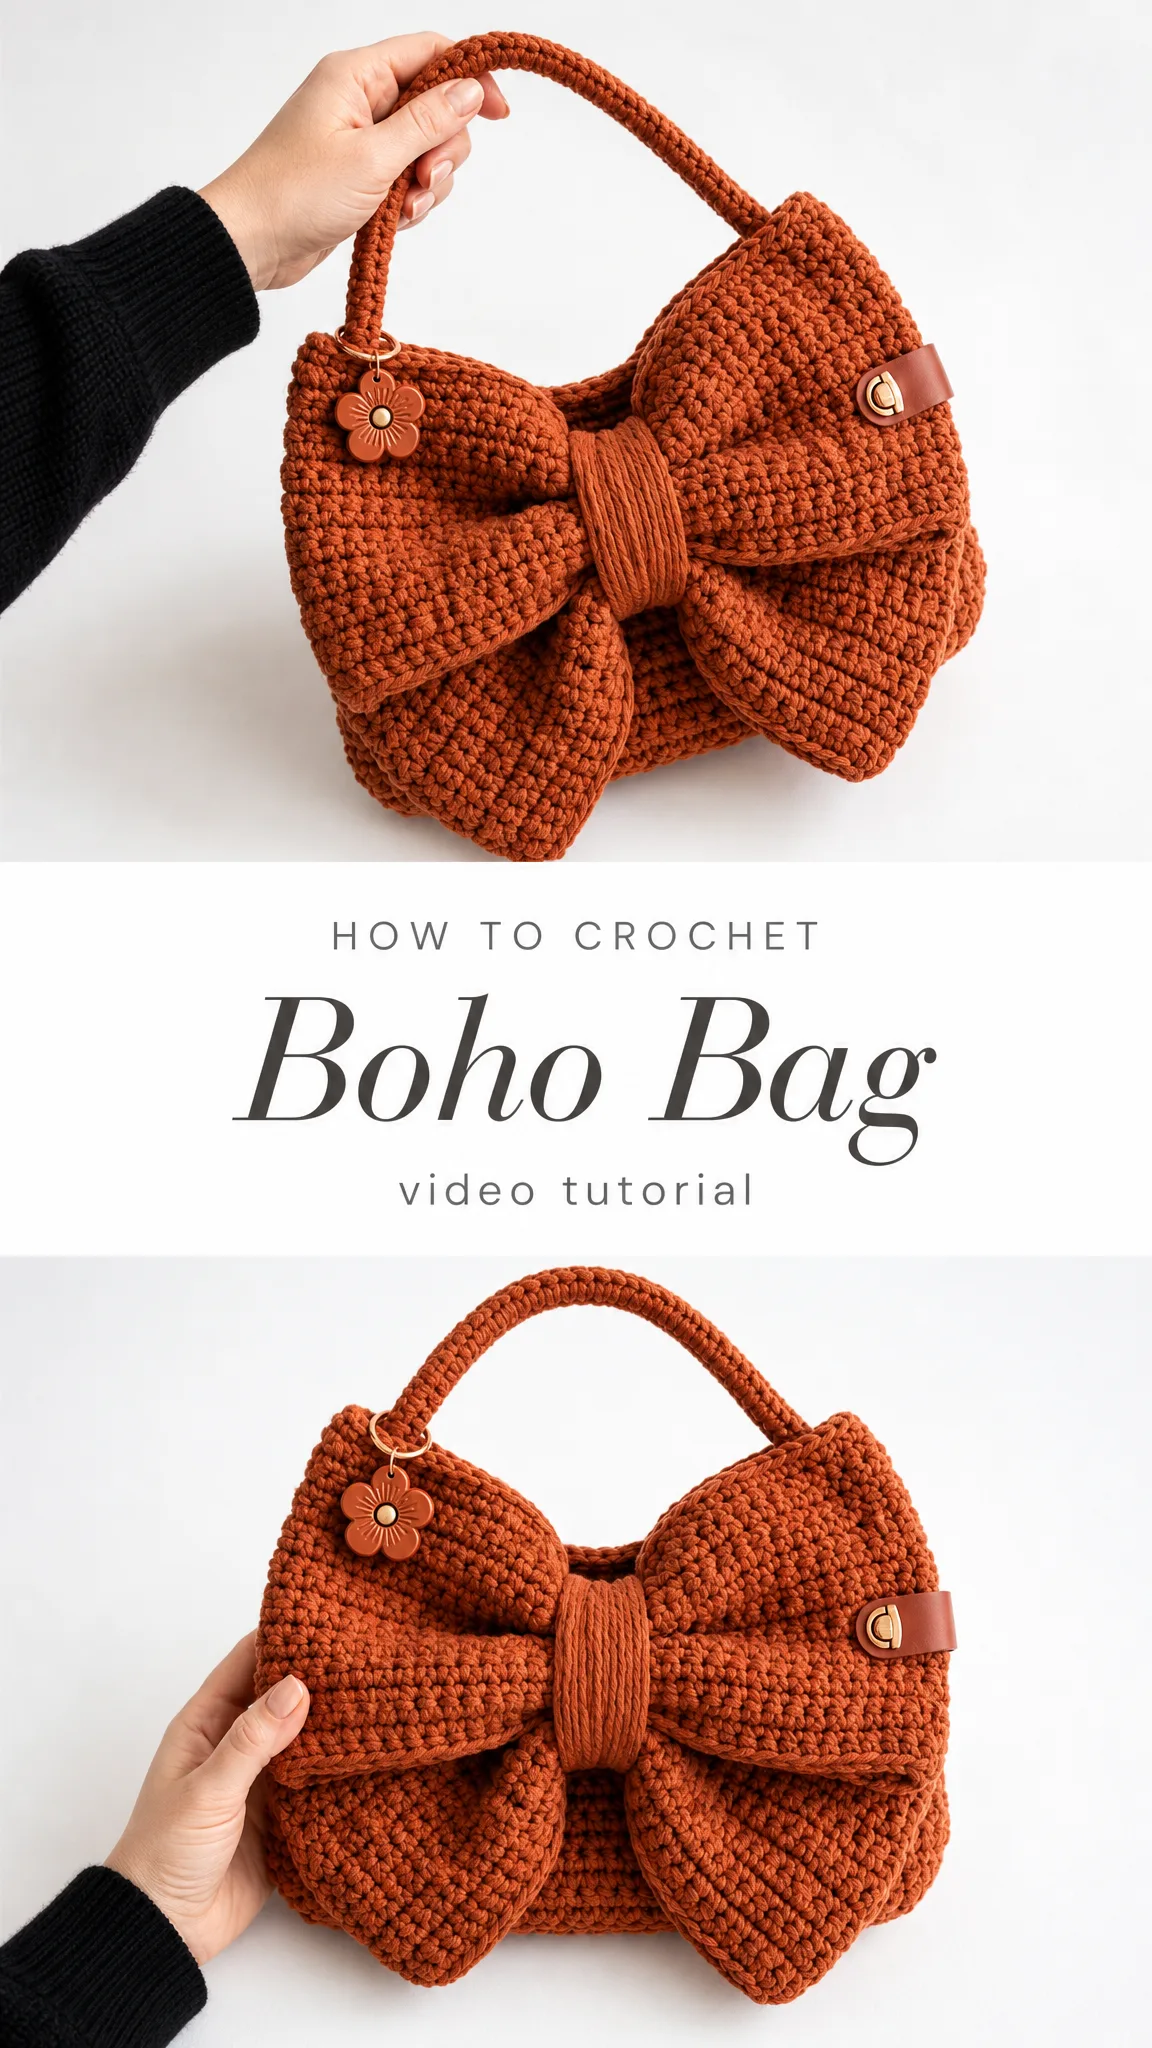
I call this one the Bella Bow Bag, and she has been living in my design notebook for almost two years now. I originally sketched her out for my sister’s birthday, wanting something bold and feminine that would make her smile every time she reached for it. Life got busy, the notebook got buried under fabric swatches and yarn scraps, but I finally pulled it out last month and knew it was time. The oversized bow, the structured body, that gorgeous terracotta color. Bella was worth the wait, and I think you are going to love making her just as much as I loved finally bringing her to life.
This crochet bag pattern creates a show-stopping accessory that looks far more complicated than it actually is. If you can work basic stitches in the round and follow simple shaping, you can absolutely make this bag. The construction is surprisingly straightforward, and I will walk you through every single step.
What Makes This Crochet Bag Pattern Special
The Bella Bow Bag is all about that dramatic oversized bow on the front. But here is the thing. The bow is worked completely flat as a simple rectangle, then cinched in the center with a wrapped band. No complex shaping. No confusing decreases. Just straightforward stitches that create maximum impact.
The bag body itself is worked in continuous rounds using a tight, sturdy stitch pattern that holds its shape beautifully. I used single crochet (sc) throughout, which creates that dense, structured fabric you see in the photos. This is important for a bag because you do not want gaps or holes where small items could poke through.
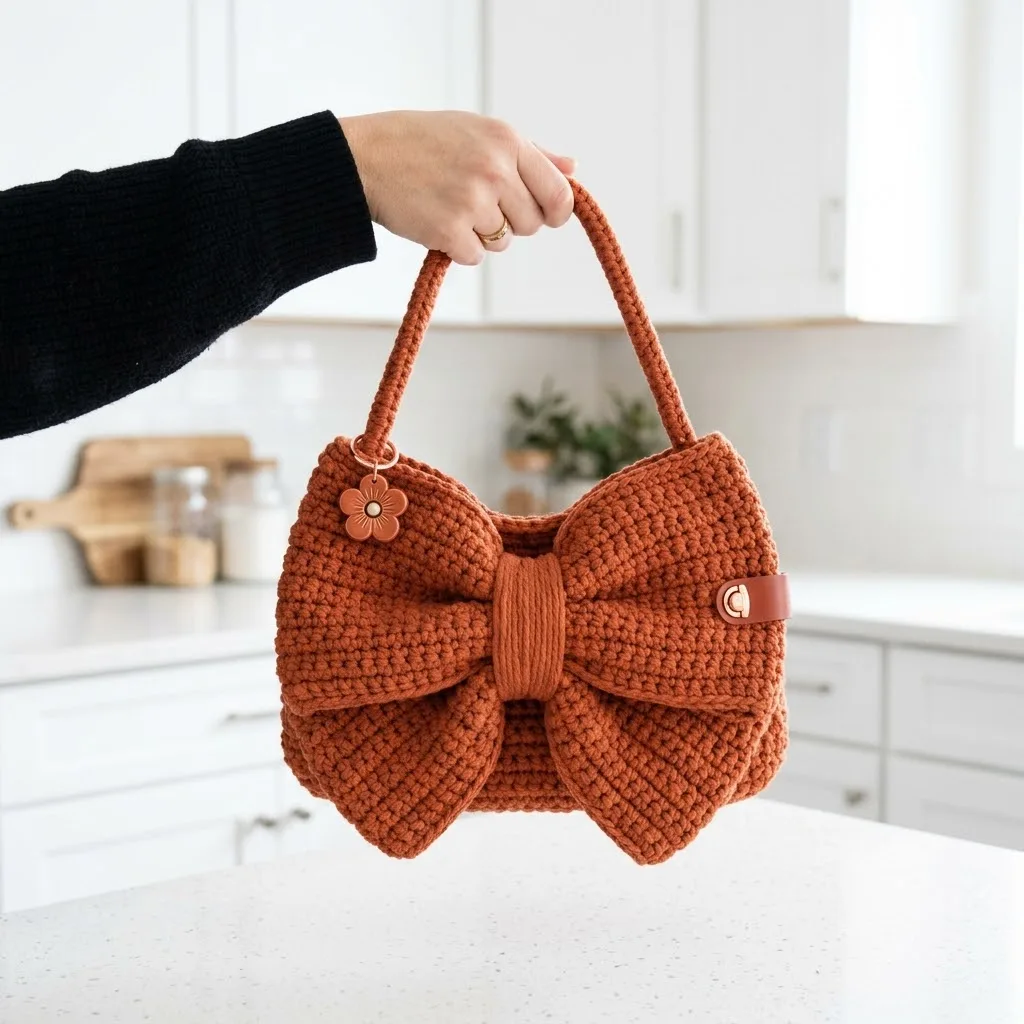
The handle is crocheted around a rope or cord core, giving it that smooth, professional finish that looks like it came from a boutique. Trust me, people will ask where you bought this bag.
Skill Level
Intermediate beginner. If you have made a few projects and feel comfortable working in the round, you can handle this. The techniques are basic, but there are multiple components to assemble. I will explain everything clearly so you feel confident the whole way through.
Finished Dimensions
Materials Needed
Yarn:
Hook:
Additional Supplies:
Gauge
18 stitches x 20 rows = 4 inches in single crochet, worked in continuous rounds
Gauge matters for this project. A tighter gauge creates that structured, sturdy fabric that holds the bag shape. If your gauge is too loose, the bag will be floppy and larger than intended. Go down a hook size if needed.
Abbreviations and Stitch Definitions
Pattern Notes Before You Begin
This bag is worked in several pieces that are assembled at the end:
1. Bag body (worked in continuous rounds from the bottom up)
2. Large bow piece (worked flat)
3. Bow center band (worked flat)
4. Handle (crocheted around cord)
Working in continuous rounds means you do not join at the end of each round. You simply keep spiraling upward. Use a stitch marker to track the beginning of each round, moving it up as you go.
Tight tension is your friend here. Do not worry if your hand gets a little tired. That firm fabric is exactly what makes this bag look so polished and professional.
Crochet Pattern Instructions
Part 1: Bag Body
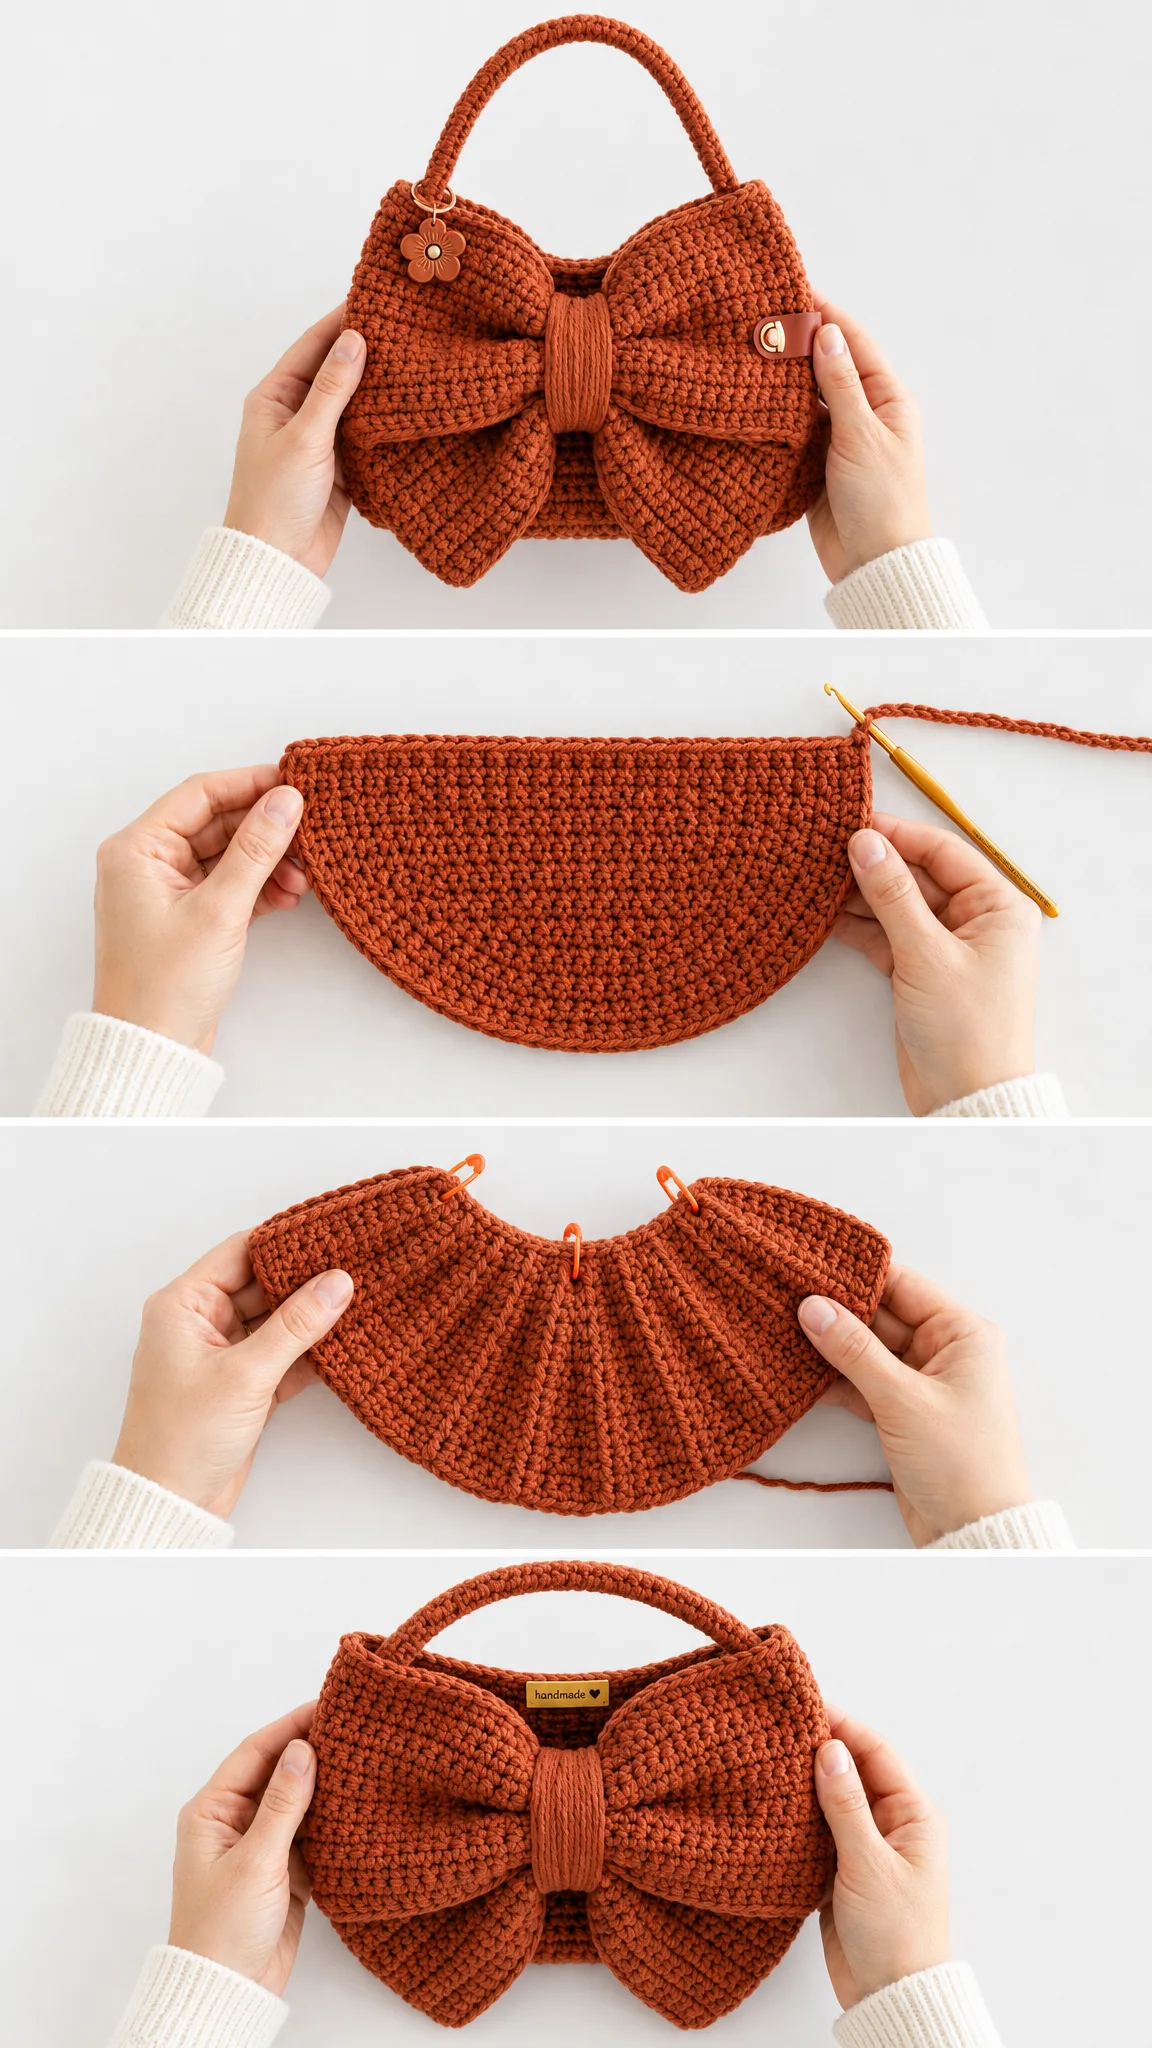
The bag is worked from the bottom up in one piece, starting with an oval base.
Base:
Round 1: Ch 25. Starting in 2nd ch from hook, sc in each of the next 23 ch. In the last ch, work 3 sc (this turns the corner). Rotate work to continue along the opposite side of the foundation chain. Sc in each of the next 22 ch. Work 2 sc in the last st. Place marker. (50 sts)
Round 2: Inc in first st, sc in next 22 sts, inc in next 3 sts, sc in next 22 sts, inc in last 2 sts. (56 sts)
Round 3: Sc in first st, inc in next st, sc in next 22 sts, (sc, inc) 3 times, sc in next 22 sts, (sc, inc) 2 times. (62 sts)
Round 4: Sc in first 2 sts, inc, sc in next 22 sts, (sc 2, inc) 3 times, sc in next 22 sts, (sc 2, inc) 2 times. (68 sts)
Round 5: Sc in first 3 sts, inc, sc in next 22 sts, (sc 3, inc) 3 times, sc in next 22 sts, (sc 3, inc) 2 times. (74 sts)
You should now have a flat oval base approximately 6 inches long and 3 inches wide.
Sides:
Round 6: Working in BLO only for this round, sc in each st around. (74 sts)
This creates a crisp edge where the base meets the sides.
Rounds 7 through 35: Sc in each st around. (74 sts)
Continue for 29 more rounds, or until bag measures approximately 7 inches from the base edge.
Top Shaping:
Round 36: Sc in first 18 sts, skip next st, sc in next 36 sts, skip next st, sc in remaining 18 sts. (72 sts)
Round 37: Sc in each st around. (72 sts)
Round 38: Sl st in each st around. Fasten off and weave in ends. (72 sts)
Part 2: Large Bow Piece
The bow is worked flat as a large rectangle, then gathered in the center.
Ch 61.
Row 1: Sc in 2nd ch from hook and in each ch across. Ch 1, turn. (60 sts)
Rows 2 through 26: Sc in each st across. Ch 1, turn. (60 sts)
After Row 26, do not turn. Fasten off, leaving a long tail for seaming.
Your rectangle should measure approximately 12 inches wide by 5 inches tall.
Shaping the bow: Fold the short ends of the rectangle toward the center so they meet in the middle. The piece will now look like a pinched rectangle. Using your yarn tail, whip stitch the back edges together loosely to hold this shape. Do not pull too tight. You want it to stay puffy.
Part 3: Bow Center Band
This small piece wraps around the center of the bow to create that cinched look.
Ch 9.
Row 1: Sc in 2nd ch from hook and in each ch across. Ch 1, turn. (8 sts)
Rows 2 through 16: Sc in each st across. Ch 1, turn. (8 sts)
Fasten off, leaving a very long tail.
Wrap this band around the center of the bow piece vertically, pulling snug to create the signature bow shape. The band should cover where you seamed the back. Use the long tail to sew the band ends together at the back of the bow. Pull firmly so the bow puffs out nicely on both sides.
Part 4: Handle
The handle is crocheted around a rope core for structure and a clean, rounded appearance.
Cut your rope or cord to approximately 14 inches.
Working around the cord:
Make a slip knot and place it on your hook. Hold the cord in your non-hook hand.
Work sc stitches around the cord, covering it completely. You will work approximately 80 to 90 sc, depending on your tension, until the entire cord is covered.
To do this: Insert your hook under the cord, yarn over, pull up a loop, yarn over, pull through both loops. Repeat, working closely together so no cord shows through.
When you reach the end of the cord, sl st to secure. Leave long tails at both ends for attaching to the bag.
Assembly Instructions
Now comes the fun part. Putting Bella together.
Attaching the Handle
Position your handle on the back of the bag, placing each end approximately 2 inches down from the top edge. The ends should be about 4 inches apart, centered on the back panel.
Using a yarn needle and matching yarn, securely stitch each handle end to the inside of the bag. Go over your stitches multiple times for strength. This handle will bear weight, so do not skimp here.
Attaching the Bow
Center the bow on the front of the bag, positioning it so the center band sits about 2 inches down from the top edge. The bow should span almost the entire width of the bag front.
Pin in place first to check positioning. Using matching yarn, whip stitch around the center band area, securing the bow firmly to the bag body. You can also tack down the outer edges of the bow loops if you want them to lay flat against the bag.
Optional Finishing Touches
Lining: Cut fabric to fit inside the bag with a half inch seam allowance. Sew fabric into a pouch shape and hand stitch to the inside top edge of the bag. This protects the crochet and adds polish.
Magnetic snap: Install a magnetic snap closure on the inside top edges of the bag before adding the lining.
Decorative charm: Add a cute bag charm to the handle base for extra personality. I used a small flower charm on mine.
Leather tag: A small leather label near the bow adds that boutique touch.
Tips for Success
Keep your tension consistent. Uneven tension will show in the finished bag. If you notice your stitches getting looser as you go, take a short break and come back fresh.
Block the bow before attaching. Lightly steam or wet block the bow rectangle before assembly. This evens out your stitches and makes the bow look crisp and professional.
Use stitch markers generously. Mark the beginning of rounds on the bag body, and mark where you plan to attach handles before you start sewing. It saves headaches.
Do not rush the assembly. The sewing and finishing take time, but they make all the difference between a homemade look and a high-end look.
Customization Ideas
This terracotta shade is gorgeous, but Bella would look stunning in so many colors. Picture her in soft pink for spring, cream for summer, deep burgundy for fall, or even classic black for year-round elegance.
You could also make the bow removable by attaching it with buttons or snaps instead of sewing it directly to the bag. That way you can swap bows in different colors or remove it entirely for a more minimalist look.
For a smaller version, simply reduce your starting chain and work fewer rounds. A mini Bella would make an adorable evening clutch.
Wrapping Up the Bella Bow Bag Crochet Pattern
You did it. You now have everything you need to create this stunning crochet bow bag from start to finish. The Bella Bow Bag is one of those projects that looks incredibly impressive but relies on stitches you already know. Simple single crochet, worked with intention and assembled with care, creates something truly special.
I hope this step by step crochet tutorial gave you the confidence to dive in. Whether you are making this for yourself, as a gift, or just because that terracotta yarn in your stash has been calling your name, I cannot wait to see your finished bags.
Thank you so much for choosing to make this pattern. It really does mean the world to me when you trust my designs with your precious crafting time. If you make a Bella, please tag me on Instagram or share in my Facebook group. Seeing your creations is genuinely the best part of my day.
If you loved this pattern, go ahead and save it to your Pinterest boards so you can find it whenever you are ready to start. And I would absolutely love to hear from you in the comments below. Tell me what color you are planning to use, or drop a photo when your Bella is complete. Happy crocheting, friend.
