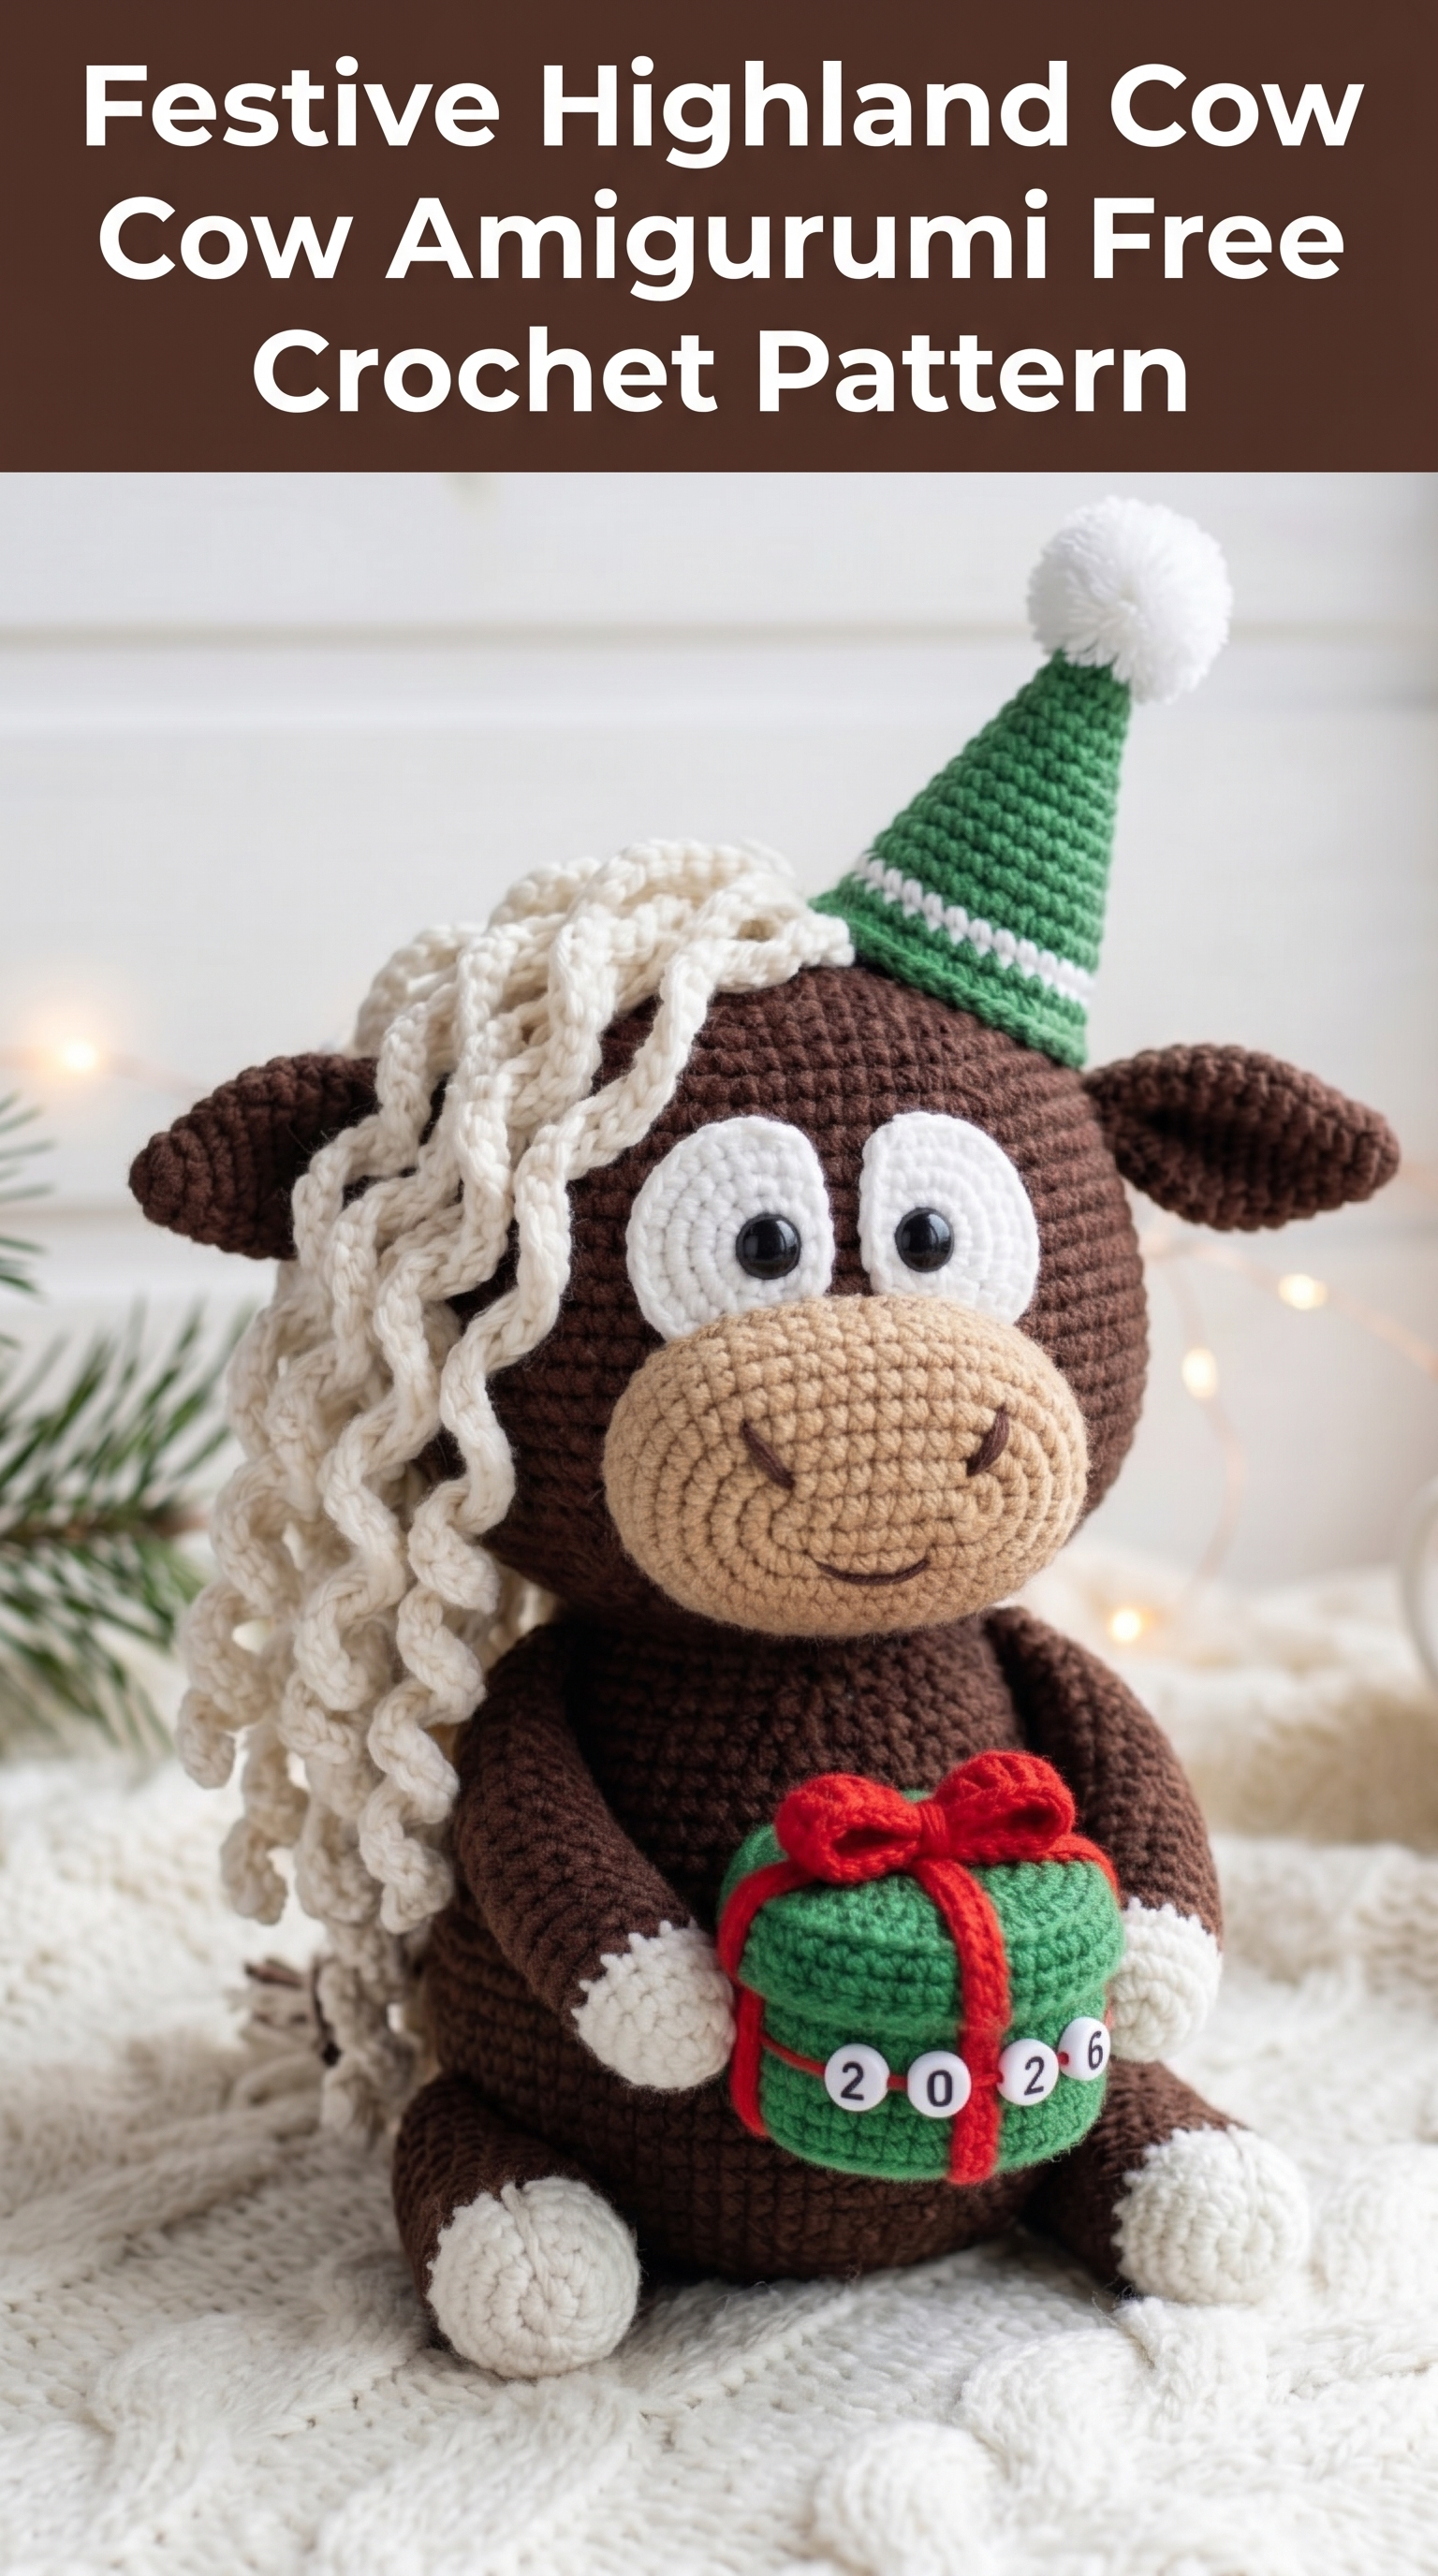
Oh my goodness, this little guy is absolutely adorable. If you have been looking for a charming Highland cow crochet pattern that doubles as holiday decor, you just found your next project. This festive amigurumi features a sweet brown cow with signature shaggy cream fringe, a cheerful green party hat, and a tiny wrapped gift complete with a red bow. The “2026” detail makes it perfect for New Year celebrations or as a commemorative keepsake.
Do not let the detailed look intimidate you. If you can single crochet in the round and count your stitches, you can absolutely make this. I will walk you through every single piece, stitch by stitch.
What Makes This Highland Cow Crochet Pattern So Special
Highland cows are having a major moment in the craft world. Their fluffy forelocks and gentle expressions translate beautifully into amigurumi form. This particular crochet tutorial takes that beloved design and adds festive holiday flair.
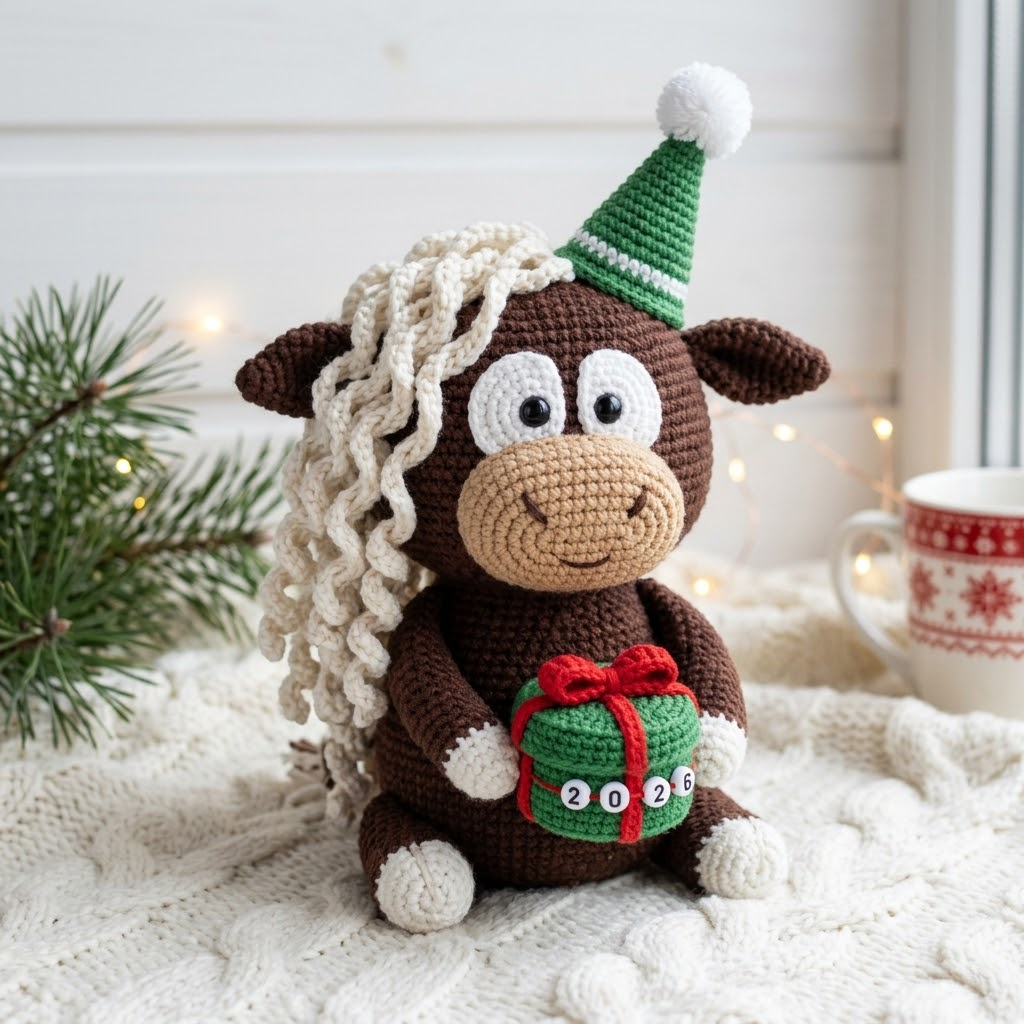
The finished cow sits upright on its own, holding that sweet little present. The combination of chocolate brown for the body, tan for the muzzle, cream for the signature fringe and hooves, plus holiday green and red accents creates a piece that feels both cozy and celebratory.
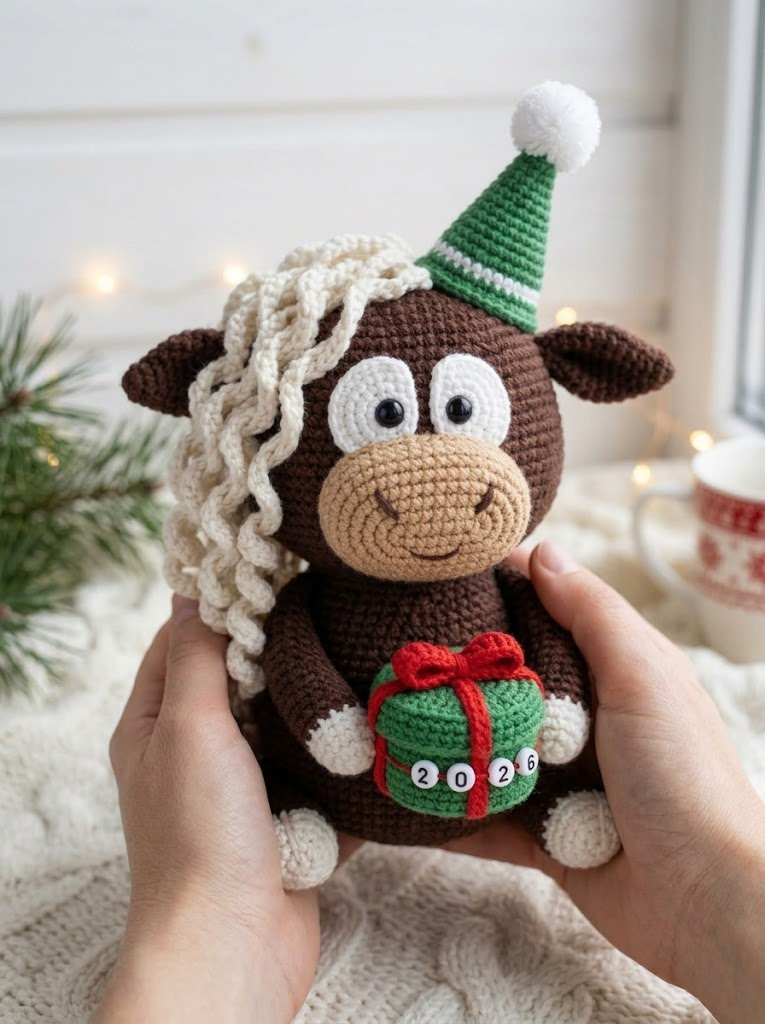
Standing approximately 7 to 8 inches tall when complete, this makes an ideal shelf sitter, mantel decoration, or heartfelt handmade gift.
Materials You Will Need
Before we dive into the step by step instructions, gather these supplies:
Yarn:
I recommend cotton or cotton blend yarn for crisp stitch definition. Acrylic works well too and gives a softer finish.
Hook:
Notions:
Stitch Abbreviations and Definitions
Let me define every stitch before we begin. Refer back here anytime you need a refresher.
Magic Ring (MR): An adjustable starting loop that closes completely with no hole in the center. You wrap yarn around your fingers, insert hook, pull up a loop, chain one, then work your first round stitches into that ring. Pull the tail tight to close.
Chain (ch): The foundation stitch. Yarn over, pull through loop on hook. One chain made.
Single Crochet (sc): Insert hook into stitch, yarn over and pull up a loop (two loops on hook), yarn over and pull through both loops. That is one single crochet.
Increase (inc): Work two single crochet stitches into the same stitch. This adds one stitch to your count.
Invisible Decrease (dec): Insert hook through front loops only of the next two stitches, yarn over, pull through both front loops, yarn over, pull through both loops on hook. This creates a tighter, less visible decrease than the standard method.
Slip Stitch (sl st): Insert hook, yarn over, pull through stitch and loop on hook in one motion. Used for joining or creating surface details.
Front Loop Only (FLO): Work into only the loop closest to you, leaving the back loop untouched.
Back Loop Only (BLO): Work into only the loop farthest from you.
Understanding Amigurumi Construction
This Highland cow is worked in continuous rounds. That means you do not join at the end of each round or chain up to start the next one. You simply keep spiraling around and around.
Use a stitch marker to track the beginning of each round. Move it up as you complete each round. Trust me on this. Losing your place in amigurumi is frustrating, and a simple marker prevents that entirely.
Work with a tight tension. Your stitches should be snug enough that stuffing does not peek through. If you see white fiberfill showing between stitches, try going down a hook size.
The Pattern: Step by Step Instructions
Body (Make 1 in Brown)
The body is worked from the bottom up in one continuous piece.
Round 1: 6 sc in magic ring (6 sts)
Round 2: Inc in each st around (12 sts)
Round 3: (Sc 1, inc) repeat around (18 sts)
Round 4: (Sc 2, inc) repeat around (24 sts)
Round 5: (Sc 3, inc) repeat around (30 sts)
Round 6: (Sc 4, inc) repeat around (36 sts)
Round 7: (Sc 5, inc) repeat around (42 sts)
Rounds 8 to 12: Sc in each st around (42 sts) — 5 rounds even
Round 13: (Sc 5, dec) repeat around (36 sts)
Round 14: Sc in each st around (36 sts)
Round 15: (Sc 4, dec) repeat around (30 sts)
Rounds 16 to 20: Sc in each st around (30 sts) — 5 rounds even
Round 21: (Sc 3, dec) repeat around (24 sts)
Rounds 22 to 24: Sc in each st around (24 sts) — 3 rounds even
Begin stuffing firmly at this point. Continue adding stuffing as you decrease.
Round 25: (Sc 2, dec) repeat around (18 sts)
Round 26: (Sc 1, dec) repeat around (12 sts)
Round 27: Dec around (6 sts)
Fasten off, leaving a tail. Thread through remaining stitches and pull tight to close.
Head (Make 1 in Brown)
Round 1: 6 sc in magic ring (6 sts)
Round 2: Inc in each st around (12 sts)
Round 3: (Sc 1, inc) repeat around (18 sts)
Round 4: (Sc 2, inc) repeat around (24 sts)
Round 5: (Sc 3, inc) repeat around (30 sts)
Round 6: (Sc 4, inc) repeat around (36 sts)
Rounds 7 to 14: Sc in each st around (36 sts) — 8 rounds even
Round 15: (Sc 4, dec) repeat around (30 sts)
Round 16: (Sc 3, dec) repeat around (24 sts)
Insert safety eyes between rounds 10 and 11, approximately 8 stitches apart. The white eye patches (instructions below) will surround these.
Round 17: (Sc 2, dec) repeat around (18 sts)
Stuff the head firmly.
Round 18: (Sc 1, dec) repeat around (12 sts)
Round 19: Dec around (6 sts)
Fasten off and close.
Muzzle (Make 1 in Tan)
This creates the characteristic cow snout.
Round 1: 6 sc in magic ring (6 sts)
Round 2: Inc in each st around (12 sts)
Round 3: (Sc 1, inc) repeat around (18 sts)
Round 4: (Sc 2, inc) repeat around (24 sts)
Rounds 5 to 8: Sc in each st around (24 sts) — 4 rounds even
Fasten off, leaving a long tail for sewing. Stuff lightly. The muzzle should be softly rounded, not rock hard.
Use brown embroidery floss to stitch a curved smile and two small nostril dots before attaching.
Eye Patches (Make 2 in White)
These oval patches frame the safety eyes and give your cow that sweet, wide eyed expression.
Round 1: 6 sc in magic ring (6 sts)
Round 2: Inc in each st around (12 sts)
Round 3: (Sc 1, inc) repeat around (18 sts)
Fasten off, leaving a tail. These are flat pieces. Do not stuff. Position around the safety eye posts before securing the backings.
Ears (Make 2 in Brown)
Round 1: 6 sc in magic ring (6 sts)
Round 2: Inc in each st around (12 sts)
Round 3: (Sc 1, inc) repeat around (18 sts)
Rounds 4 to 6: Sc in each st around (18 sts) — 3 rounds even
Round 7: (Sc 1, dec) repeat around (12 sts)
Fasten off, leaving a long tail. Flatten the ear and fold slightly at the base before sewing to head. Do not stuff.
Arms (Make 2 in Brown with Cream Hooves)
Start with cream yarn.
Round 1: 6 sc in magic ring (6 sts)
Round 2: Inc in each st around (12 sts)
Rounds 3 to 5: Sc in each st around (12 sts) — 3 rounds even
Change to brown yarn.
Rounds 6 to 14: Sc in each st around (12 sts) — 9 rounds even
Fasten off, leaving a long tail. Stuff the hoof portion lightly. Leave the upper arm mostly flat for a relaxed, floppy look.
Legs (Make 2 in Brown with Cream Hooves)
Start with cream yarn.
Round 1: 6 sc in magic ring (6 sts)
Round 2: Inc in each st around (12 sts)
Round 3: (Sc 1, inc) repeat around (18 sts)
Rounds 4 to 6: Sc in each st around (18 sts) — 3 rounds even
Change to brown yarn.
Round 7: (Sc 1, dec) repeat around (12 sts)
Rounds 8 to 12: Sc in each st around (12 sts) — 5 rounds even
Fasten off, leaving a tail. Stuff the hoof and lower leg. These attach to the bottom sides of the body so the cow sits upright.
Highland Fringe (In Cream)
This is the signature element. You will create curly chains and attach them to the forehead.
Make approximately 15 to 20 curly strands:
Chain 25. Starting in the second chain from hook, work 2 sc in each chain across. The strand will naturally spiral and curl. Fasten off, leaving a tail for attaching.
Bundle these strands together and sew securely across the top of the head, between and slightly in front of the ears. Let them cascade down one side for that characteristic shaggy look.
Party Hat (Make 1 in Green with White Trim)
Start with green yarn.
Round 1: 4 sc in magic ring (4 sts)
Round 2: (Sc 1, inc) repeat around (6 sts)
Round 3: Sc in each st around (6 sts)
Round 4: (Sc 2, inc) repeat around (8 sts)
Round 5: Sc in each st around (8 sts)
Round 6: (Sc 3, inc) repeat around (10 sts)
Round 7: Sc in each st around (10 sts)
Round 8: (Sc 4, inc) repeat around (12 sts)
Round 9: Sc in each st around (12 sts)
Round 10: (Sc 1, inc) repeat around (18 sts)
Round 11: Sc in each st around (18 sts)
Change to white yarn.
Round 12: In BLO, sc in each st around (18 sts)
Round 13: Sc in each st around (18 sts)
Fasten off. Do not stuff. The hat should be slightly flexible.
Attach the small white pom pom to the top point with a few stitches or a dab of fabric glue.
Gift Box (Make 1 in Green)
Round 1: 6 sc in magic ring (6 sts)
Round 2: Inc in each st around (12 sts)
Round 3: (Sc 1, inc) repeat around (18 sts)
Round 4: In BLO, sc in each st around (18 sts) — creates a ridge for the bottom edge
Rounds 5 to 9: Sc in each st around (18 sts) — 5 rounds even
Round 10: In BLO, (sc 1, dec) repeat around (12 sts)
Stuff the gift firmly.
Round 11: Dec around (6 sts)
Fasten off and close.
Red Ribbon: Chain 30 in red yarn. Weave around the gift vertically and horizontally, tying a bow at the top. Secure with a few stitches so it stays put.
Optional: Attach letter beads spelling “2026” to the front of the gift, or embroider the numbers in white.
Assembly Instructions
Take your time here. Good assembly makes all the difference.
1. Attach the head to the body. Position it centered on top. Use mattress stitch for an invisible seam, working around twice for security.
2. Sew on the white eye patches around the safety eye posts. The eyes should appear centered within each white oval.
3. Attach the muzzle to the lower front of the face, slightly overlapping the bottom of the eye patches.
4. Sew on the ears at slight angles, positioned just above and behind the eye patches.
5. Attach the Highland fringe across the top of the head. Arrange the curls to cascade to one side.
6. Sew the party hat at a jaunty angle on top of the head, nestled among the fringe.
7. Attach the arms to the sides of the body, angled inward so the hooves meet at the center front.
8. Position the gift between the hooves and stitch it securely to both arms and the body so it stays in place.
9. Attach the legs to the bottom sides of the body. Angle them outward slightly so the cow sits stably.
10. Weave in all ends with your yarn needle. Hide tails inside the stuffed pieces.
Tips for Success
Yarn choice matters. Cotton yarn shows stitch definition beautifully and is my top recommendation for this beginner friendly pattern. Acrylic is more budget friendly and works well too.
Count every round. Seriously. Use that stitch marker. Amigurumi requires precision, and one missed increase throws everything off.
Stuff as you go. Once you start decreasing, it becomes nearly impossible to stuff properly. Add fiberfill gradually.
Adjust hook size for your tension. If your stitches look loose and stuffing shows through, go down a hook size. If your fabric feels stiff and hard to work, go up.
Customization Ideas
This crochet pattern works beautifully as written, but feel free to make it your own:
You Did It
And there you have it. Your very own festive Highland cow, ready to bring smiles to everyone who sees it. This project combines simple stitches with thoughtful details, proving that amigurumi does not have to be overwhelming.
Thank you so much for choosing this pattern for your next crochet project. I genuinely hope you enjoyed making this little cow as much as I enjoyed designing it.
I would absolutely love to see your finished Highland cow. Tag me on Instagram or share your photos in my Facebook group. Seeing your creations truly makes my day.
Happy crocheting, friend. Now go show off that adorable cow.
