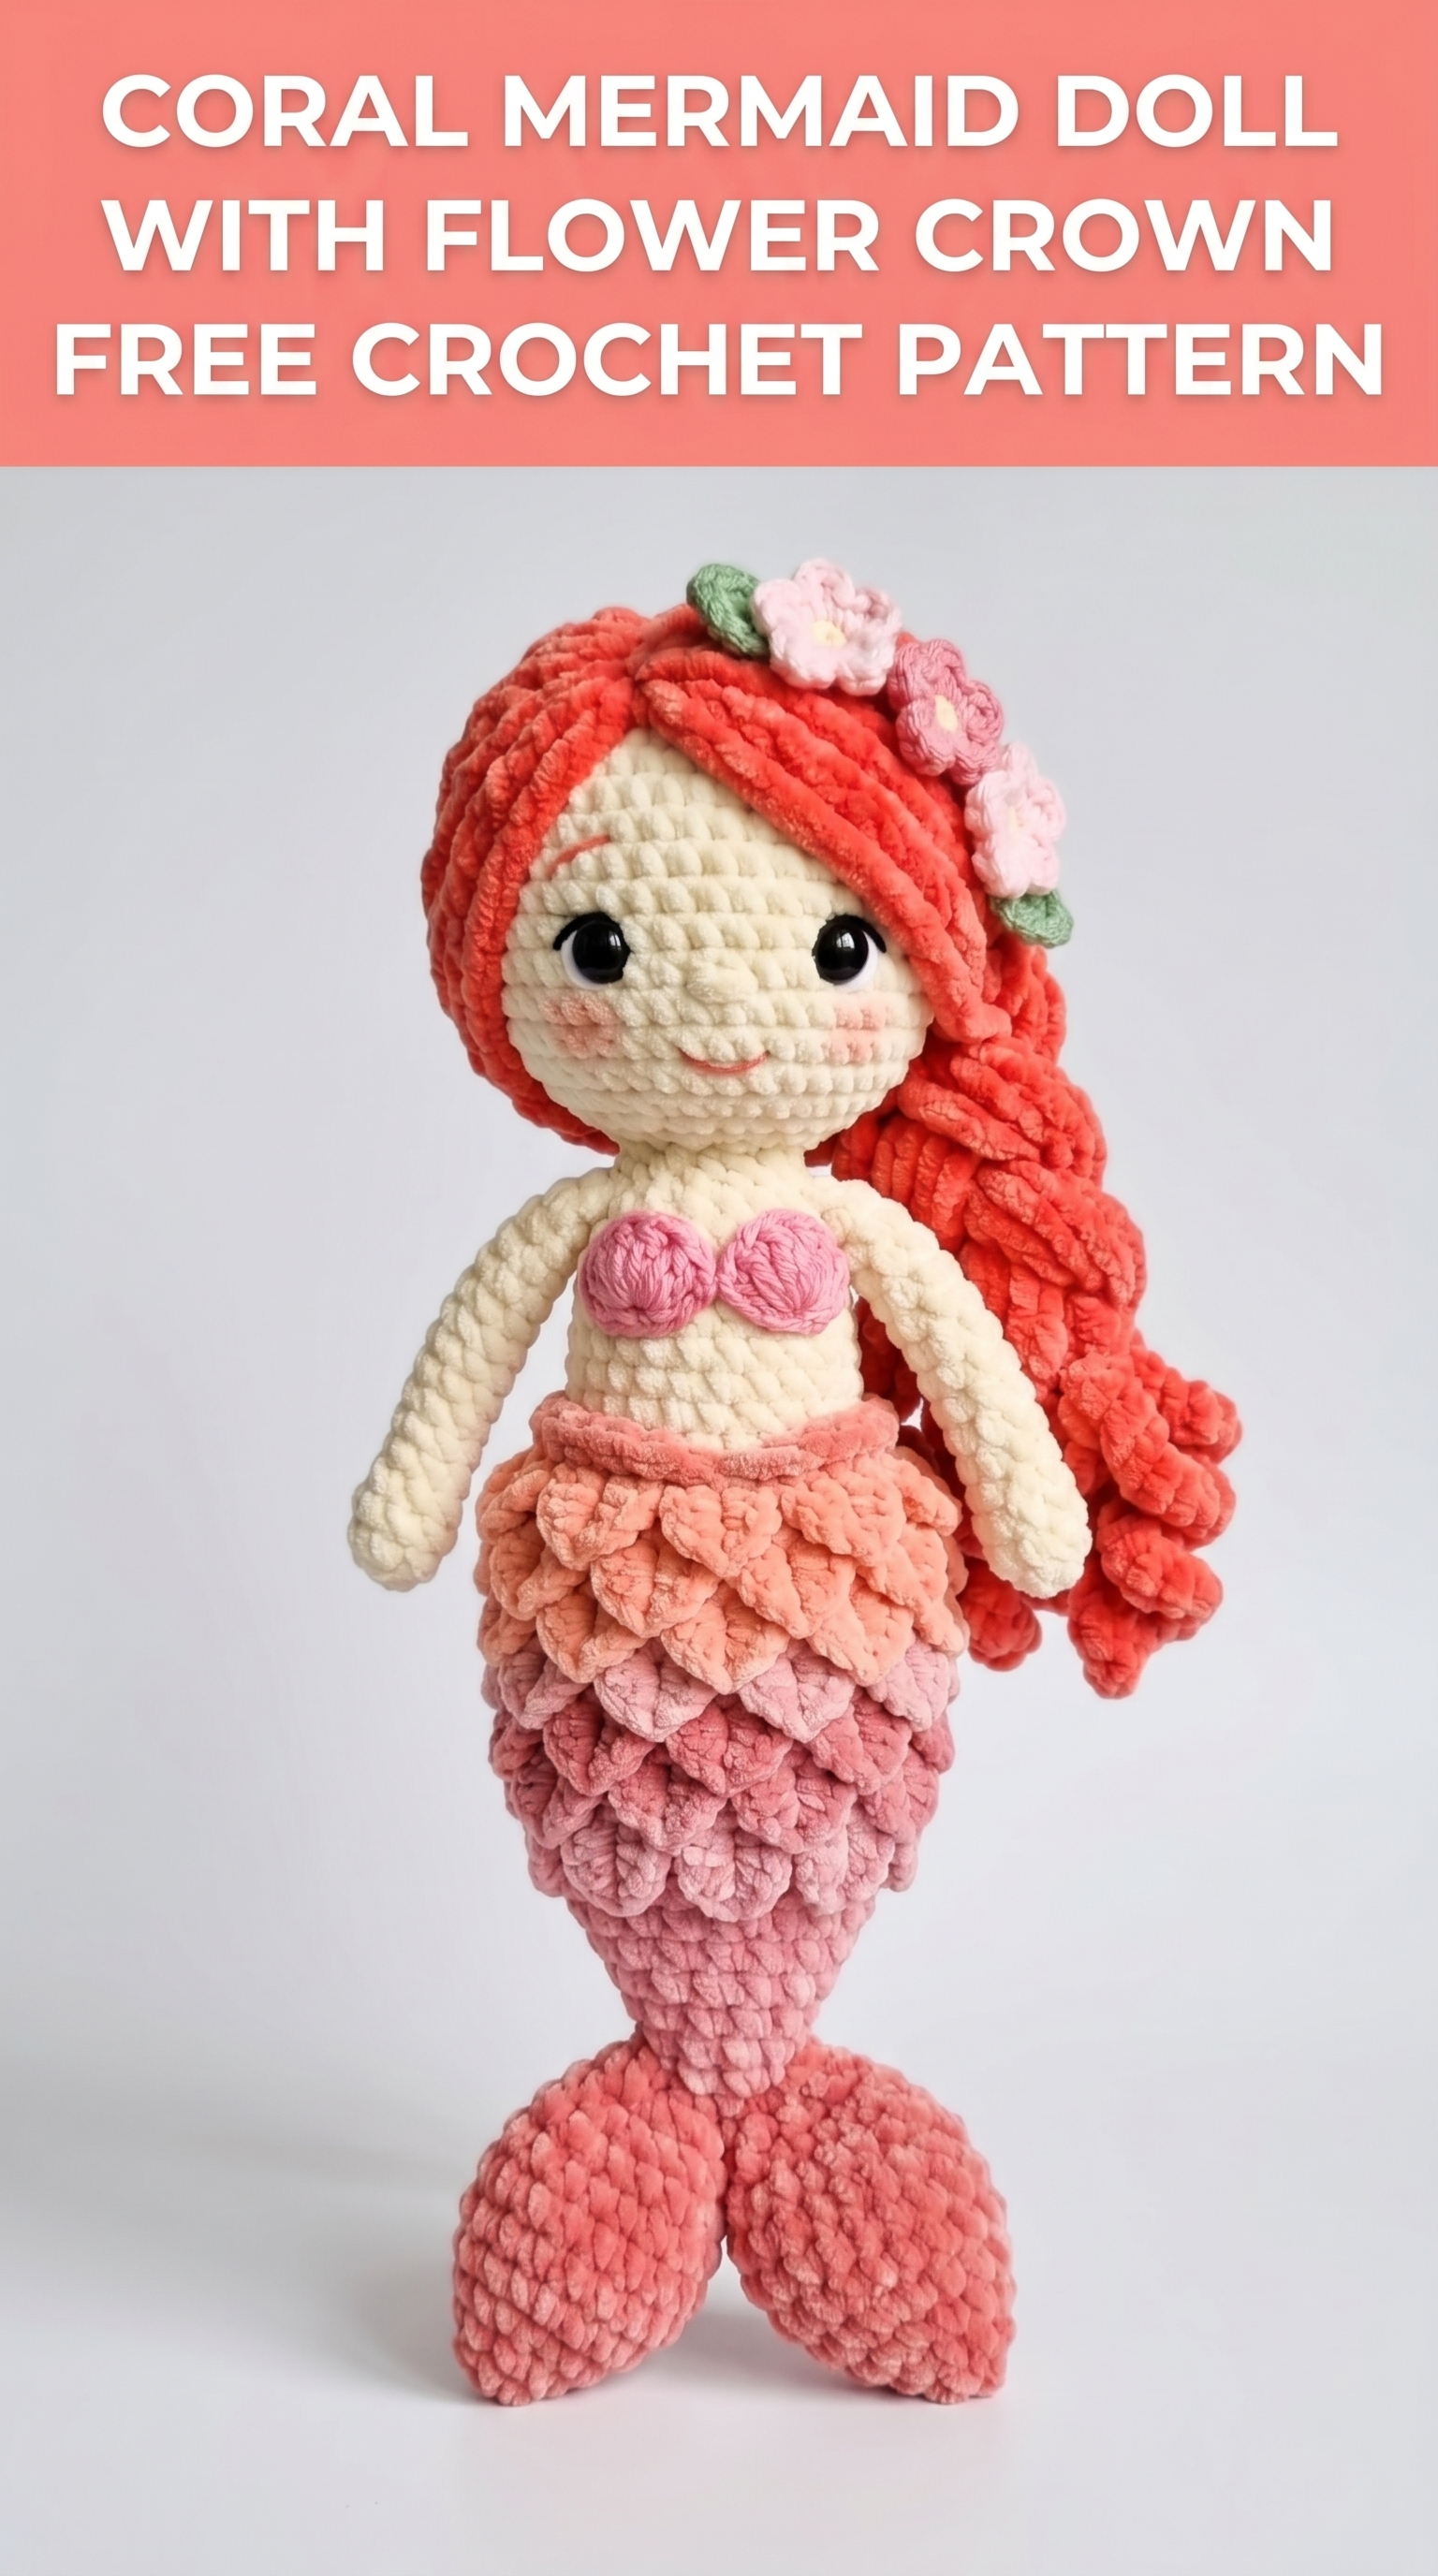
She is absolutely enchanting, is she not? This coral mermaid doll with her flowing red hair and delicate flower crown is the kind of project that makes you fall in love with amigurumi all over again. I designed her with velvet chenille yarn to give that soft, huggable quality that children adore and adults cannot stop touching.
This crochet pattern looks intricate, but I promise you can make her. If you know how to work in the round and can manage basic increases and decreases, you have all the skills you need. We will work through each piece together step by step.
The finished mermaid measures approximately 12 inches tall when made with the recommended yarn. She features a beautifully textured tail with that signature scale-like appearance, flowing curly hair attached strand by strand, and the sweetest little bikini top with tiny flower accessories. Let me walk you through everything you need to bring her to life.
Materials Needed for Your Mermaid Doll Crochet Pattern
Yarn:
Recommended Yarn: Himalaya Dolphin Baby or YarnArt Dolce work beautifully for this project. Both are super bulky weight chenille yarns that create that plush, soft texture you see in the photos.
Hook Size: 4.0mm crochet hook for velvet yarn sections. Use a 3.5mm hook for the smaller details like flowers and bikini top.
Additional Supplies:
Gauge: Gauge is not critical for amigurumi, but your stitches should be tight enough that stuffing does not show through. If you see gaps, go down a hook size.
Skill Level and Techniques Used
This mermaid doll crochet pattern is rated intermediate. You should be comfortable with:
Do not worry if invisible decreases are new to you. I will remind you how to work them when we get there.
Abbreviations Used
| Abbreviation | Full Term | What It Means |
|————–|———–|—————|
| sc | single crochet | Basic stitch, one loop tall |
| inc | increase | 2 sc in same stitch |
| dec | invisible decrease | Decrease through front loops |
| sl st | slip stitch | Join stitch, no height |
| ch | chain | Foundation stitch |
| st(s) | stitch(es) | Individual loops |
| rnd | round | One complete spiral |
| MR | magic ring | Adjustable start |
Step by Step Crochet Pattern Instructions
The Head (Cream Yarn)
We start at the top of the head and work downward. Use your cream velvet yarn and 4.0mm hook.
Rnd 1: 6 sc in magic ring (6 sts)
Rnd 2: Inc in each st around (12 sts)
Rnd 3: *Sc 1, inc* repeat around (18 sts)
Rnd 4: *Sc 2, inc* repeat around (24 sts)
Rnd 5: *Sc 3, inc* repeat around (30 sts)
Rnd 6: *Sc 4, inc* repeat around (36 sts)
Rnd 7: *Sc 5, inc* repeat around (42 sts)
Rnds 8 to 15: Sc in each st around (42 sts) — 8 rounds total
This creates the round portion of the head. Now we begin shaping the face.
Rnd 16: *Sc 5, dec* repeat around (36 sts)
Rnd 17: *Sc 4, dec* repeat around (30 sts)
Insert safety eyes between rounds 11 and 12, approximately 8 stitches apart. The placement should be centered on the face. I like to use pins first to check positioning before committing.
Rnd 18: *Sc 3, dec* repeat around (24 sts)
Begin stuffing firmly. Velvet yarn hides lumps well, so do not be shy with the stuffing.
Rnd 19: *Sc 2, dec* repeat around (18 sts)
Continue stuffing as you close.
Rnd 20: *Sc 1, dec* repeat around (12 sts)
Rnd 21: Dec around (6 sts)
Fasten off, leaving a tail. Weave through remaining stitches and pull closed. This is the neck opening, which we will attach to the body later.
The Body and Tail (Cream, then Coral Pink)
The body and tail are worked as one continuous piece. We start with the upper body in cream, then transition to coral pink for the tail.
Upper Body (Cream Yarn):
Rnd 1: 6 sc in magic ring (6 sts)
Rnd 2: Inc in each st around (12 sts)
Rnd 3: *Sc 1, inc* repeat around (18 sts)
Rnd 4: *Sc 2, inc* repeat around (24 sts)
Rnd 5: Sc in each st around (24 sts)
Rnds 6 to 8: Sc in each st around (24 sts) — 3 rounds
This creates the chest area. Now we shape the waist.
Rnd 9: *Sc 2, dec* repeat around (18 sts)
Rnd 10: Sc in each st around (18 sts)
Change to coral pink yarn for the tail.
Tail Section (Coral Pink Yarn):
Rnd 11: Working in back loops only, sc in each st around (18 sts)
This back loop round creates that lovely ridge where the tail begins. It is a small detail that makes a big visual difference.
Rnd 12: *Sc 2, inc* repeat around (24 sts)
Rnd 13: Sc in each st around (24 sts)
Rnd 14: *Sc 3, inc* repeat around (30 sts)
Rnds 15 to 18: Sc in each st around (30 sts) — 4 rounds
Rnd 19: *Sc 3, dec* repeat around (24 sts)
Rnds 20 to 22: Sc in each st around (24 sts) — 3 rounds
Stuff the body firmly up to this point.
Rnd 23: *Sc 2, dec* repeat around (18 sts)
Rnds 24 to 26: Sc in each st around (18 sts) — 3 rounds
Rnd 27: *Sc 1, dec* repeat around (12 sts)
Rnds 28 to 30: Sc in each st around (12 sts) — 3 rounds
Continue adding stuffing as needed. The tail should taper gradually.
Rnd 31: Dec around (6 sts)
Fasten off, but do not close yet. We will attach the tail fin.
Tail Fin (Coral Pink Yarn)
Make two identical fin pieces.
Row 1: Ch 8, sc in 2nd ch from hook, sc in next 6 ch (7 sts)
Row 2: Ch 1, turn, inc, sc 5, inc (9 sts)
Row 3: Ch 1, turn, inc, sc 7, inc (11 sts)
Rows 4 to 6: Ch 1, turn, sc across (11 sts) — 3 rows
Row 7: Ch 1, turn, dec, sc 7, dec (9 sts)
Row 8: Ch 1, turn, dec, sc 5, dec (7 sts)
Fasten off, leaving a long tail for sewing.
Place both fin pieces together wrong sides facing. Single crochet around the curved edge to join them, leaving the straight top edge open for attaching to the tail body.
Sew the joined fin to the bottom of the tail, stuffing lightly before closing completely.
Arms (Cream Yarn)
Make two.
Rnd 1: 5 sc in magic ring (5 sts)
Rnd 2: Inc in each st around (10 sts)
Rnds 3 to 12: Sc in each st around (10 sts) — 10 rounds
Stuff lightly. The arms should be soft and flexible, not rigid.
Rnd 13: Flatten opening, sc through both layers to close (5 sts)
Fasten off, leaving a long tail for sewing to the body.
Hair (Coral Red/Orange Yarn)
This is the fun part that brings your mermaid to life. The curly hair is created using a simple loop technique.
Hair Base:
Rnd 1: 6 sc in magic ring (6 sts)
Rnd 2: Inc in each st around (12 sts)
Rnd 3: *Sc 1, inc* repeat around (18 sts)
Rnd 4: *Sc 2, inc* repeat around (24 sts)
Rnd 5: *Sc 3, inc* repeat around (30 sts)
Rnd 6: *Sc 4, inc* repeat around (36 sts)
Rnd 7: *Sc 5, inc* repeat around (42 sts)
Fasten off, leaving a long tail.
Creating the Curls:
Cut approximately 60 to 80 strands of yarn, each about 14 inches long. Using a latch hook or your crochet hook, attach each strand to the hair base using the larks head knot method.
Work from the outer edge of the hair base toward the center, spacing strands close together for fullness.
To create the curl effect, dampen each strand lightly with water, wrap around a pencil or chopstick, and allow to dry completely. Alternatively, you can twist strands into ringlets and secure temporarily until they hold their shape.
The velvet yarn naturally holds curl beautifully, which is why it works so well for mermaid hair.
Bikini Top (Pink Yarn)
Using regular worsted weight pink yarn and a 3.5mm hook for this smaller detail.
Make two cup shapes:
Rnd 1: 4 sc in magic ring (4 sts)
Rnd 2: Inc in each st around (8 sts)
Rnd 3: *Sc 1, inc* repeat around (12 sts)
Sl st to close. Fasten off first cup, leaving a tail for sewing.
For the second cup, do not fasten off. Chain 15 for the neck strap, sl st to the first cup to connect. Chain 20 for the back tie.
Sew the bikini top to the upper body at the color transition line.
Flowers for the Crown (Light Pink and Green Yarn)
Make two or three flowers depending on your preference.
Small Flower:
Ch 4, sl st to form ring.
*Ch 3, 2 dc in ring, ch 3, sl st in ring* repeat 5 times for 5 petals.
Fasten off, leaving a tail.
Leaf (Green):
Ch 6, sl st in 2nd ch from hook, sc, hdc, dc, 5 dc in last ch (this creates the leaf tip), working down the other side of the chain: dc, hdc, sc, sl st.
Fasten off.
Arrange flowers and leaves on the hair base near the right temple area and sew securely in place.
Assembly Instructions
Now comes the satisfying part where she becomes a complete mermaid doll.
Step 1: Embroider the mouth using pink embroidery floss. Create a small curved smile between rounds 14 and 15 on the head, centered below the eyes. A simple backstitch works well here.
Step 2: Sew the head to the body. Position the neck opening of the head over the top of the body. Use a whip stitch and cream yarn to attach securely, adding extra stuffing to the neck area if needed for support.
Step 3: Attach the arms to either side of the body at round 3 of the upper body section. They should hang naturally at the sides.
Step 4: Place the hair base on top of the head like a wig. The edge should sit just above the eyes at the front and cover the back of the head completely. Sew around the entire edge to secure.
Step 5: Arrange and fluff the curls to frame the face attractively. You can trim any uneven strands.
Step 6: Attach flowers and leaves to the hair.
Pattern Tips for Best Results
Working with velvet yarn can feel strange at first. It is slippery and splits easily. Go slowly and count your stitches frequently. I recommend using a stitch marker that clips rather than a scrap of yarn, as yarn markers tend to blend in.
Stuffing velvet amigurumi requires a firm hand. Because the yarn is so soft, understuffed pieces look deflated. Pack firmly but not so tight that the stitches distort.
Safety eyes must be inserted before closing the head. Mark their position with pins, try different spacings, and only commit when you love the expression. Eye placement changes everything about a doll’s personality.
The invisible decrease creates a smoother surface than regular decreases. It is worth learning if you have not already. Simply insert your hook through the front loop only of the next stitch, then through the front loop only of the following stitch, then complete the decrease as normal.
Make Her Your Own
This mermaid doll crochet pattern offers so many opportunities for customization. Try different hair colors for a blonde or brunette mermaid. Swap the coral tail for deep purple or ocean blue. Add sparkle yarn for magical shimmer. Create a whole collection of mermaids for a nursery or playroom.
She makes an extraordinary gift for birthdays, baby showers, or any little one who dreams of the ocean.
You Did It
Thank you so much for choosing this pattern for your next crochet project. I hope these instructions were clear and helpful as you brought your coral mermaid doll to life.
I would absolutely love to see your finished mermaid. Please tag me on Instagram or share your photos in our Facebook group. Seeing your creations is genuinely the best part of designing patterns.
Happy crocheting, friend. May your stitches be even and your yarn never tangle.
