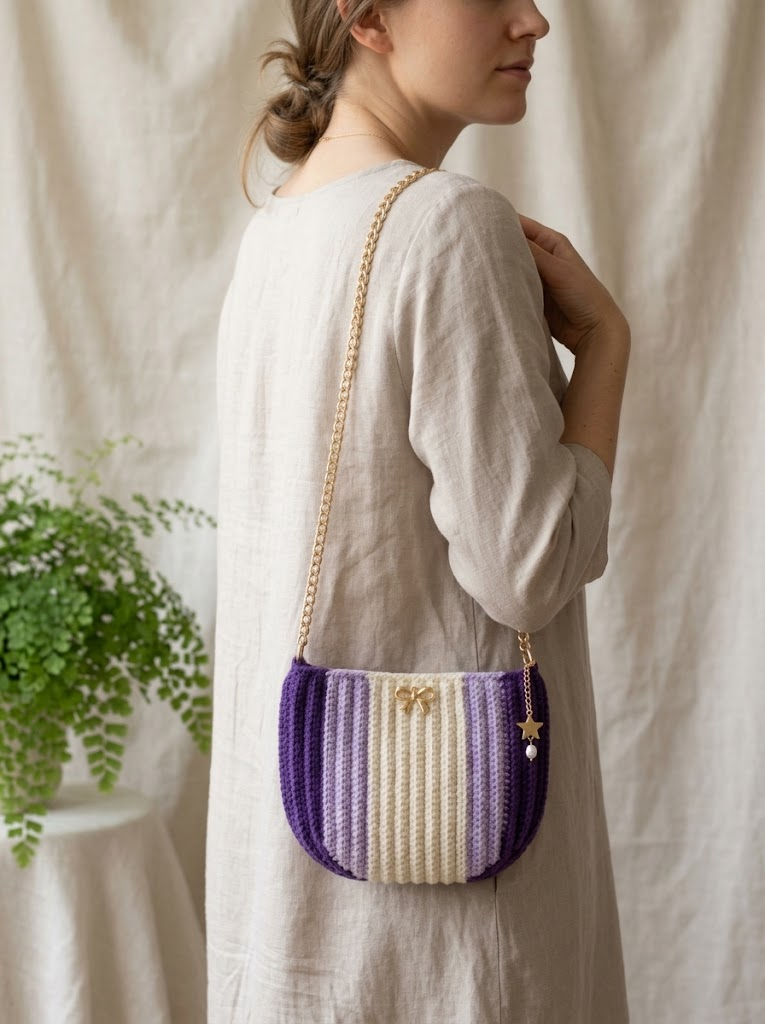
This gorgeous striped clutch bag has been living rent-free in my head since I finished it. The ribbed texture catches light beautifully. The purple ombre fading into cream feels elegant without trying too hard. And that gold chain strap? Pure magic.
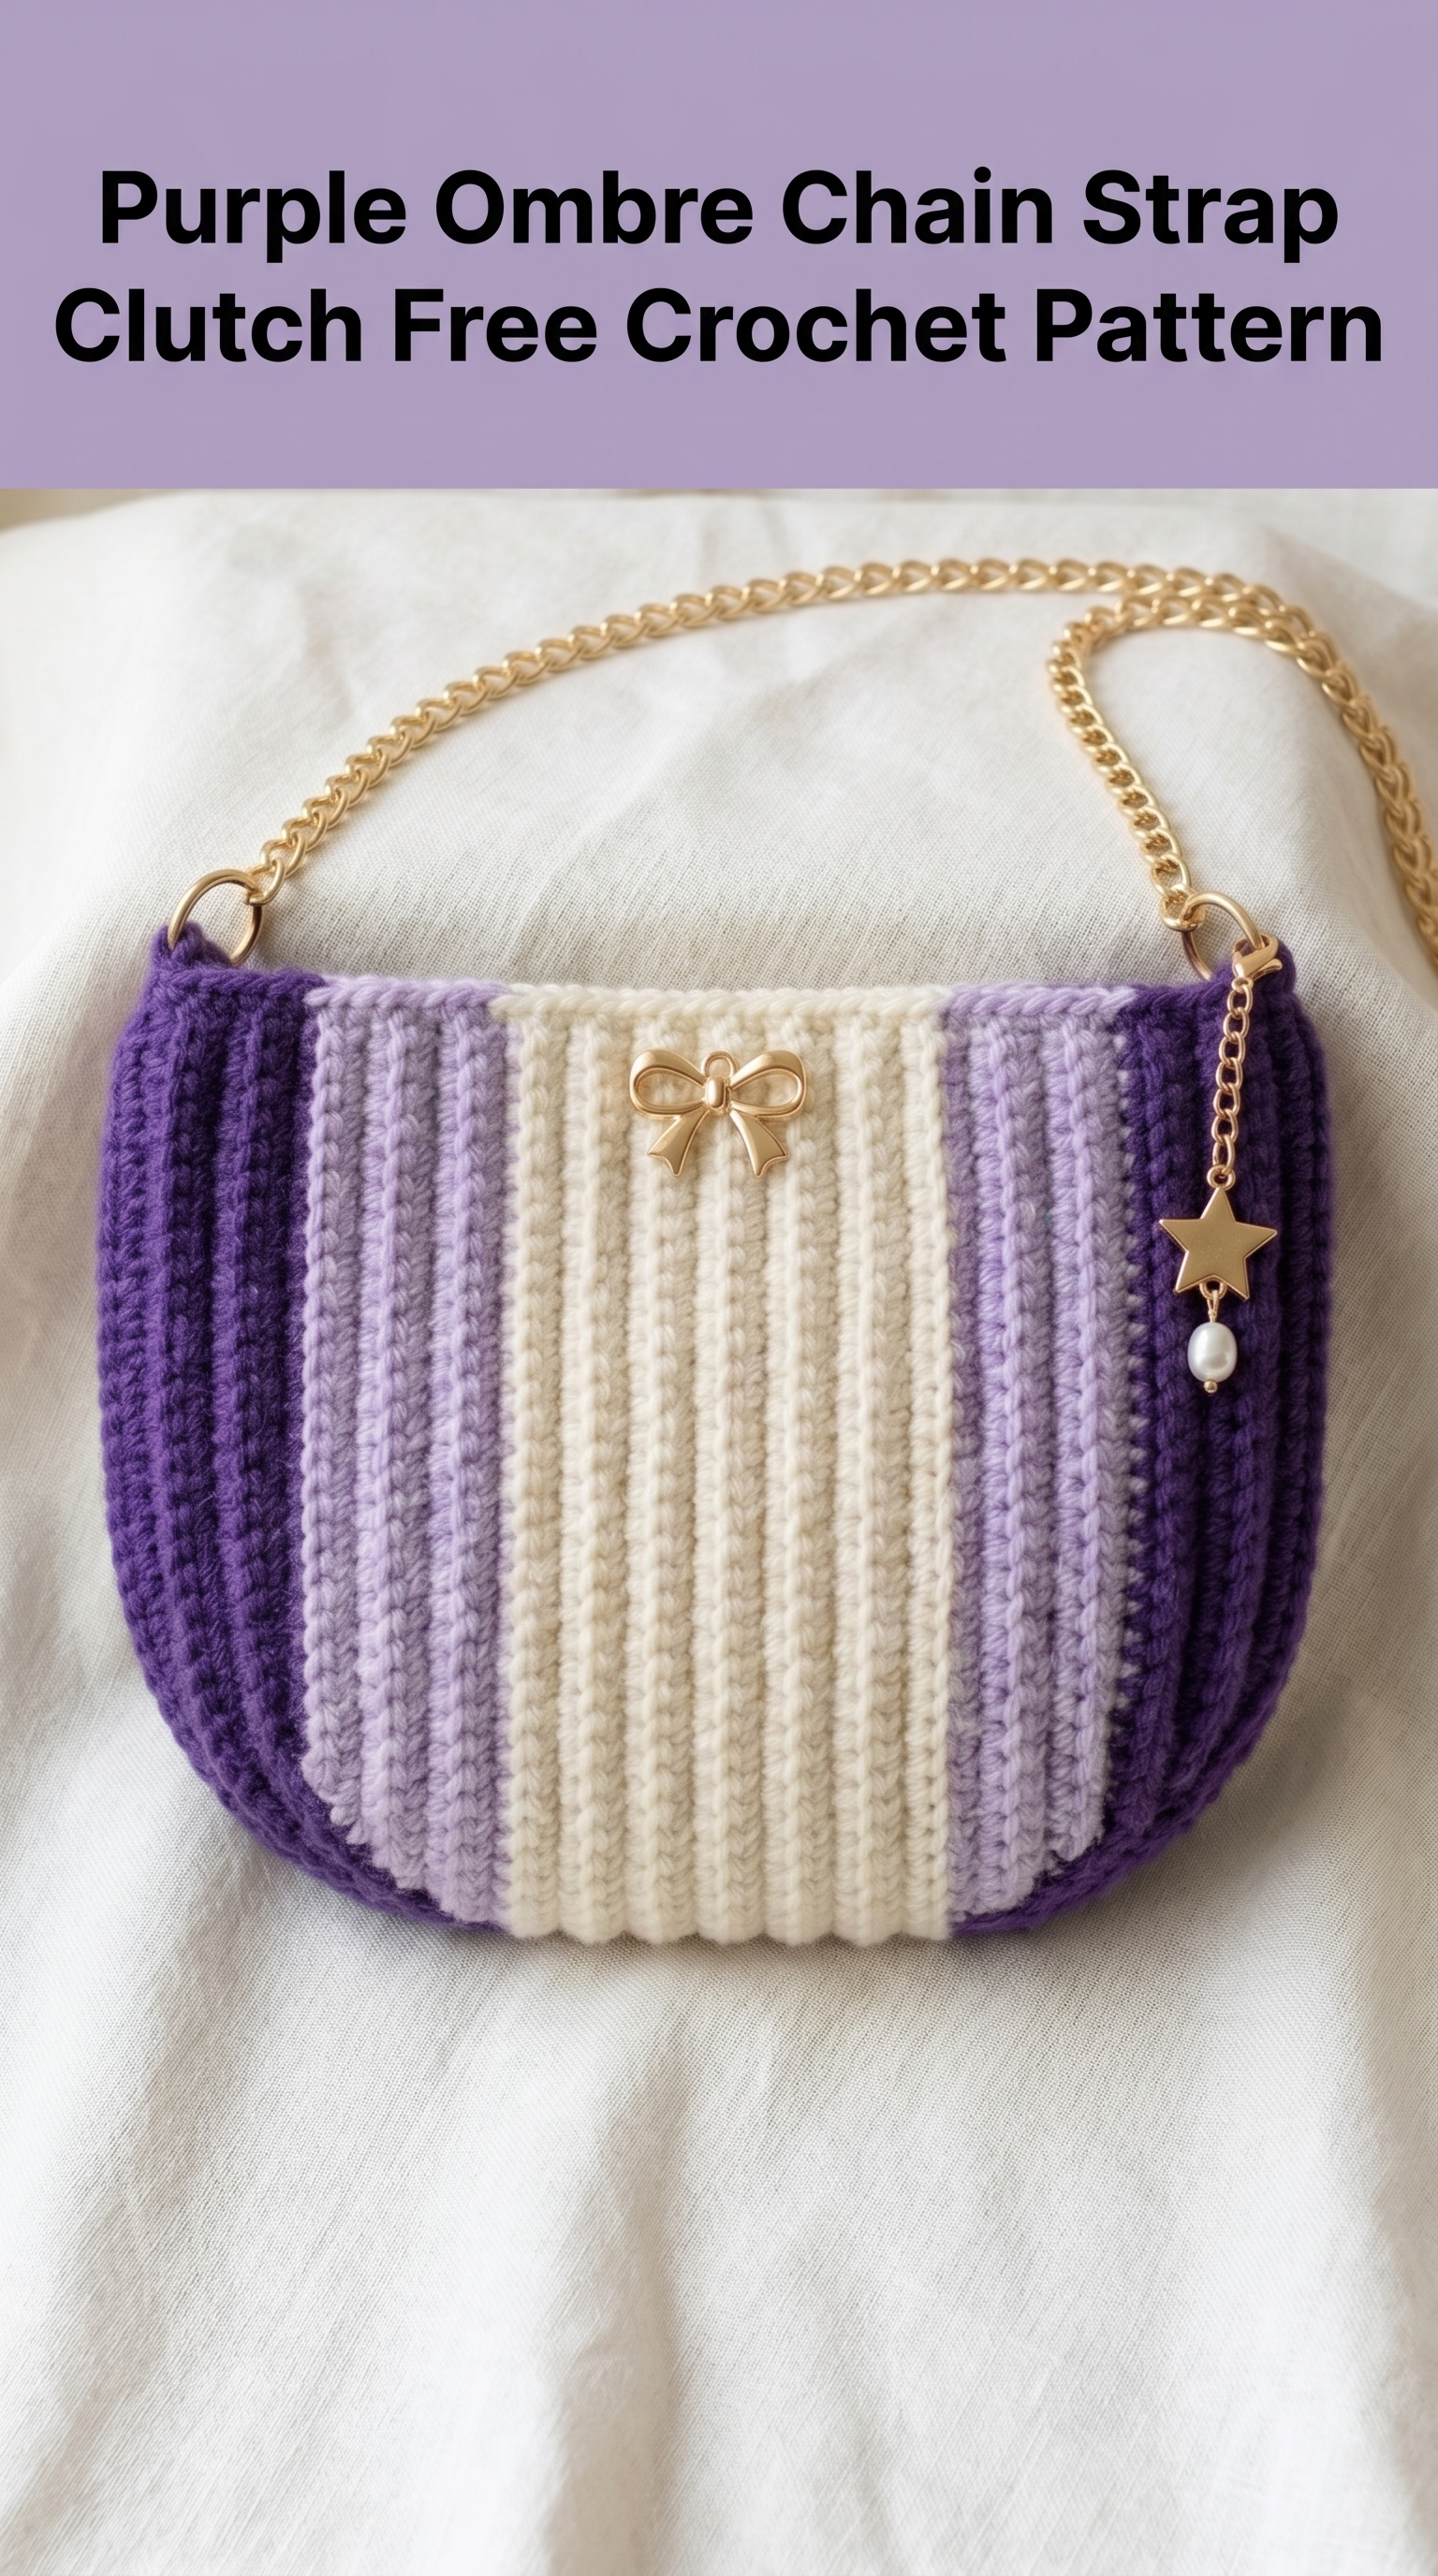
If you can single crochet and work in rows, you can absolutely make this bag. I promise. The ribbed look comes from one simple technique I will walk you through completely. This crochet pattern works up faster than you might expect because we are building the bag sideways in vertical stripes.
Let me show you exactly how to recreate this purple ombre chain strap clutch from start to finish.
Why This Crochet Clutch Pattern Works So Well
The secret to those crisp vertical stripes is working the bag sideways. Instead of crocheting from bottom to top, we work from side to side. This creates the ribbed texture naturally through back loop only stitches. No fancy techniques required.
The ombre effect happens through simple color changes. You will work stripes of deep purple, soft lavender, and creamy off-white. The gradual fade looks intentional and polished.
This crochet tutorial is perfect for:
The finished clutch measures approximately 8 inches wide by 6 inches tall. Perfect for phone, cards, keys, and lipstick. Just right for evenings out or farmers market wandering.
Materials You Will Need
Yarn:
I recommend a cotton blend or acrylic with good stitch definition. Fuzzy yarns will hide your beautiful ribbing. Something smooth like Paintbox Yarns Simply Aran or Lion Brand Basic Stitch works wonderfully.
Hook:
Go down a hook size if your stitches look loose and open. We want a tight fabric so items stay safely inside.
Notions:
Gauge:
16 stitches and 18 rows = 4 inches in single crochet back loop only
Gauge matters here for finished size. Take five minutes to check yours.
Abbreviations and Stitch Definitions
Let me explain every stitch before we begin. No surprises mid-pattern.
Ch = Chain. Wrap yarn over hook, pull through loop on hook. This creates your foundation.
Sc = Single crochet. Insert hook into stitch, yarn over, pull up a loop (two loops on hook), yarn over, pull through both loops. One single crochet complete.
BLO = Back loop only. Each stitch has two loops at the top forming a V shape. The back loop is the one furthest from you. Working into only this loop creates the ribbed texture. The front loop stays unworked and forms a horizontal ridge.
St(s) = Stitch(es)
Sl st = Slip stitch. Insert hook, yarn over, pull through stitch AND loop on hook in one motion. Used for joining.
Understanding the Construction
Before diving into rows, let me explain how this bag comes together. Understanding the big picture helps everything make sense.
Panel construction: You will make two identical rectangular panels. Each panel is worked sideways in vertical stripes. The stripes are created by changing colors at specific row counts.
Ribbing: Every row after the foundation is worked in back loop only single crochet. This creates the signature ridged texture running vertically.
Assembly: The two panels are sewn together along the sides and curved bottom. The top stays open for the bag opening.
Hardware: Jump rings attach to the top corners. The chain strap clips onto these rings.
Simple, right? Let us get started.
Step by Step Crochet Pattern for the Clutch Body
You will make two identical panels. I recommend completing both before assembly so you can match them perfectly.
Panel One (Make 2)
Foundation Row with Color A (Deep Purple):
Ch 25.
Row 1: Sc in 2nd ch from hook and in each ch across. (24 sts)
Turn your work.
Building the Ribbed Stripes:
Row 2: Ch 1 (does not count as stitch here and throughout), sc BLO in each st across. (24 sts)
Rows 3 through 8: Repeat Row 2. (24 sts each row)
You now have 8 rows of deep purple. The vertical ribbing should be clearly visible.
Color Change to Color B (Lavender):
At the end of Row 8, before your final yarn over to complete the last stitch, drop Color A. Pick up Color B and complete the stitch with the new color. This locks the color change neatly.
Row 9: Ch 1, sc BLO in each st across with Color B. (24 sts)
Rows 10 through 14: Repeat Row 9. (24 sts each row)
You now have 6 rows of lavender.
Color Change to Color C (Cream):
Change colors as before on the last stitch of Row 14.
Row 15: Ch 1, sc BLO in each st across with Color C. (24 sts)
Rows 16 through 22: Repeat Row 15. (24 sts each row)
You have 8 rows of cream forming the center stripe.
Color Change back to Color B (Lavender):
Change colors on the last stitch of Row 22.
Row 23: Ch 1, sc BLO in each st across with Color B. (24 sts)
Rows 24 through 28: Repeat Row 23. (24 sts each row)
Six more rows of lavender complete.
Color Change back to Color A (Deep Purple):
Change colors on the last stitch of Row 28.
Row 29: Ch 1, sc BLO in each st across with Color A. (24 sts)
Rows 30 through 37: Repeat Row 29. (24 sts each row)
Eight rows of deep purple finish the panel.
Fasten off and weave in ends.
Panel One complete. Your rectangle should measure approximately 8 inches wide by 6.5 inches tall.
Make a second identical panel.
Shaping the Curved Bottom (Optional but Recommended)
The clutch in the photo has a gentle curve at the bottom rather than sharp corners. This is optional but gives a more polished look.
For each panel, you will work decrease rows along the bottom edge.
With Color A and right side facing, join yarn to the bottom corner of your panel.
Shaping Row 1: Ch 1, skip first st, sc in each st across to last st, skip last st. (22 sts)
Shaping Row 2: Ch 1, skip first st, sc in each st across to last st, skip last st. (20 sts)
Fasten off.
This creates a subtle taper. You can skip this step entirely for a boxier rectangular clutch.
Assembling Your Purple Ombre Clutch
Now comes the satisfying part. Watching your flat panels become a real bag.
Step 1: Align your panels.
Place both panels with wrong sides together. The ribbed texture should face outward on both sides. Line up your stripes carefully. The color changes should match.
Step 2: Join the sides and bottom.
Using Color A and your tapestry needle, whip stitch the panels together along both sides and across the bottom curve. Work through both loops of the edge stitches for strength.
Alternatively, you can single crochet the panels together for a decorative seam. Hold panels with wrong sides facing, insert hook through both layers, and sc evenly around sides and bottom. This creates a visible ridge that frames the bag nicely.
Step 3: Reinforce the top edge.
With Color A, join yarn to one top corner. Sc evenly around the entire top opening through both loops. Join with sl st to first sc. Fasten off.
This creates a firm, neat edge for attaching hardware.
Attaching the Chain Strap
Step 1: Prepare your jump rings.
You will need two jump rings large enough for your chain to clip through. Gold tones complement the purple beautifully.
Step 2: Attach rings to corners.
Using pliers, open a jump ring by twisting sideways (never pull apart). Thread it through several stitches at the top corner of your clutch. Close the ring securely. Repeat on the opposite corner.
Step 3: Attach the chain.
Most chain straps have lobster clasps on each end. Simply clip these onto your jump rings. Your strap is now removable and adjustable.
No chain strap? You can crochet a simple strap instead. Chain 100 with Color A. Sl st in each chain across. Attach to corners with the same method.
Adding Optional Embellishments
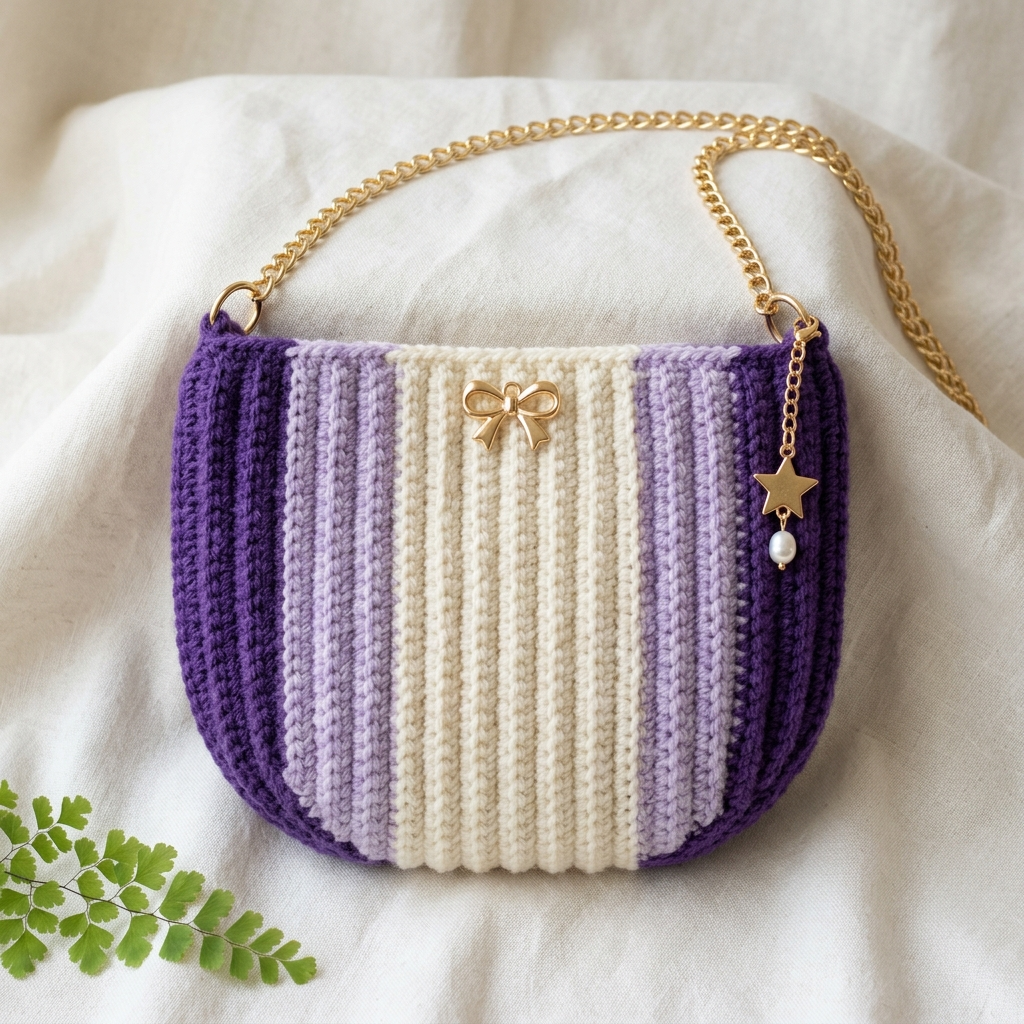
The clutch pictured features a small gold bow charm centered on the cream stripe and a star charm with pearl dangle on the chain.
To attach a bow charm: Use a needle and matching thread to stitch the charm securely through the front panel only. Choose a spot centered on your middle cream stripe, about 2 inches from the top edge.
To add chain charms: Simply clip or thread decorative charms onto your chain strap wherever you like. A star, moon, or initial charm adds personality.
These touches are completely optional. The bag looks stunning either way.
Tips for Crochet Pattern Success
Tension matters. Keep your stitches consistent and fairly tight. Loose stitches create gaps where small items can poke through.
Count every row. The stripe pattern only works if your color changes happen at the right spots. I recommend using a row counter or making tick marks on paper.
Block if needed. If your panels curl or feel uneven, wet block them before assembly. Soak in cool water, squeeze gently in a towel, pin flat to measurements, let dry completely.
Consider lining. For a truly professional finish, cut fabric to match your panel shape and hand stitch it inside the bag. This hides all your yarn tails and protects delicate items from snagging.
Customization Ideas for This Crochet Clutch
Love the construction but want different colors? Here are some palettes that would look equally stunning:
You can also adjust the finished size easily. Add more chains to your foundation row for a wider bag. Add more rows per color section for a taller bag. The construction method stays exactly the same.
Final Thoughts on Your New Purple Ombre Clutch
You did it. You now have a complete step by step guide to creating this beautiful purple ombre chain strap clutch from scratch. The ribbed texture, the gradient color flow, the elegant hardware. All of it is within your reach.
This crochet pattern makes a wonderful gift for bridesmaids, best friends, or yourself. The techniques you practiced here transfer to countless other projects. Back loop only single crochet creates ribbing on hats, scarves, and sweater cuffs too.
Thank you so much for choosing to make this project. I genuinely cannot wait to see your finished clutch.
Tag me on Instagram or share your creation in my Facebook group. Seeing your color combinations and personal touches absolutely makes my day. Every single time.
Happy hooking, friend. You have got this.
