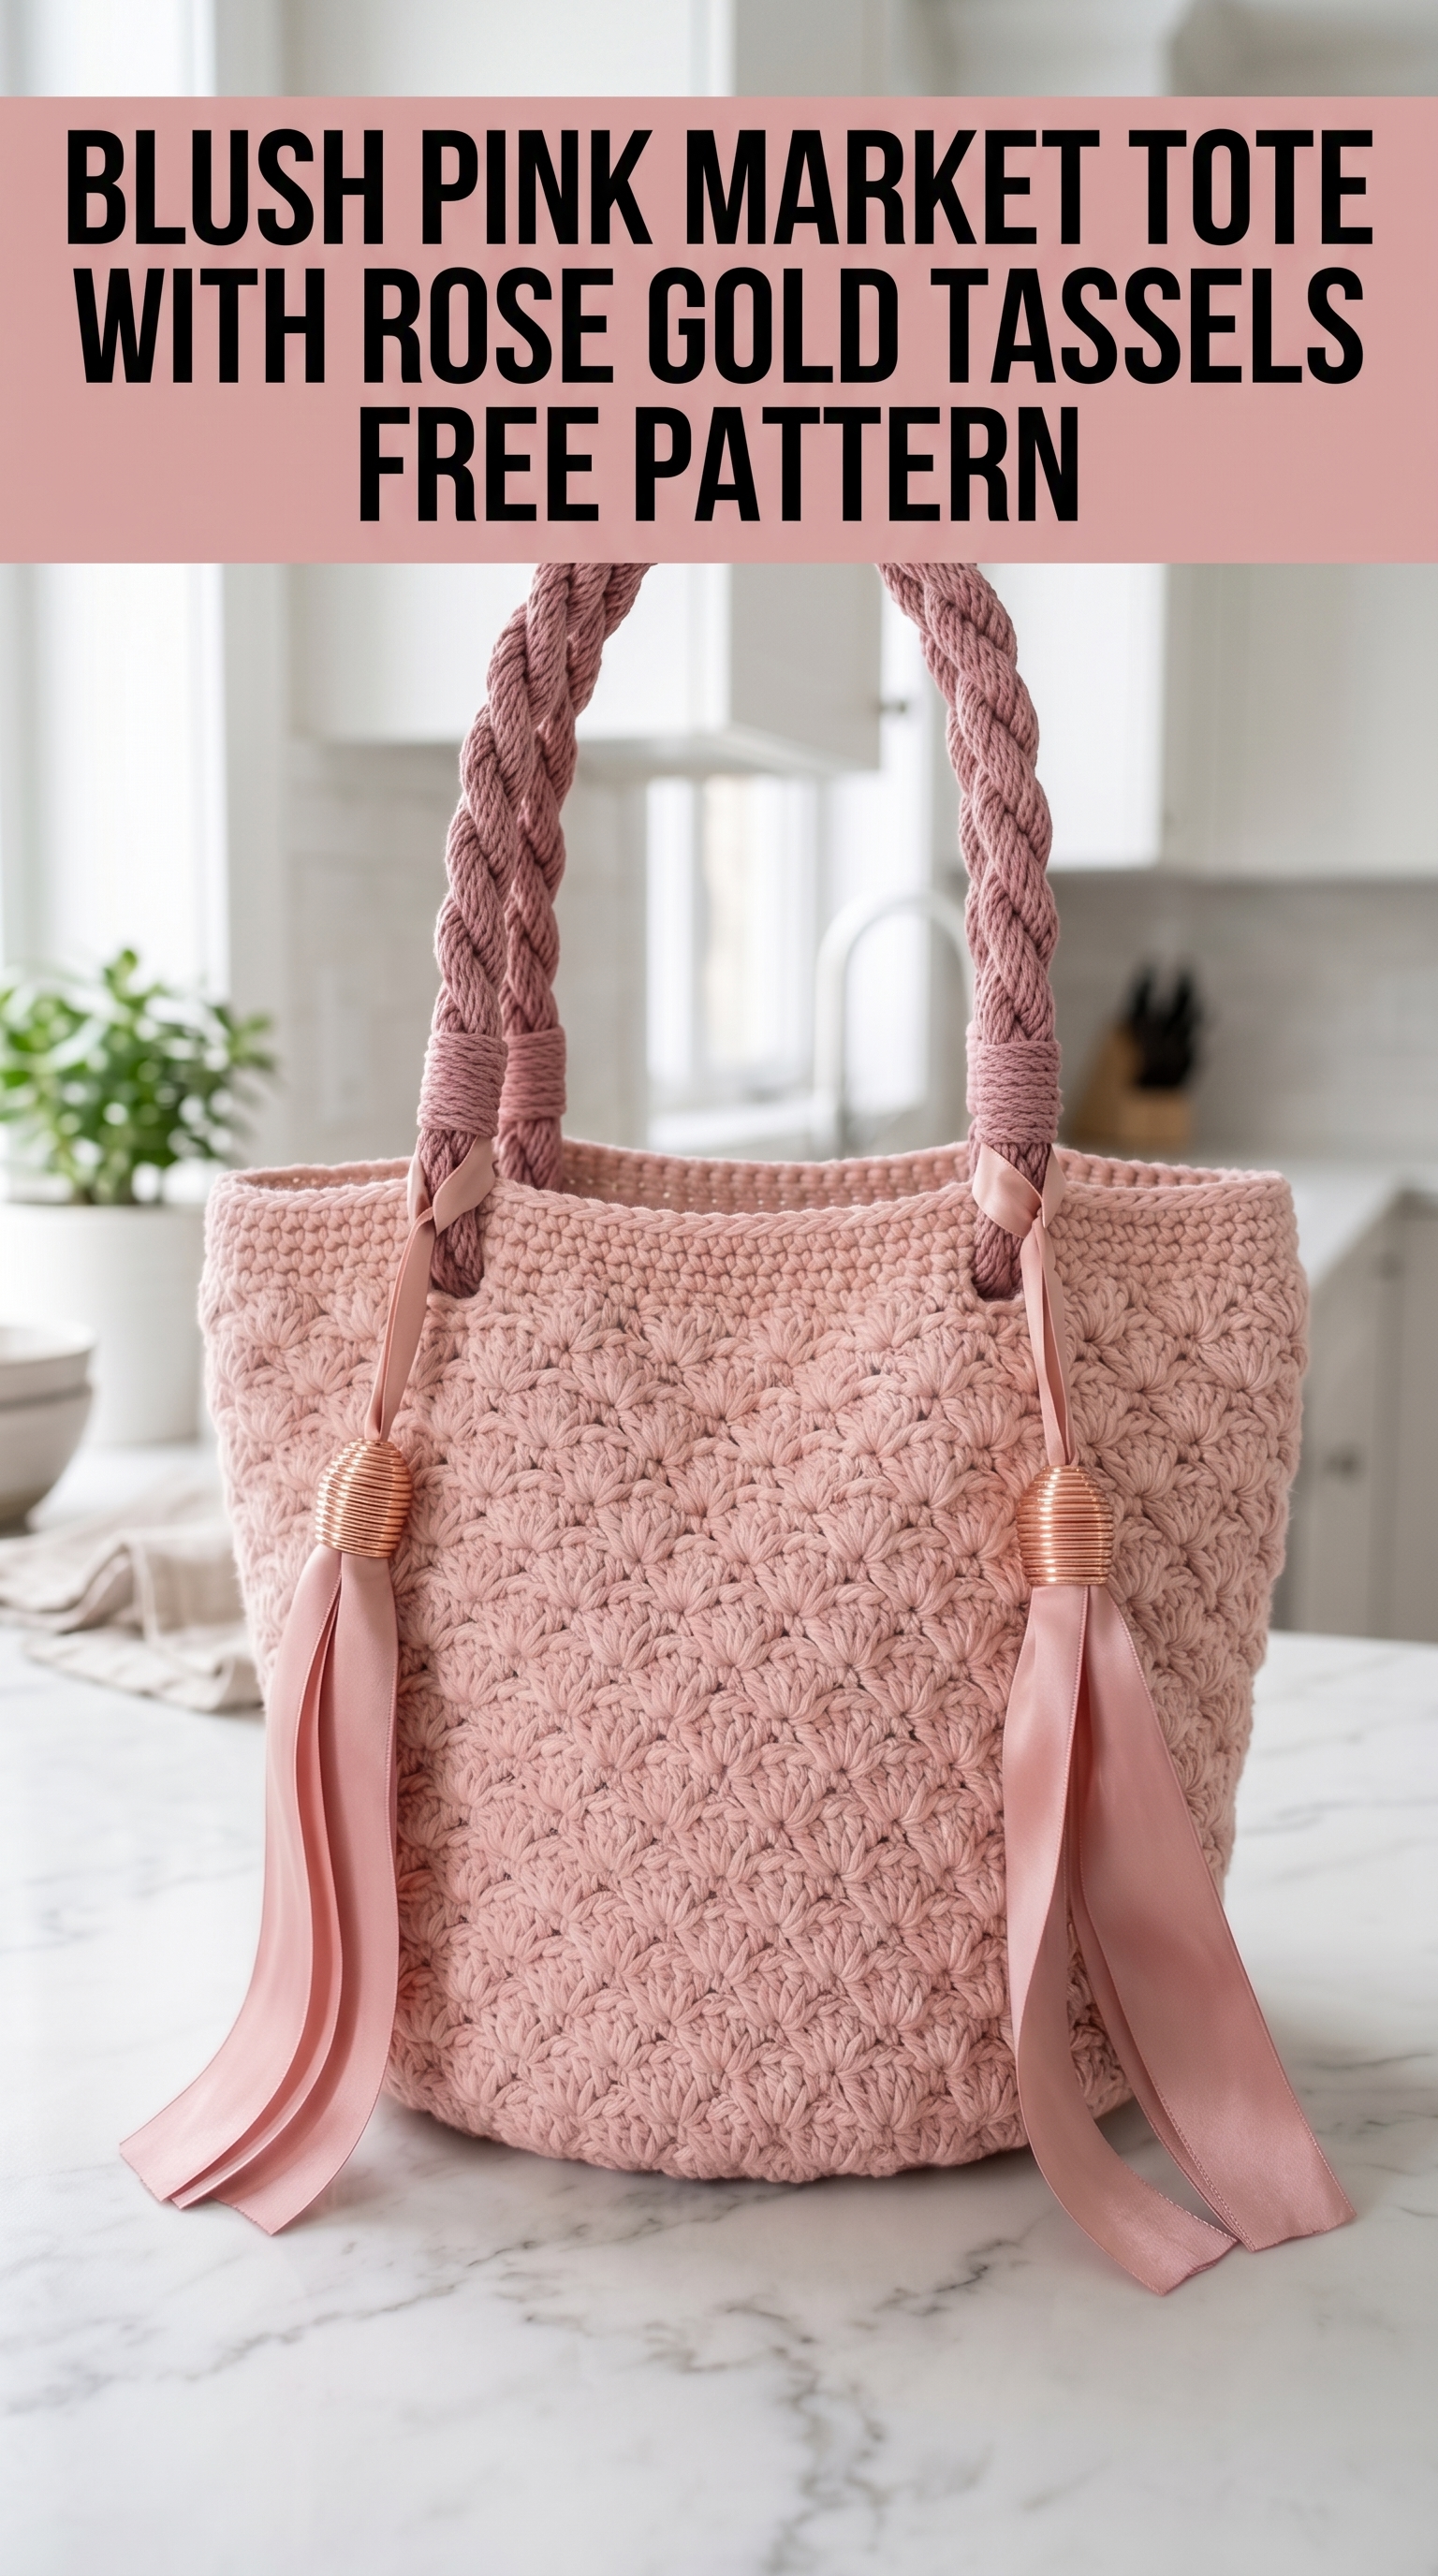
This crochet pattern creates an absolutely stunning handbag that looks far more expensive than it actually is. You are going to love making this blush pink market tote. The shell stitch body gives it gorgeous texture while the braided rope handles add that elevated designer feel. I promise this bag is easier than it looks.
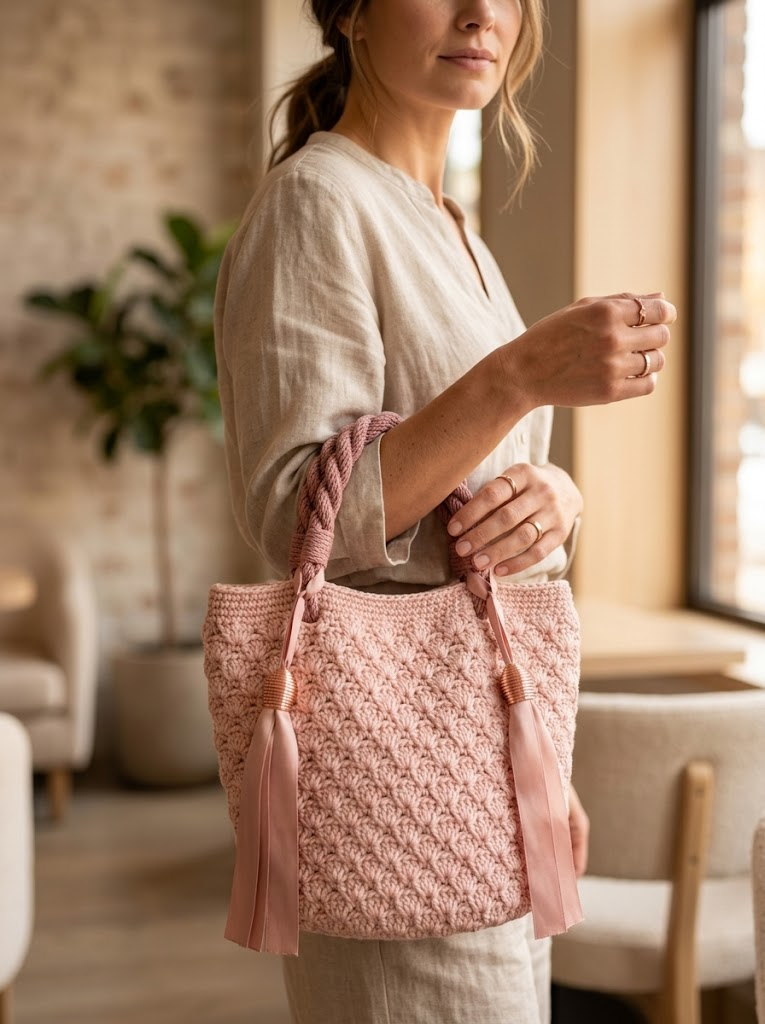
Even if you have never crocheted a bag before, you can do this. The shell stitch pattern repeats predictably and becomes almost meditative once you get going. By the end of this step by step crochet tutorial, you will have a beautiful accessory that works for farmers markets, beach trips, or just running errands in style.
Why This Crochet Tote Bag Pattern Works So Well
The shell stitch creates those lovely scalloped fans you see across the body of the bag. Each shell fans out like a little seashell, which is where the name comes from. When you stack them in offset rows, they nest together perfectly and create this dense, sturdy fabric that holds its shape beautifully.
I chose cotton yarn for this project because it gives the bag structure without being stiff. Cotton also gets softer with use and washing, so your tote will only get better over time. The blush pink color photographs beautifully, but honestly this pattern works in any solid color. Navy, cream, sage green, or even a rich burgundy would all be gorgeous.
The braided rope handles are the real showstopper here. They feel substantial in your hands and distribute weight evenly across your shoulder. Combined with those rose gold barrel beads and satin ribbon tassels, this bag looks like something you would find in a boutique.
Materials You Will Need for This Crochet Market Tote
Yarn:
Hook:
Notions:
Gauge:
Gauge matters for this project because you want your bag to hold its shape. Take time to make a small swatch before diving in. If your stitches are too loose, the bag will stretch and sag. If too tight, it will be stiff and small. Adjust your hook size up or down until you match gauge.
Skill Level and Techniques
This is an intermediate level crochet pattern. You should be comfortable with basic stitches and reading pattern instructions. Here is what you need to know before starting.
Abbreviations and Stitch Definitions:
Ch (chain): The foundation stitch that creates your starting row. Wrap yarn over hook, pull through the loop on your hook. One chain made.
Sl st (slip stitch): Insert hook into stitch, yarn over, pull through both the stitch and the loop on your hook in one motion. Used for joining rounds.
Sc (single crochet): Insert hook into stitch, yarn over, pull up a loop (2 loops on hook), yarn over, pull through both loops. The shortest basic stitch.
Dc (double crochet): Yarn over, insert hook into stitch, yarn over, pull up a loop (3 loops on hook), yarn over, pull through 2 loops, yarn over, pull through remaining 2 loops. A taller stitch that creates the fans in your shell pattern.
Shell: Work 5 dc all into the same stitch. This creates that fan shape. The stitches share one base but spread out at the top.
Sk (skip): Do not work into this stitch. Jump over it to the next one.
How to Crochet the Base of the Tote
The base is worked flat in rows using single crochet. This creates a dense, sturdy bottom that will not stretch out when you load up your groceries.
Row 1: Ch 31. Sc in 2nd ch from hook and in each ch across. (30 sts)
Rows 2 through 16: Ch 1, turn. Sc in each st across. (30 sts)
At the end of Row 16, you should have a rectangle measuring approximately 8.5 inches long by 6 inches wide. This forms the bottom of your bag.
Do not fasten off. You will now work around the entire perimeter to begin building the sides.
Building the Sides with Single Crochet Foundation
Before starting the shell pattern, you need a few rounds of single crochet to create a stable transition from the flat base to the textured body.
Round 1: Ch 1, do not turn. Work 1 sc in each st across the short end (30 sts). Rotate to work along the long side. Work 20 sc evenly spaced along the row ends. Rotate again. Work 30 sc across the opposite short end. Rotate once more. Work 20 sc along the remaining long side. Sl st to first sc to join. (100 sts total)
Place a stitch marker in the first stitch of the round. Move this marker up as you work so you always know where your rounds begin.
Rounds 2 through 4: Ch 1, sc in each st around. Sl st to first sc to join. (100 sts)
Your foundation should now stand up on its own, forming a shallow rectangular box shape. The corners will naturally round slightly, which is perfect.
Shell Stitch Body of the Market Tote Pattern
Here is where the magic happens. The shell stitch pattern creates those beautiful scalloped fans across the entire body of the bag.
Setting Up for Shells:
Your stitch count needs to work with the shell pattern repeat. Each shell uses 5 stitches: skip 2, work shell into 1, skip 2. That means each shell repeat needs 5 stitches, plus you need extra stitches between shells.
Round 5 (Setup Round): Ch 1, sc in first st, *sk 2 sts, 5 dc in next st (shell made), sk 2 sts, sc in next st*. Repeat from * to * around. You should end with a sc. Sl st to first sc to join. (16 shells, 17 sc)
If your stitch count does not work out evenly, do not panic. You can fudge it slightly by skipping 1 stitch instead of 2 at some point, or by adding an extra sc between shells. The goal is even distribution around the bag.
Round 6: Ch 3 (counts as dc), 2 dc in same st as join, *sc in center dc of next shell (that is the 3rd dc), 5 dc in next sc (shell in sc)*. Repeat from * to * around. End with 2 dc in same st as beginning ch 3. Sl st to top of ch 3 to join and complete the final shell.
This round offsets the shells so they nest between the shells from the previous round, creating that beautiful staggered effect.
Rounds 7 through 18: Repeat Rounds 5 and 6 alternately, ending after completing Round 18.
You now have 7 full pattern repeats of the shell stitch, which should measure approximately 9 to 10 inches tall from the base.
Single Crochet Finishing Band
The top of the bag needs a clean edge for attaching handles. You will work several rounds of single crochet to create this band.
Round 19: Ch 1, sc in each dc and sc around, working 1 sc into each of the 5 dc of each shell and 1 sc into each sc between shells. Sl st to join. (100 sts approximately)
Count your stitches. You want to return to that original 100 stitch count, or close to it.
Rounds 20 through 24: Ch 1, sc in each st around. Sl st to join. (100 sts)
Round 25: Sl st in each st around. Fasten off and weave in ends.
The slip stitch round creates a nice finished edge that prevents curling.
Attaching the Braided Rope Handles
This is the fun part where your bag really comes together.
Positioning the Handles:
Lay your bag flat. Mark two points on each side, approximately 2 inches in from each corner. These 4 points are where your handles will attach.
Threading the Ribbon:
Cut your satin ribbon into 4 equal pieces, each about 9 inches long. Thread one ribbon through the hole of a barrel bead, then thread both ends of the ribbon through one end of a rope handle from back to front.
Attaching to the Bag:
Use your tapestry needle to thread both ribbon ends through the sc band from front to back at your marked point. Pull tight. Tie a secure knot on the inside of the bag. Trim excess ribbon, leaving about 2 inch tails that will become your decorative tassels.
Repeat for all 4 attachment points.
Finishing the Tassels:
The ribbon tails should hang freely on the outside of the bag below the barrel beads. Trim them at an angle for a polished look. If you prefer longer tassels, use 12 inch ribbon pieces instead of 9 inch.
Tips for Crochet Bag Success
Blocking: Once complete, wet your bag and stuff it with plastic bags or towels to shape. Let it dry completely. This evens out your stitches and helps the bag hold its shape.
Lining (Optional): For a truly professional finish, consider sewing a fabric lining. Cut fabric to match your bag interior plus 1 inch seam allowance on all sides. Sew fabric into a bag shape, fold top edge under, and hand stitch inside the crochet body just below the sc band.
Reinforcing the Base: If you plan to carry heavy items, consider crocheting around a piece of plastic canvas cut to fit the base. This prevents sagging.
Color Variations: This pattern works beautifully in two tone versions. Try the base and sc bands in one color, with the shell body in a contrasting shade.
Finished Dimensions
Your completed blush pink market tote should measure approximately:
These measurements may vary slightly based on your personal gauge and yarn choice.
You Did It
Thank you so much for choosing this crochet pattern for your next project. I truly hope you love making this tote as much as I loved designing it. There is something so satisfying about creating a bag beautiful enough to use every single day.
I would absolutely love to see your finished market tote. Tag me on Instagram or share in my Facebook group. Seeing your creations in different colors and yarn choices honestly makes my whole week. Your version might inspire someone else to try this beginner friendly crochet project too.
Happy hooking, friend. Now go show off that gorgeous bag.
