
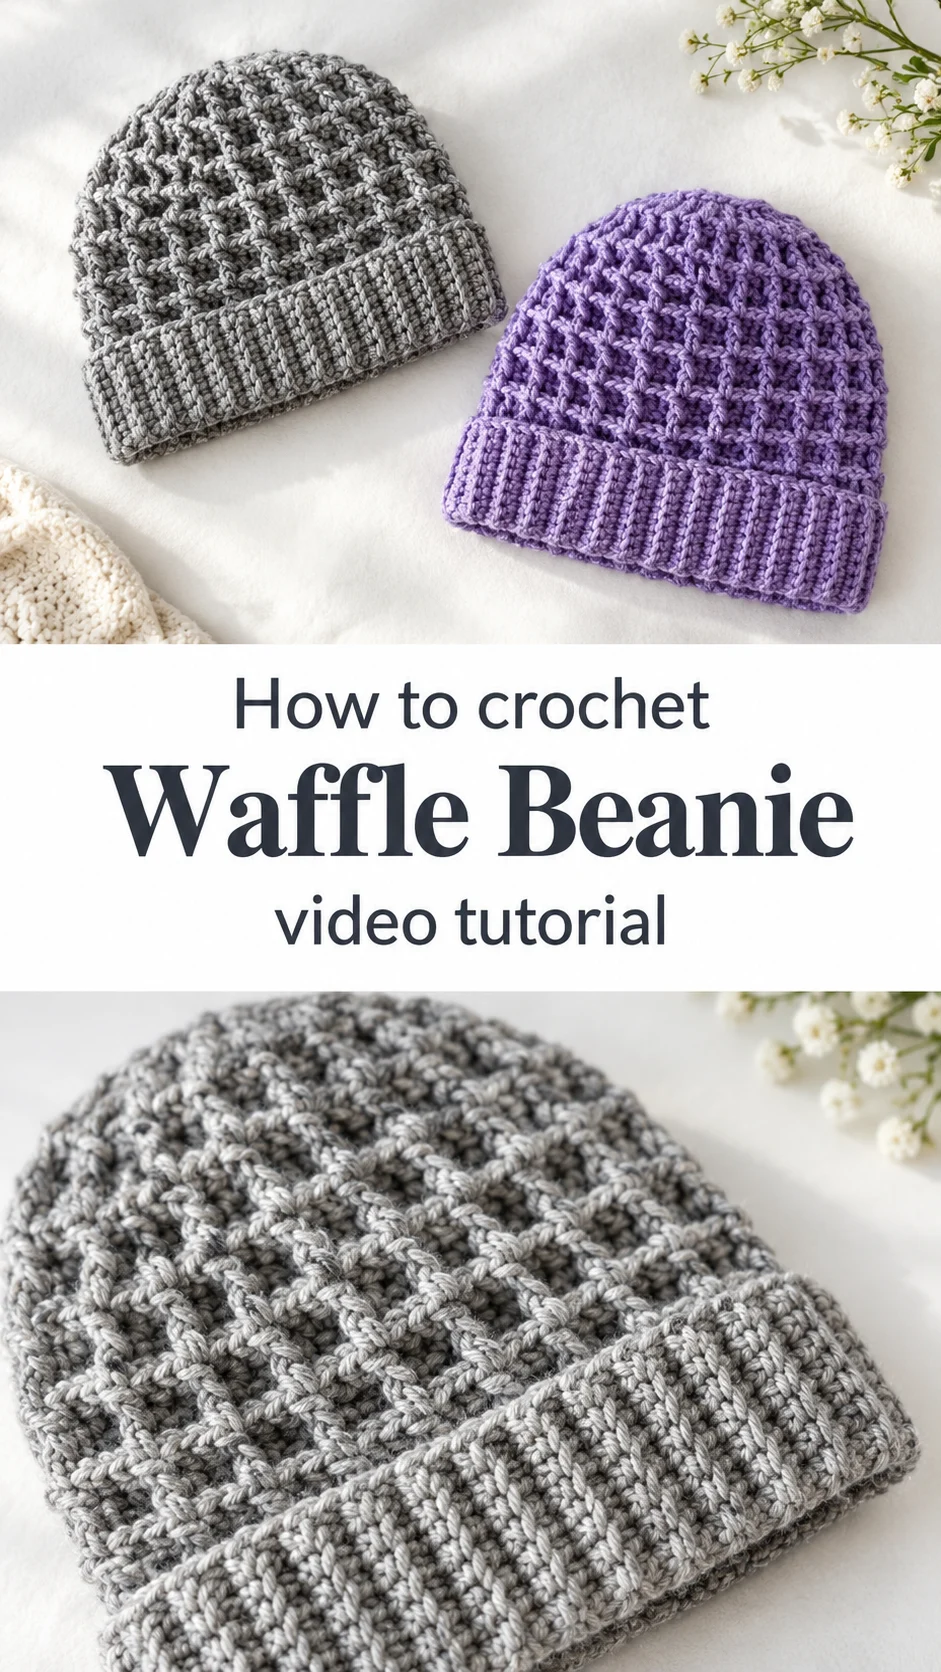
A textured beanie worked in tall, raised stitches that create a deep waffle grid, finished with a thick folded ribbed brim that sits snugly on the head.
The Crochet Waffle Beanie
The crochet waffle beanie is a close-fitting winter hat built around a bold, three-dimensional grid. Rather than relying on colour or fancy edgings, it gets its character from the way the stitches stand up off the fabric, forming raised squares that look almost woven. The crown is dense and sculptural, while the lower band is a smooth, rib-like fold that doubles the warmth where it matters most, over the ears and forehead. Two versions shown side by side make the design easy to appreciate: one in a soft heathered grey, the other in a gentle lilac. Both show how the same pattern reads quite differently depending on the yarn colour, with the grey emphasising shadow and the lilac giving the texture a lighter, more playful feel.
Because the texture comes from the stitches themselves, this hat suits almost any wardrobe. It works equally well with a wool coat, a puffer jacket or a simple knit sweater, and it photographs beautifully because the light catches every raised ridge. It also makes a thoughtful gift, especially for someone who appreciates handmade pieces that look a little more interesting than a plain beanie.
Waffle Beanie Related Posts:
- Crochet Valentine Heart: A Sweet and Charming Keepsake
- Crochet Lined Bag: A Polished and Practical Essential
- Crochet Granny Square Blanket: A Timeless Cozy Classic
- Crochet Laptop Sleeve: A Chic and Practical Accessory
Materials
A medium-weight acrylic or acrylic-blend yarn is a sensible choice for this hat. The tall stitches need enough body to hold their shape, so a yarn with a little structure will keep the grid crisp rather than letting it flatten. Wool blends give extra warmth and a slight springiness that helps the brim fold neatly, while pure cotton tends to slump and lose the definition of the waffle pattern. Choose a hook size that matches your yarn’s label, and go down a size if you find your fabric looser than you would like, since a firmer fabric shows the texture more clearly. You will also need a yarn needle for weaving in ends. Stitch markers are useful for keeping track of the crown shaping and the start of each round.
Understanding the Waffle Texture
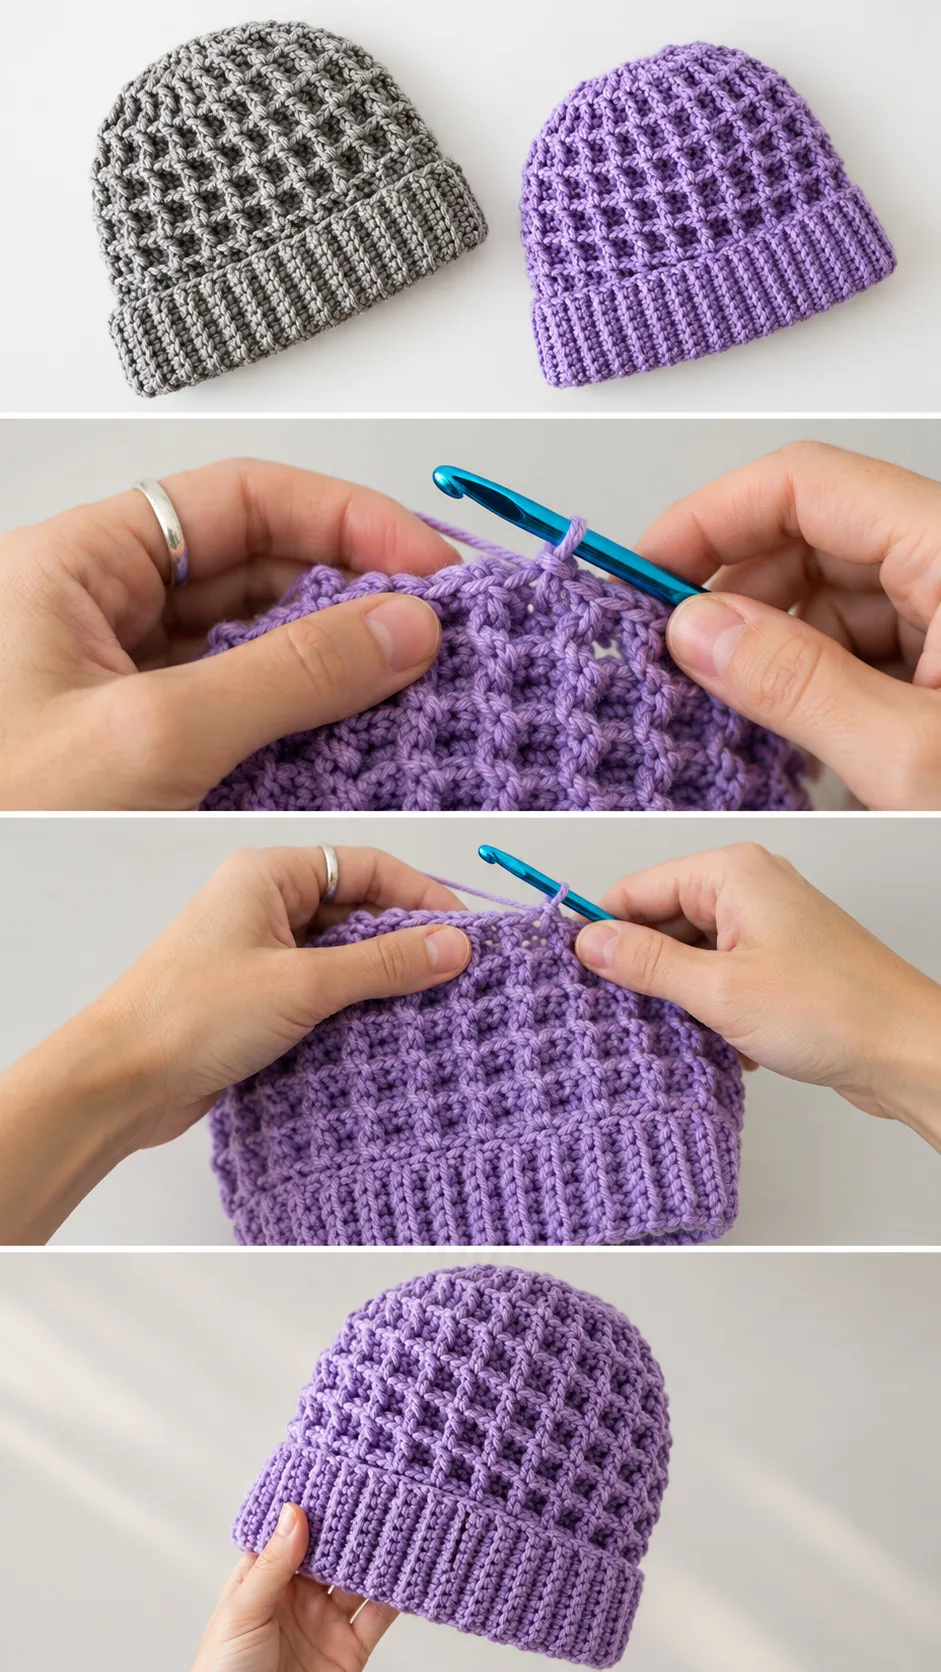
The defining feature of this hat is its raised grid. Each square is formed by working stitches that pull the fabric forward, creating depth between the ridges. This is what makes the crown look like a honeycomb or waffle. Keep your tension even across the whole hat, because uneven stitches will make some squares look sunken while others bulge. If the texture seems flat, your stitches are probably too loose, so try a smaller hook or a slightly tighter grip on the yarn.
If the Grid Looks Flat
Tighten your tension and try a hook one size down. A firmer fabric lifts the squares and gives the texture its depth.
Shaping the Crown
The crown grows gradually from the centre, with the grid pattern carried through each round. Shaping is what gives the hat its rounded dome, so it is worth checking the fit as you go. Try the hat on or measure against your head regularly, and adjust your progress if the crown feels too tight or too loose. The transition from crown to brim is where the hat begins to take its final form, so take your time at that point.
Working the Ribbed Brim
The lower band is worked in a ribbed pattern and folded up to double the thickness around the head. The ribbing is smooth and stretchy, which contrasts beautifully with the textured crown above. Work the brim long enough that it folds neatly without bunching, and keep the ribs even so the fold lies flat. A brim that is too short will ride up, while one that is too long will sag, so check the fit before you finish.
If the Brim Rolls Outward
Work the ribbing a little tighter, or add a round or two so the fold has enough length to sit against the head.
Finishing Your Beanie
Weave in all ends neatly on the inside of the hat so they do not show or work loose. Because the texture is raised, a slightly loose end can pull a stitch and disrupt the grid, so secure each one firmly. If your hat looks uneven, a gentle steam or light block can help the squares settle, but avoid pressing down hard, which would flatten the texture you worked to create.
Caring for Your Waffle Beanie
Hand wash or use a gentle machine cycle in a mesh bag, then reshape the crown while damp and lay the hat flat to dry. Avoid hanging it, as the weight of the wet yarn can stretch the brim. Keeping the hat away from high heat helps the stitches stay defined and the colour stay true, whether you chose the soft grey or the lilac.
Following the Video Tutorial
The video tutorial is the best guide for the stitch sequence. Watch closely at the points where the raised stitches are worked, paying attention to how the hook moves around the stitches below, since this is what builds the waffle grid. Pause and replay those moments until the motion feels natural. The video also shows how the brim is joined and folded, so keep it open as you reach the lower band and compare your fabric with what you see on screen.
A Warm Handmade Classic
The crochet waffle beanie is a practical hat with a distinctive texture that rewards patience and careful tension. Choose a yarn with enough structure to hold the raised grid, keep your stitches even, and finish the ribbed brim neatly. With those in place, you will have a warm, textured hat that looks as good as it feels.
Video tutorial by Vasilya Knits: [watch the video](https://www.youtube.com/)
Follow us on Pinterest and subscribe to the Newsletter so you don’t miss a thing!
Tutorial and photos of this waffle beanie by: Vasilya Knits – Вяжем крючком.
