
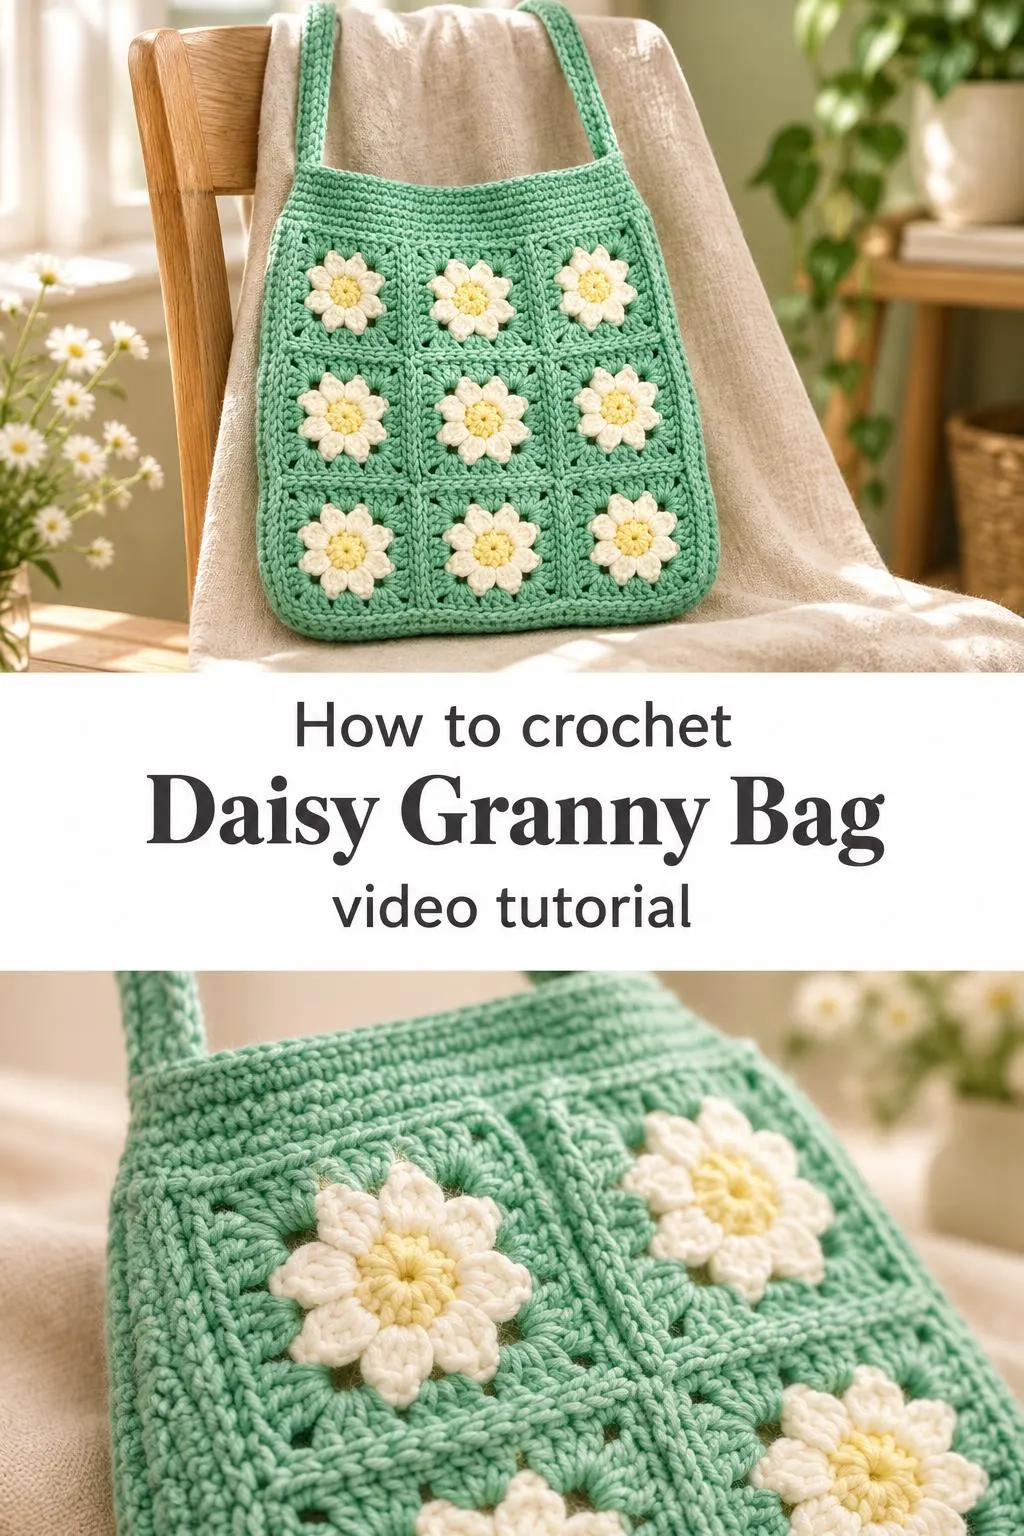
Soft mint yarn, a tidy grid of white daisies, and a shoulder strap that sits just right make this little bag feel like a summer afternoon you can carry with you.
The Crochet Daisy Granny Bag
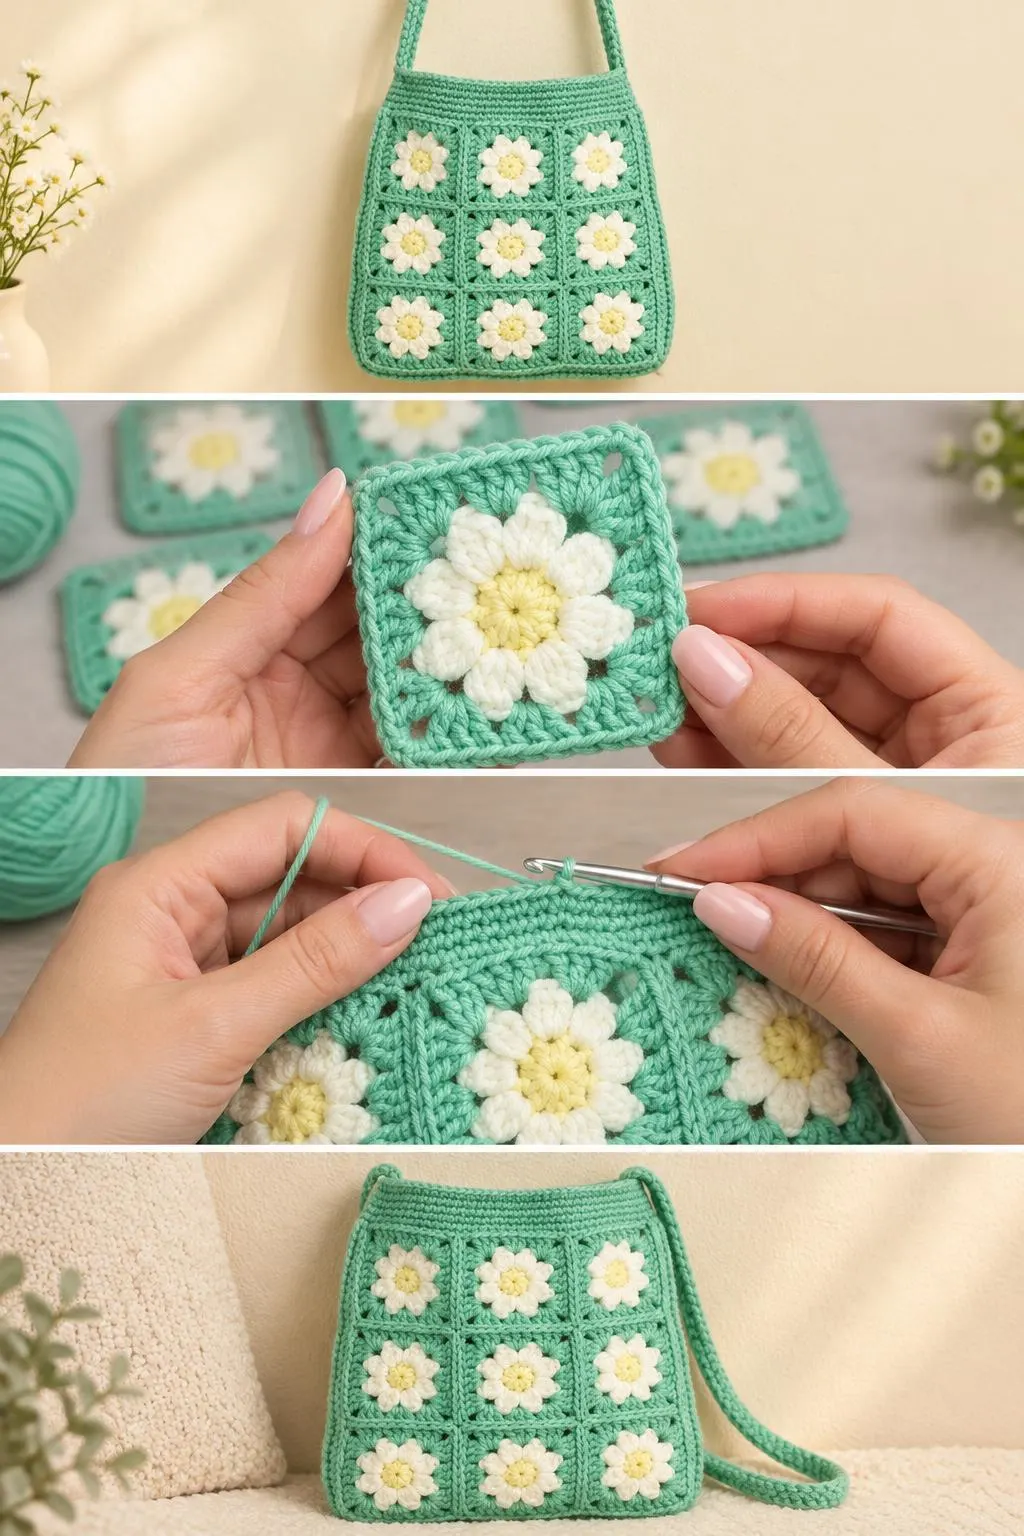
The Crochet Daisy Granny Bag is a square-motif shoulder bag built from a grid of granny squares, each one carrying a white, puffed daisy at its centre. Unlike a plain granny bag, where the squares are left to speak for themselves, this design lets the flowers do the talking. Each bloom has soft petals and a pale yellow heart, set against a mint ground that keeps the whole piece calm and fresh. The bag is made as a set of joined squares rather than one continuous fabric, so you can see every motif and every seam. You will wear it on one shoulder for coffee runs, markets and gallery visits, and it looks equally at home with a cotton sundress or a plain knit.
The bag earns its place through the contrast between the open, airy edge of each square and the dense, raised flower in its middle. Those little pockets of mint between the petals catch light and give the surface a lively, dimensional look. Many granny-style bags rely on colour alone for interest, but here the texture of the daisies does the decorative work, so the bag reads as crafted rather than merely colourful.
Granny Bag Related Posts:
- Crochet Mini Handbag: A Chic and Timeless Accessory
- Crochet Paw Doily: A Charming and Delicate Accent
- Crochet Rose Bouquet Blanket: A Romantic Floral Treasure
- Crochet Rose Appliqué: A Delicate Floral Accent
Materials
A bag like this rests on a yarn that holds its shape. Choose an acrylic or cotton-blend worsted weight in a soft mint for the ground, since a firm, slightly springy fibre keeps the squares flat and the body upright when the bag is empty. For the daisies, a clean white with a pale yellow centre gives the sharp contrast seen in the photos; use a yarn of the same weight so the petals sit at the same height as the background. The bag is worked with a hook sized to the yarn label, and many makers find that going down half a size keeps the fabric tight enough to stand up. You will also need a yarn needle for weaving in ends and joining the squares, scissors, and stitch markers if you want to keep track of rounds. If you plan to add a lining, pick a lightweight cotton in a matching or neutral tone so it does not show through the open mesh.
Choosing Yarn and Colour for Your Daisy Bag
Three yarn options will shape the finished bag differently. An acrylic worsted gives the bright, crisp look of the sample and resists stretching, which suits a bag that will be carried every day. A cotton blend produces a softer drape and a more matte sheen, so the daisies look a little more muted and vintage, though the body will slump more under heavy items. A bamboo or cotton-silk mix adds a subtle gloss that makes the mint glow, but it is less forgiving if your tension varies. Avoid very slippery or thin yarns for the grid, because the squares will pull apart at the seams.
For colour, the mint and white pairing is the heart of this design. You could keep the same palette for a fresh spring look, or try a soft peach ground with cream flowers, or a dusty lilac with white centres for something gentler. Keep the centre yellow close to the petal white in value so the flower reads as one unit.
Assembling the Squares
The bag is built from a grid of squares, so the order of work matters more than the number of squares alone. Make all the daisy squares first, then the plain ones, and lay them out in the arrangement you want before joining anything. Joining is typically done by working the squares together along their edges as you go, which keeps the seams neat and avoids a bulky, separately sewn look. Check that every square is the same size before you start joining, because one that is slightly larger will pull the whole grid out of line.
If you find the squares curling or the grid bowing, the cause is usually tension that changes between motifs. If the squares cup at the centre, try blocking each one lightly before joining. If the bag is too narrow once joined, add one more row of plain squares rather than trying to stretch the existing fabric.
Keeping the Seams Neat
Seams show more on a grid like this than on a single piece. Pull the join yarn firmly enough to close the gap, but not so tight that the square pulls out of flat. Weave every end back through the same colour so nothing shows on the mint side.
Shaping the Strap and Top Edge
The strap is what makes this bag comfortable to wear, so give it real attention. In the photos it is long enough to rest on one shoulder and sits neatly against the top edge of the bag. A strap worked in the same mint as the ground keeps the look unified. If your strap twists or curls, work it in a slightly firmer stitch or add a row of single crochet on each side to flatten it.
The top edge finishes the bag and gives it a clean line. Work a few rounds of tight, even stitches around the opening so the top does not gape or ripple. If the opening feels wide, pull the top tight with one extra round before attaching the strap.
Styling Your Crochet Daisy Granny Bag
In the photos the bag hangs from a single strap against a plain, pale wall, which lets the mint and white read clearly and keeps the focus on the flowers. Carry it that way with a simple white tee and denim for an easy, daytime look. For a softer feel, wear it over a floral midi dress, where the mint ground echoes the greens in the print. It also works as a brightening accent with neutral linen trousers and a cream knit.
Beyond outfits, the bag suits a picnic, a farmers’ market or a weekend trip to the beach, where its open mesh allows sand and air to pass through. It makes a thoughtful gift for a friend who loves handmade things, especially someone with a summer wardrobe.
Finishing Tips for a Polished Bag
Finishing is where a granny bag either looks handmade or looks cared for. Weave in every end neatly, following the direction of the stitches so the work does not loosen over time. Check the flowers after finishing: if any petals are flattened, gently steam them from the back with the iron held just above the fabric rather than pressing down. If the body still looks a little soft after assembly, a light block with pins can help it settle into a square shape.
If you add a lining, cut it slightly smaller than the outer bag so it does not pull the grid out of shape. Stitch the lining in at the top edge only, which keeps the bag supple.
Caring for Your Crochet Daisy Bag
Hand wash in cool water with a mild detergent, pressing the bag gently rather than wringing it. Lay it flat to dry on a towel, shaping the squares back into a grid as it dries. Avoid hanging it while wet, because the weight of the wet yarn can stretch the strap and drop the top edge. Store it flat or lightly stuffed with tissue so the squares keep their shape between uses. Keep it away from direct sun for long periods, since bright whites can yellow slightly over time.
Following the Video Tutorial
The video tutorial is the best place to learn the stitches behind the daisies. Watch closely how the petals are formed, paying attention to hook position and how many times the yarn wraps the hook on the puff stitches, since that is what gives the flower its raised look. Pause and replay the section on joining squares, because the way you join determines how straight the grid will be. Work each square slowly the first time, and compare your flower to the one on screen before moving on. Once you are comfortable, the rest of the bag moves quickly.
A Sweet Handmade Summer Bag
The Crochet Daisy Granny Bag is a small, cheerful piece that rewards careful work. Its strength lies in the contrast between the mint ground and the raised white flowers, and in the honest structure of a joined grid. Choose a firm yarn, keep your tension even, join your squares with patience, and finish the strap and top edge neatly. Those four things decide whether the bag stands up and sits well on your shoulder. Enjoy the making, and carry the result with pride.
Video tutorial by the creator linked below the video.
Watch the full granny square tutorial on the video above, and pause whenever you need to match your flowers to the ones on screen.
Follow us on Pinterest and subscribe to the Newsletter so you don’t miss a thing!
Tutorial and photos of this daisy granny bag by: Made by Lunda.
