
A Crochet Ribbon Bow is built from two looped wings gathered at a cinched center, with trailing tails that give it the unmistakable silhouette of a wrapped gift. This one small pattern opens the door to personalizing hats, bags, cardigans, hair clips, and everything in between.
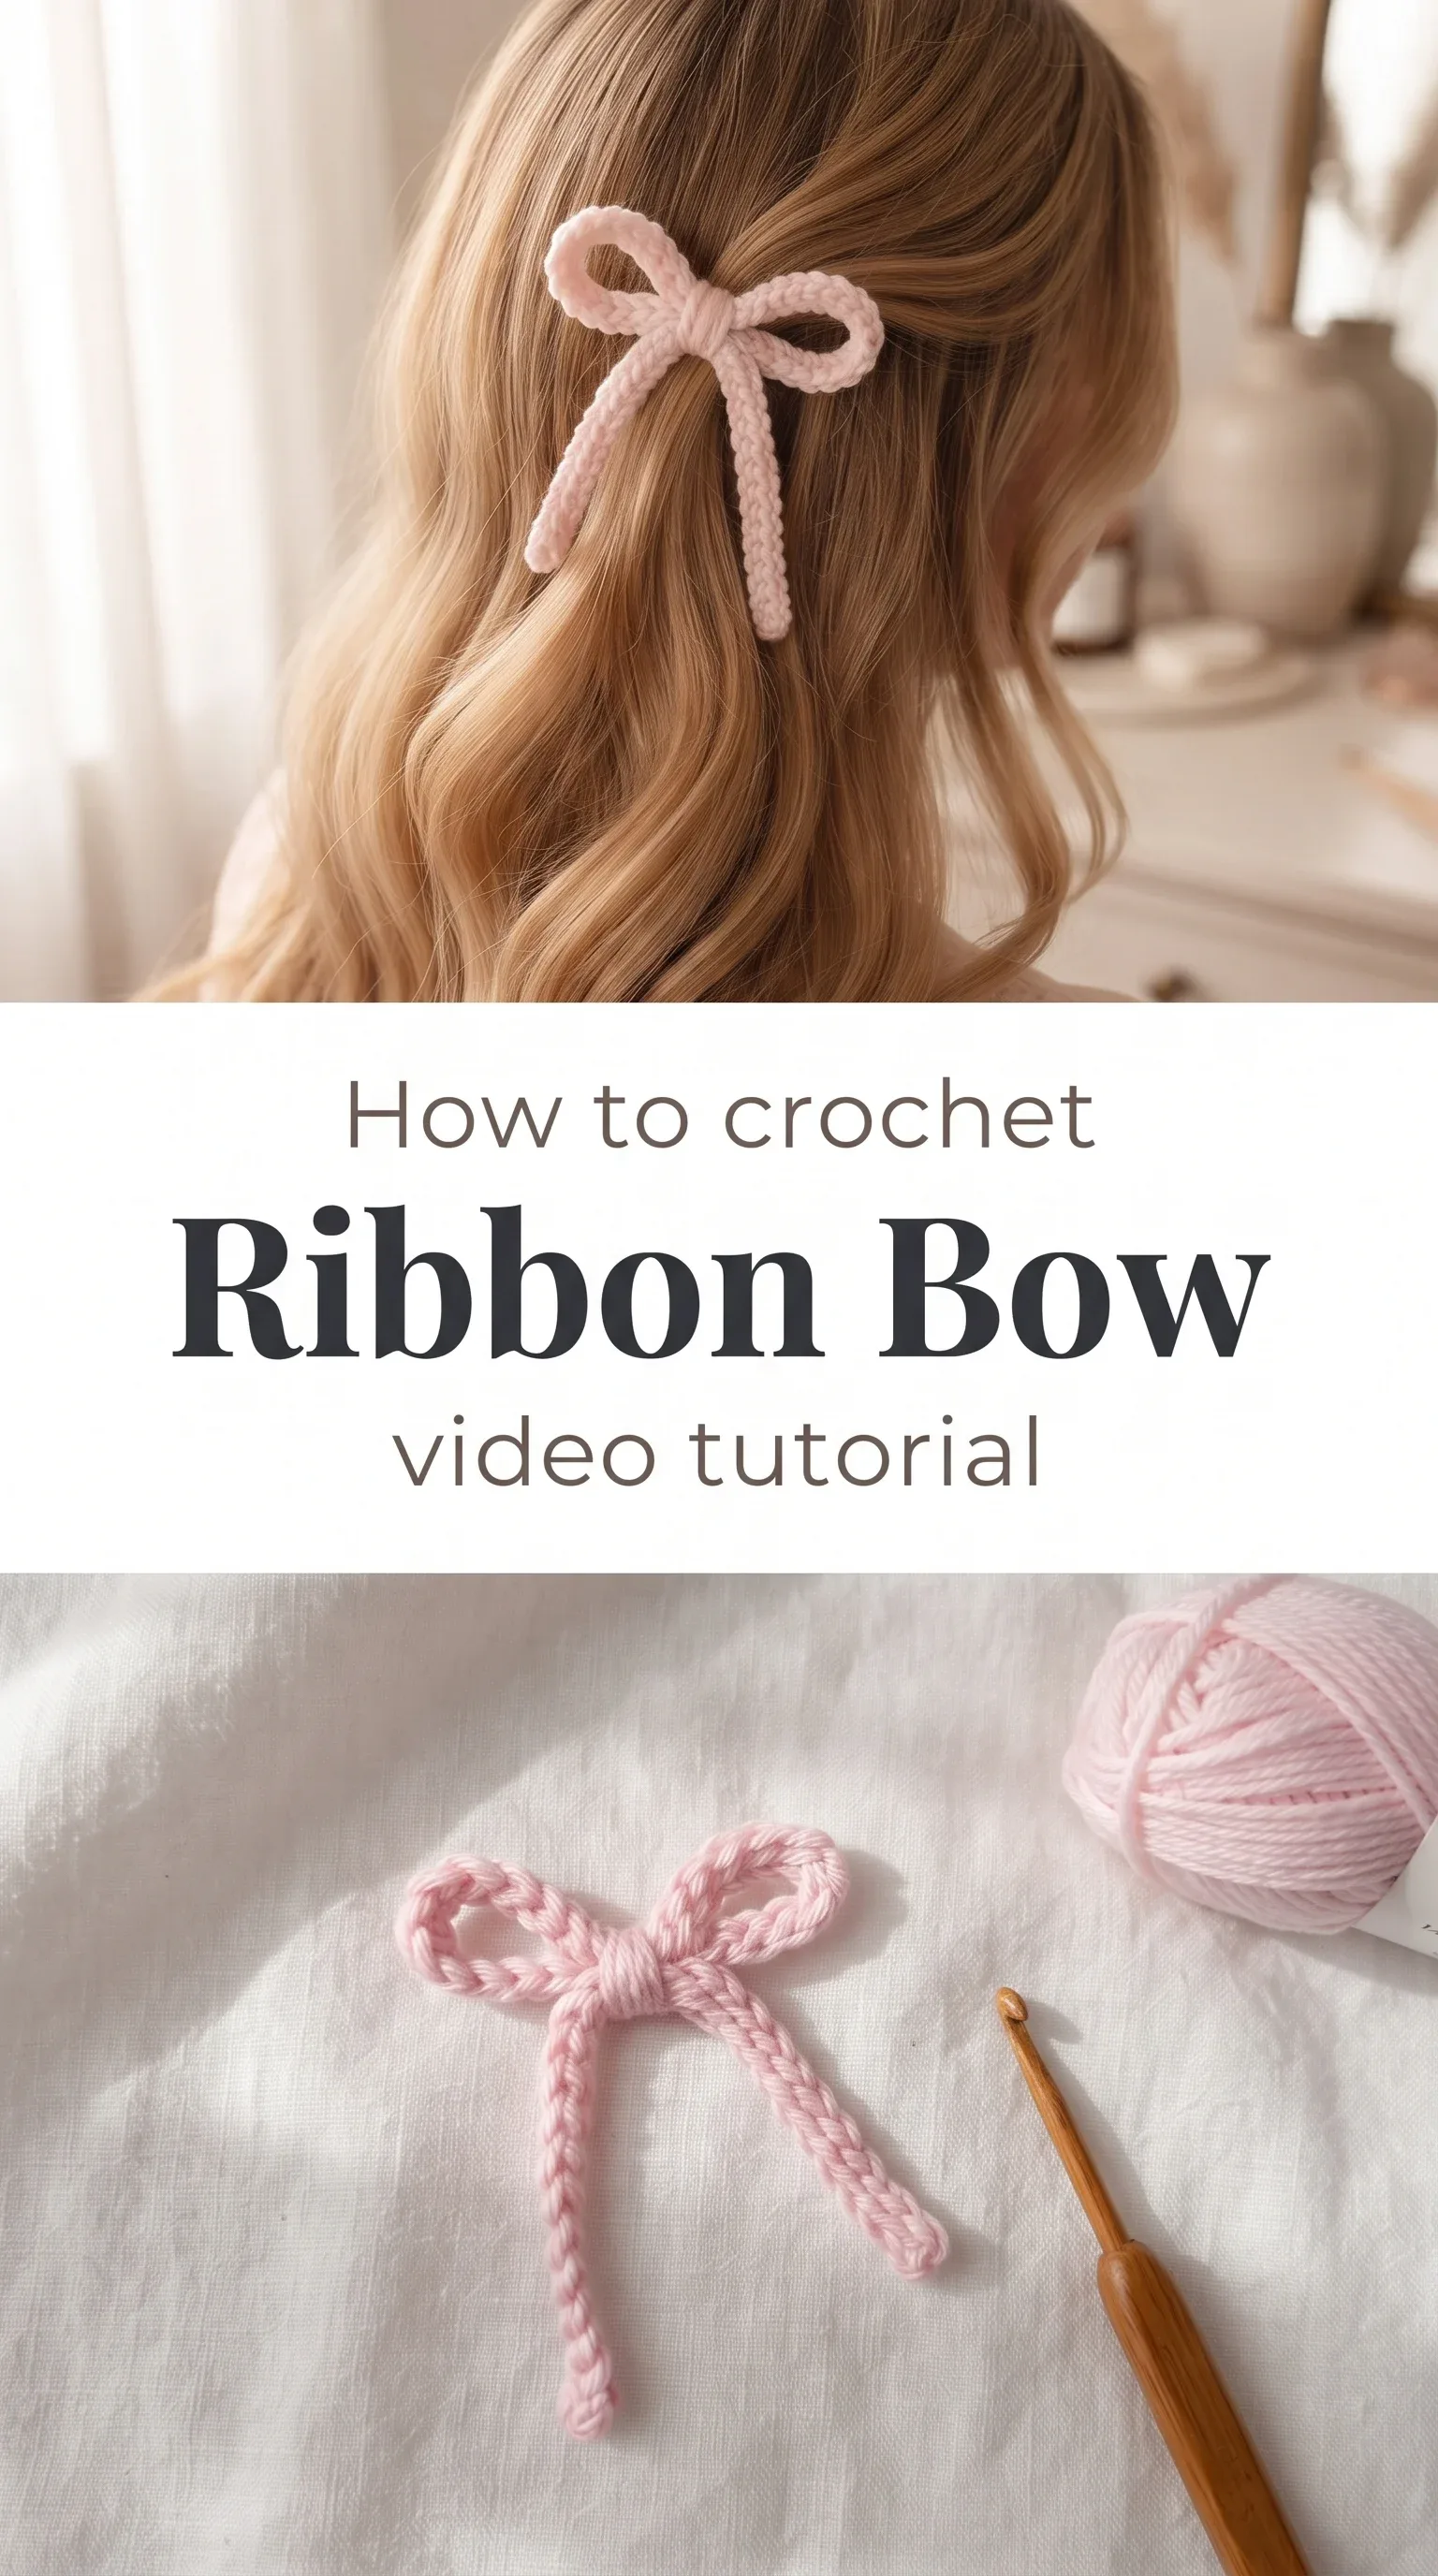
The Ribbon Bow
The Crochet Ribbon Bow sits somewhere between sculptural and sweet, airy yet structured enough to hold its shape without stiffening. It has the kind of old-world charm you might find pressed between the pages of a vintage sewing catalog, all looped wings and gathered waist and two long tails falling just so. This pattern is for the maker who notices the small details, who wants to add something handmade and intentional to a plain knit beanie or a market bag. It is beginner-friendly in spirit, though it rewards a little patience at the gathering step.
Ribbon Bow Related Posts:
- Crochet Ribbed Beanie: A Timeless Winter Essential
- Crochet Handbag: A Chic and Timeless Accessory
- Crochet Minion Plush: A Playful Cuddly Companion
- Crochet Chunky Bean Stitch Hat: A Warm Winter Essential
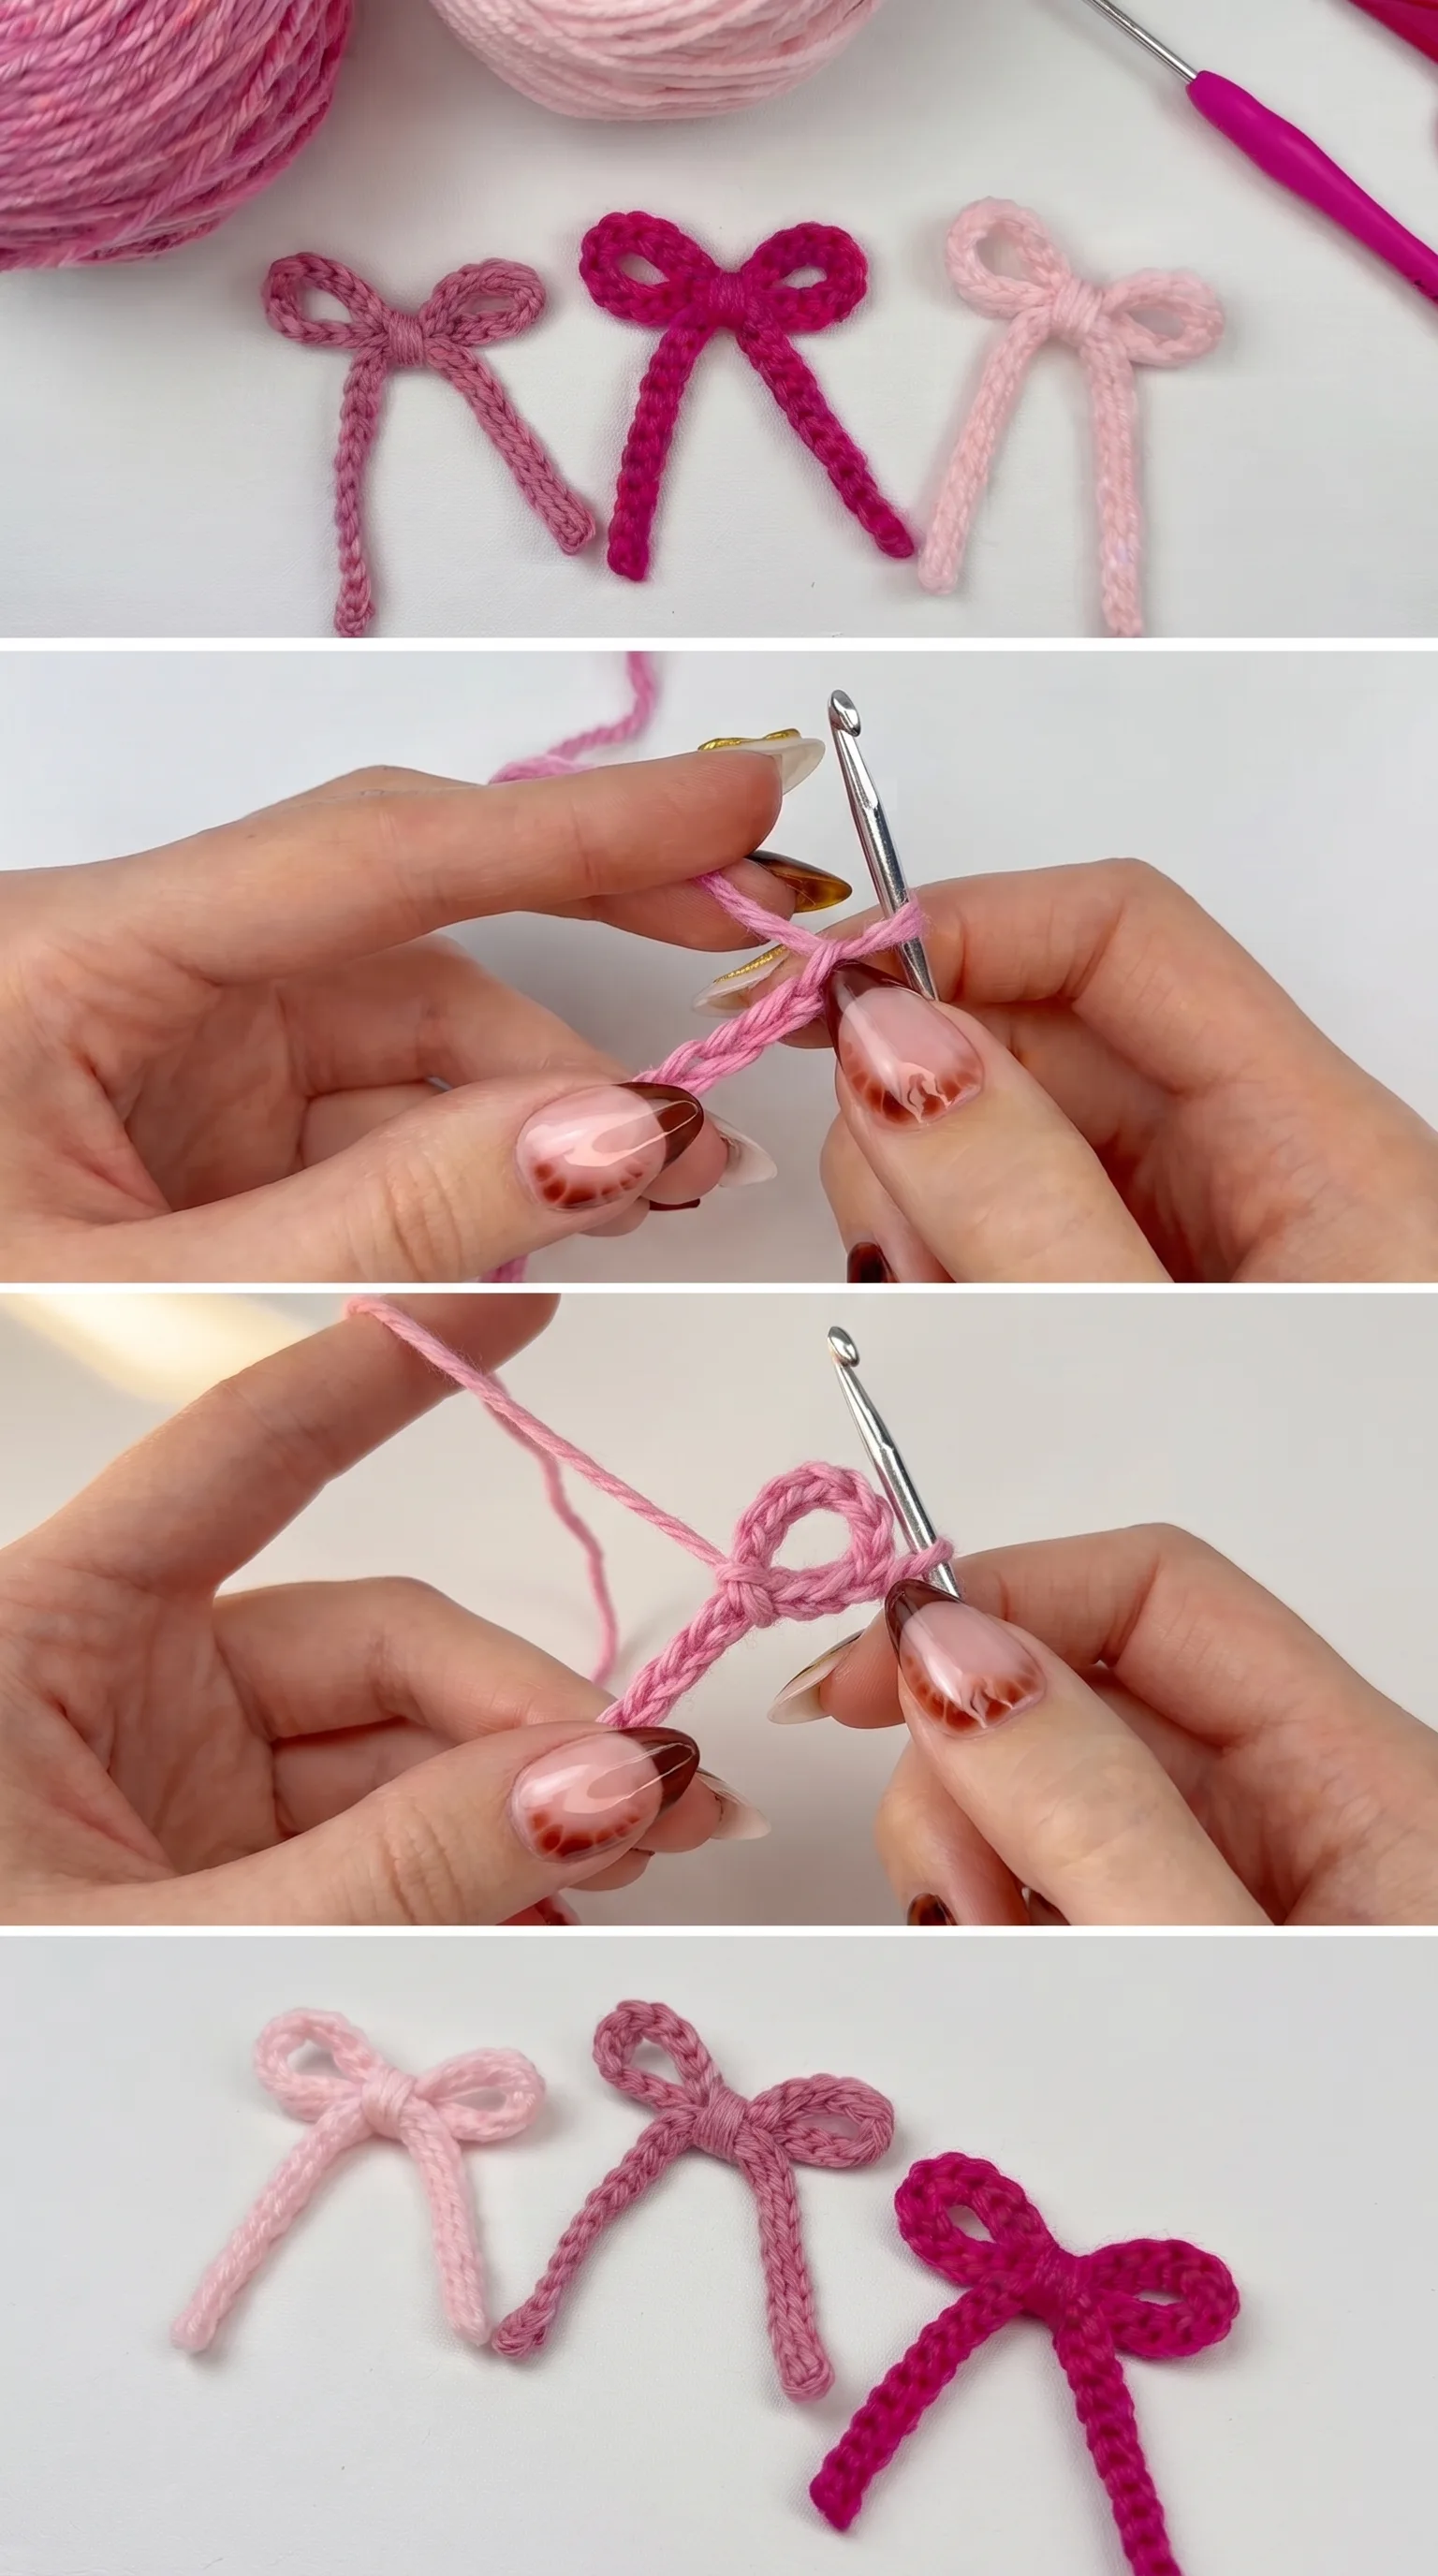
In the images, the bows appear in a trio of pinks ranging from deep magenta to the softest blush, and that color story alone tells you how versatile this piece can be. Try ivory or cream for a bridal or vintage feel, or go bold with cherry red or forest green for a seasonal accent. The Crochet Ribbon Bow shifts its whole personality depending on the color you choose, which makes it endlessly re-makeable.
Materials and Tools
For a well-defined bow with crisp edges and clear stitch definition, reach for a DK weight yarn in a smooth, tightly plied fiber. Cotton or a cotton-blend works beautifully here because it holds shape without any blocking drama, and the stitches catch the light with a quiet luster. A 3.5mm hook gives you the control you need to keep the wings firm and the tails neat without pulling too tight. You will also want a blunt tapestry needle for weaving in ends and sewing the bow onto its base if you choose to attach it as an appliqué.
Stitch by Stitch
The Crochet Ribbon Bow draws on a small, focused vocabulary of stitches that even a newer crafter will find approachable.
BULLET:CH (Chain) The foundation of the entire bow, used to build the tails and set up the working rows with a clean, even base.
BULLET:SC (Single Crochet) The primary stitch throughout the bow, creating a dense and tidy fabric that holds the ribbon shape without curling.
BULLET:SS (Slip Stitch) Used at key points to join sections and close loops, giving the bow its smooth, finished silhouette.
BULLET:YO (Yarn Over) A fundamental motion woven into every stitch repeat, keeping tension consistent and the fabric uniform.
Working row after row of SC has a meditative rhythm to it, the hook moving in and out in a quiet, steady pulse that lets your hands settle and your mind soften. It is the kind of making that feels both purposeful and restful at once.
Construction
The bow is worked in flat panels rather than in the round, which keeps the process intuitive and easy to follow along with the video tutorial. Each wing is crocheted as a long, narrow rectangle, then the two pieces are layered and gathered at the center and wrapped tightly with yarn to form that characteristic cinched waist. The tails are worked separately and attached at the base of the gathering, giving the finished piece its ribbon-like drape. If you want a fuller, more voluminous bow, simply add a few extra rows to the width of each wing before gathering.
Wearing Your Ribbon Bow
Sew a finished Crochet Ribbon Bow onto the brim of a wide-knit winter hat for an accent that feels both playful and considered. It works equally well pinned to the collar of an oversized linen shirt or glued onto a plain hair clip for an everyday accessory that takes seconds to put on. Once you finish your first one, the urge to make a second in a different color arrives almost immediately.
Keeping Your Bow Looking Fresh and Neat
Because the bow is worked in dense SC with a relatively small hook, it holds its shape well with minimal fuss. If you used a cotton or cotton-blend yarn, a gentle hand wash in cool water followed by a light press with your fingers to reshape the wings is all it needs. Lay it flat on a clean towel to dry rather than hanging it, which can stretch the tails unevenly. Once dry, store it flat or pinned lightly to a corkboard if you have made several, so the wings keep their fullness between wears.
Every Crochet Ribbon Bow you finish is a small, deliberate act of making something beautiful from nothing but a strand of yarn and a few quiet hours. Save this pattern to your Pinterest boards and share your finished bows so other makers can find their way here too.
Follow us on Pinterest and subscribe to the Newsletter so you don’t miss a thing!
Tutorial and photos of this ribbon bow by: ElyseCrochets 💌.
