
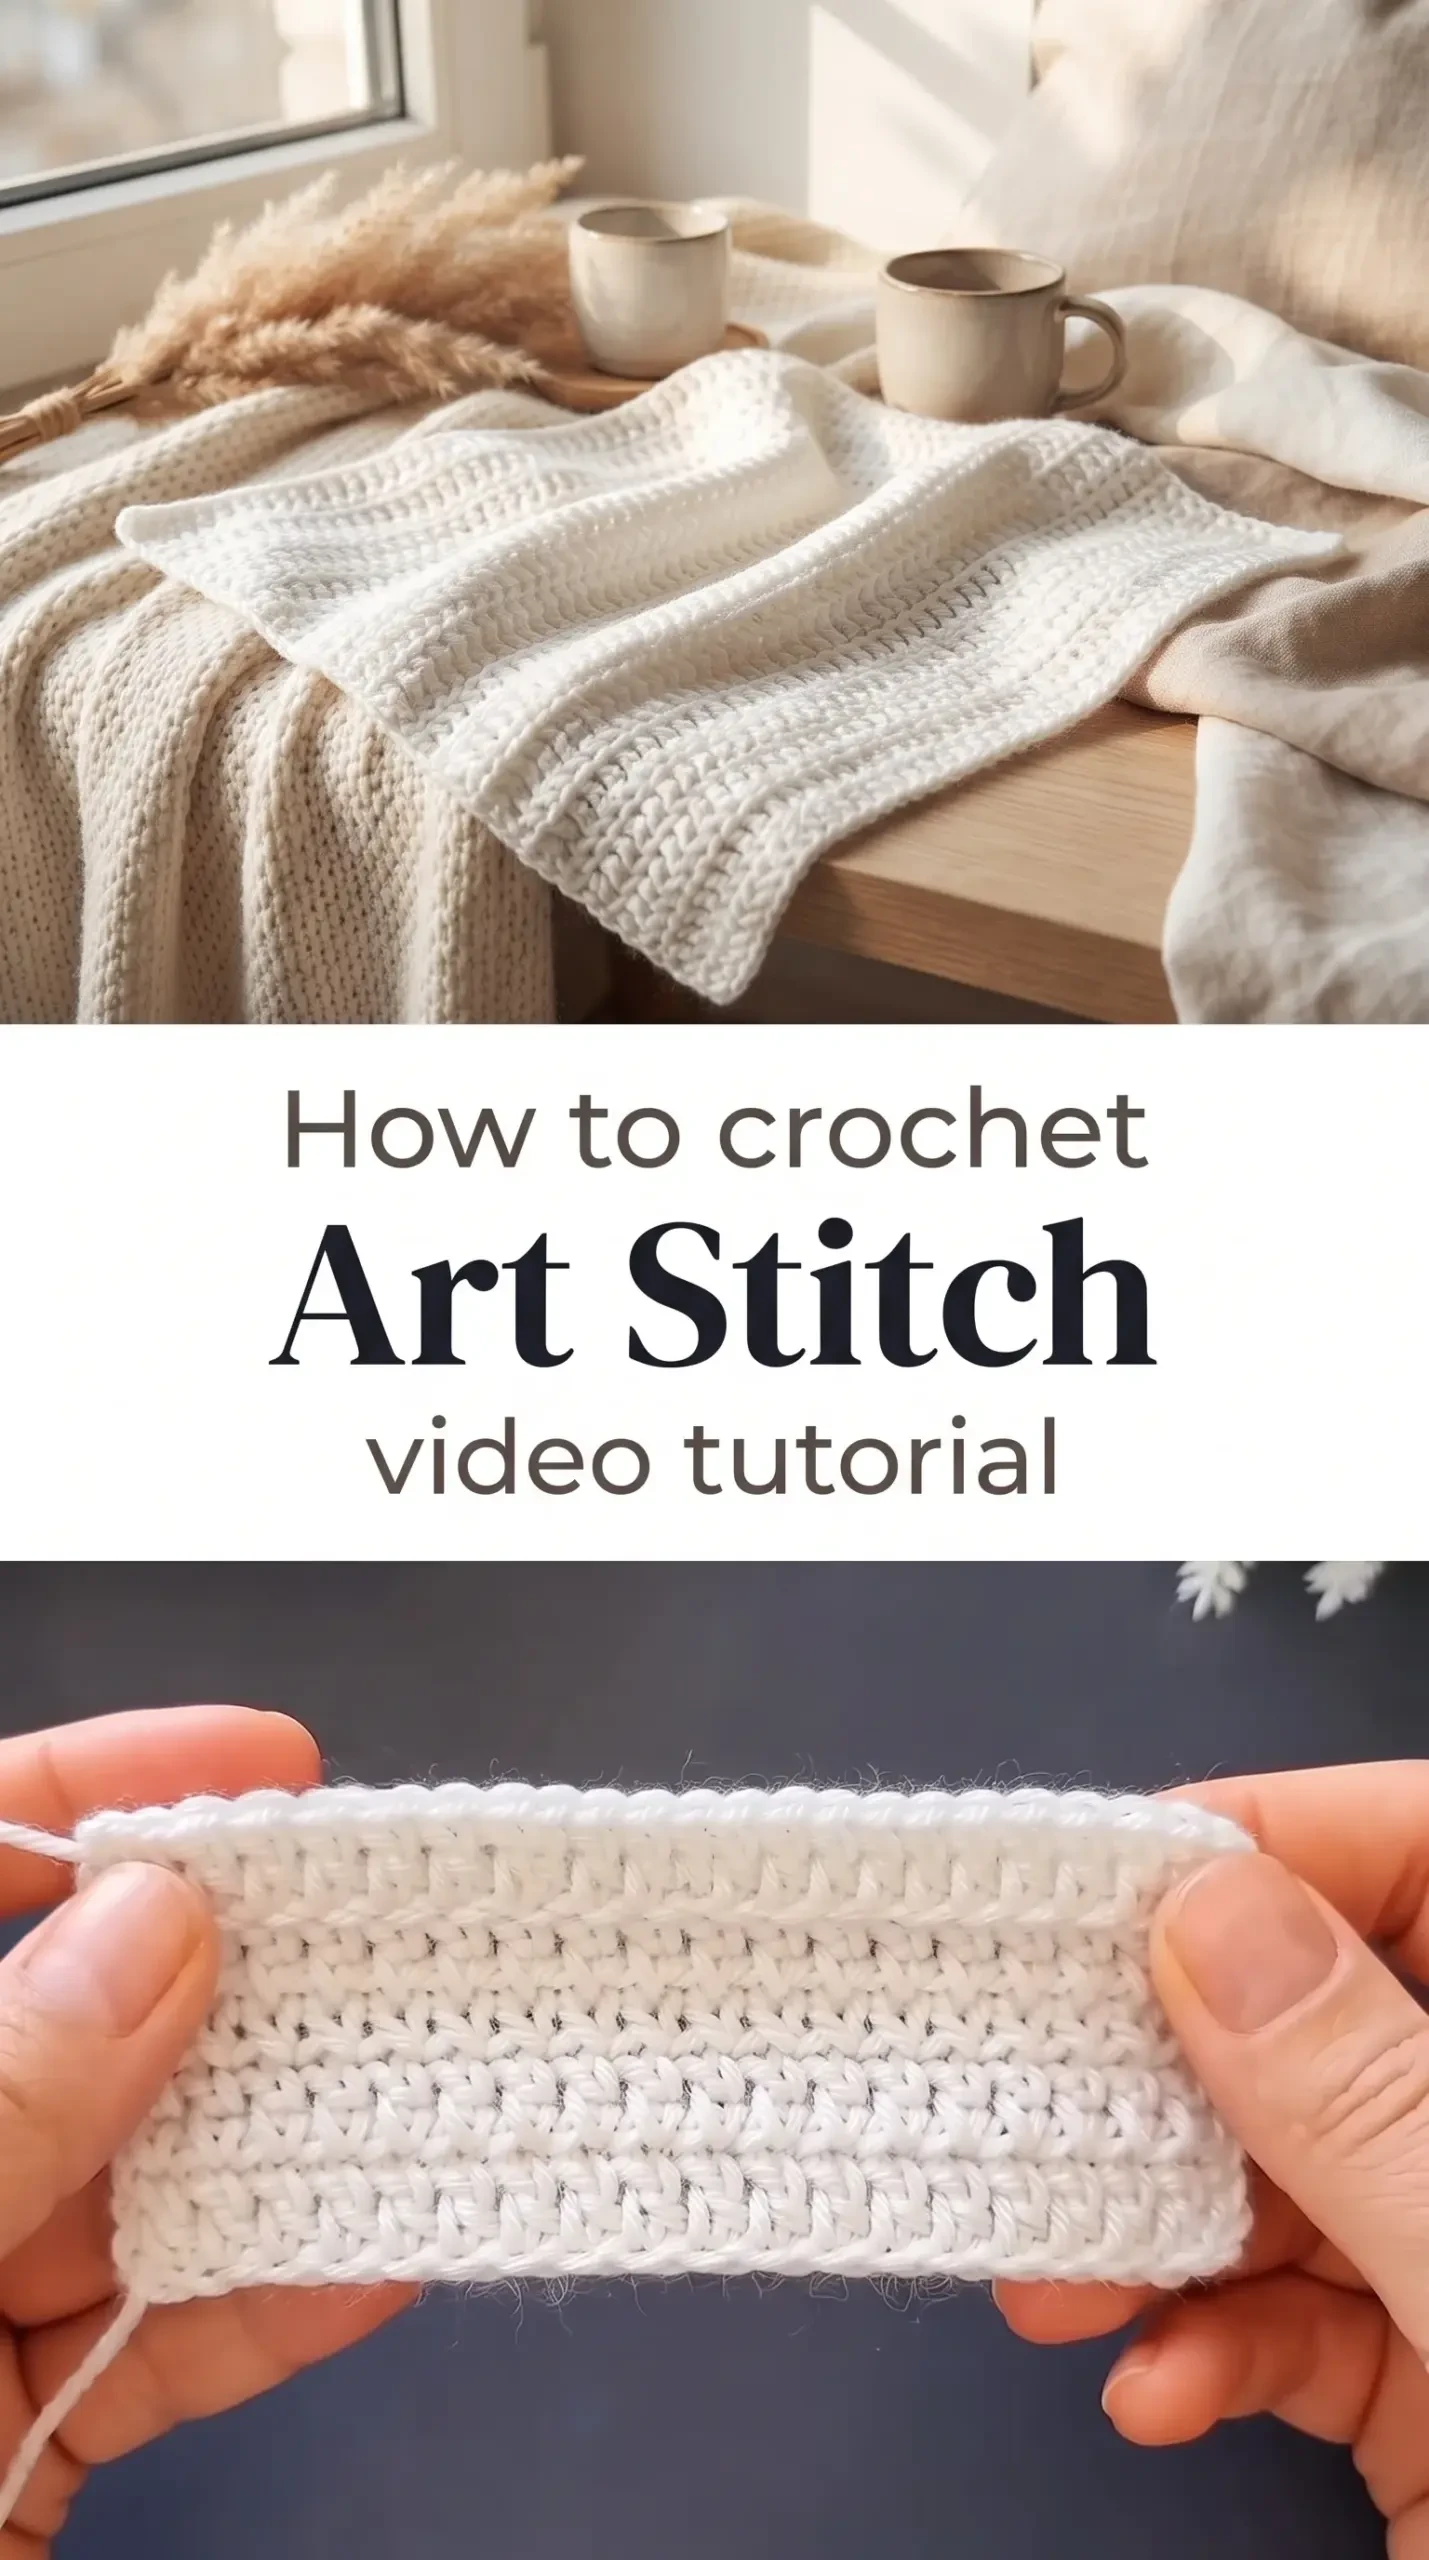
The Crochet Art Stitch builds its surface from raised, clustered bobbles set against a firm single crochet grid, creating a fabric that reads like carved relief work in soft fiber. From baby blankets to throw pillows, statement scarves to cottage-core cardigans, this one pattern opens a whole wardrobe of handmade possibilities.
The Art Stitch
The Crochet Art Stitch is the kind of fabric that makes people reach out and touch it before they even ask what it is. Each bobble cluster rises from the base with a rounded, almost sculptural quality, pressing forward from the flat single crochet ground in a way that feels both airy yet structured under your fingertips. It suits the crafter who wants more than a plain stitch but does not want to spend weeks deciphering a complicated chart, and it rewards beginners who are ready for their first textured project. The finished cloth has a quiet, cottagecore grandeur to it, something between a vintage heirloom and a modern handmade piece you would find in a slow-living shop window.
Art Stitch Related Posts:
- Crochet Tunisian Baby Blanket: A Soft and Cherished Heirloom
- Crochet Ruffle Coaster: A Charming Handmade Accent
- Crochet Granny Square: A Timeless Classic Design
- Crochet Budapest Halter Top: A Chic Summer Essential
Soft white and warm cream are the natural home of the Crochet Art Stitch because the raised texture needs unbroken color to show every bump and ridge at its best. That said, a single-color dusty sage, a pale oat, or even a deep charcoal would make the bobble clusters appear almost three-dimensional against winter light. If you want to introduce color, a tonal palette where shades sit close together works far better than high contrast, letting the texture rather than the color do the talking.
Materials and Tools
For the truest expression of the Crochet Art Stitch, reach for a worsted weight yarn in a smooth, plied construction that will hold the bobble shape without the fibers collapsing into each other. A yarn with a wool or wool-blend content is ideal because the natural elasticity helps the clusters spring forward and stay proud of the fabric surface, though a high-quality cotton-acrylic blend will also give crisp, lasting results. Pair your yarn with a 4mm or 4.5mm crochet hook depending on your personal tension, and choose an ergonomic handle if you are working a large piece, because the bobble rows do ask a little more grip from your hook hand. A yarn needle for weaving ends and a set of locking stitch markers to track your bobble placement rows are the only other tools you will need on your worktable.
Stitch by Stitch
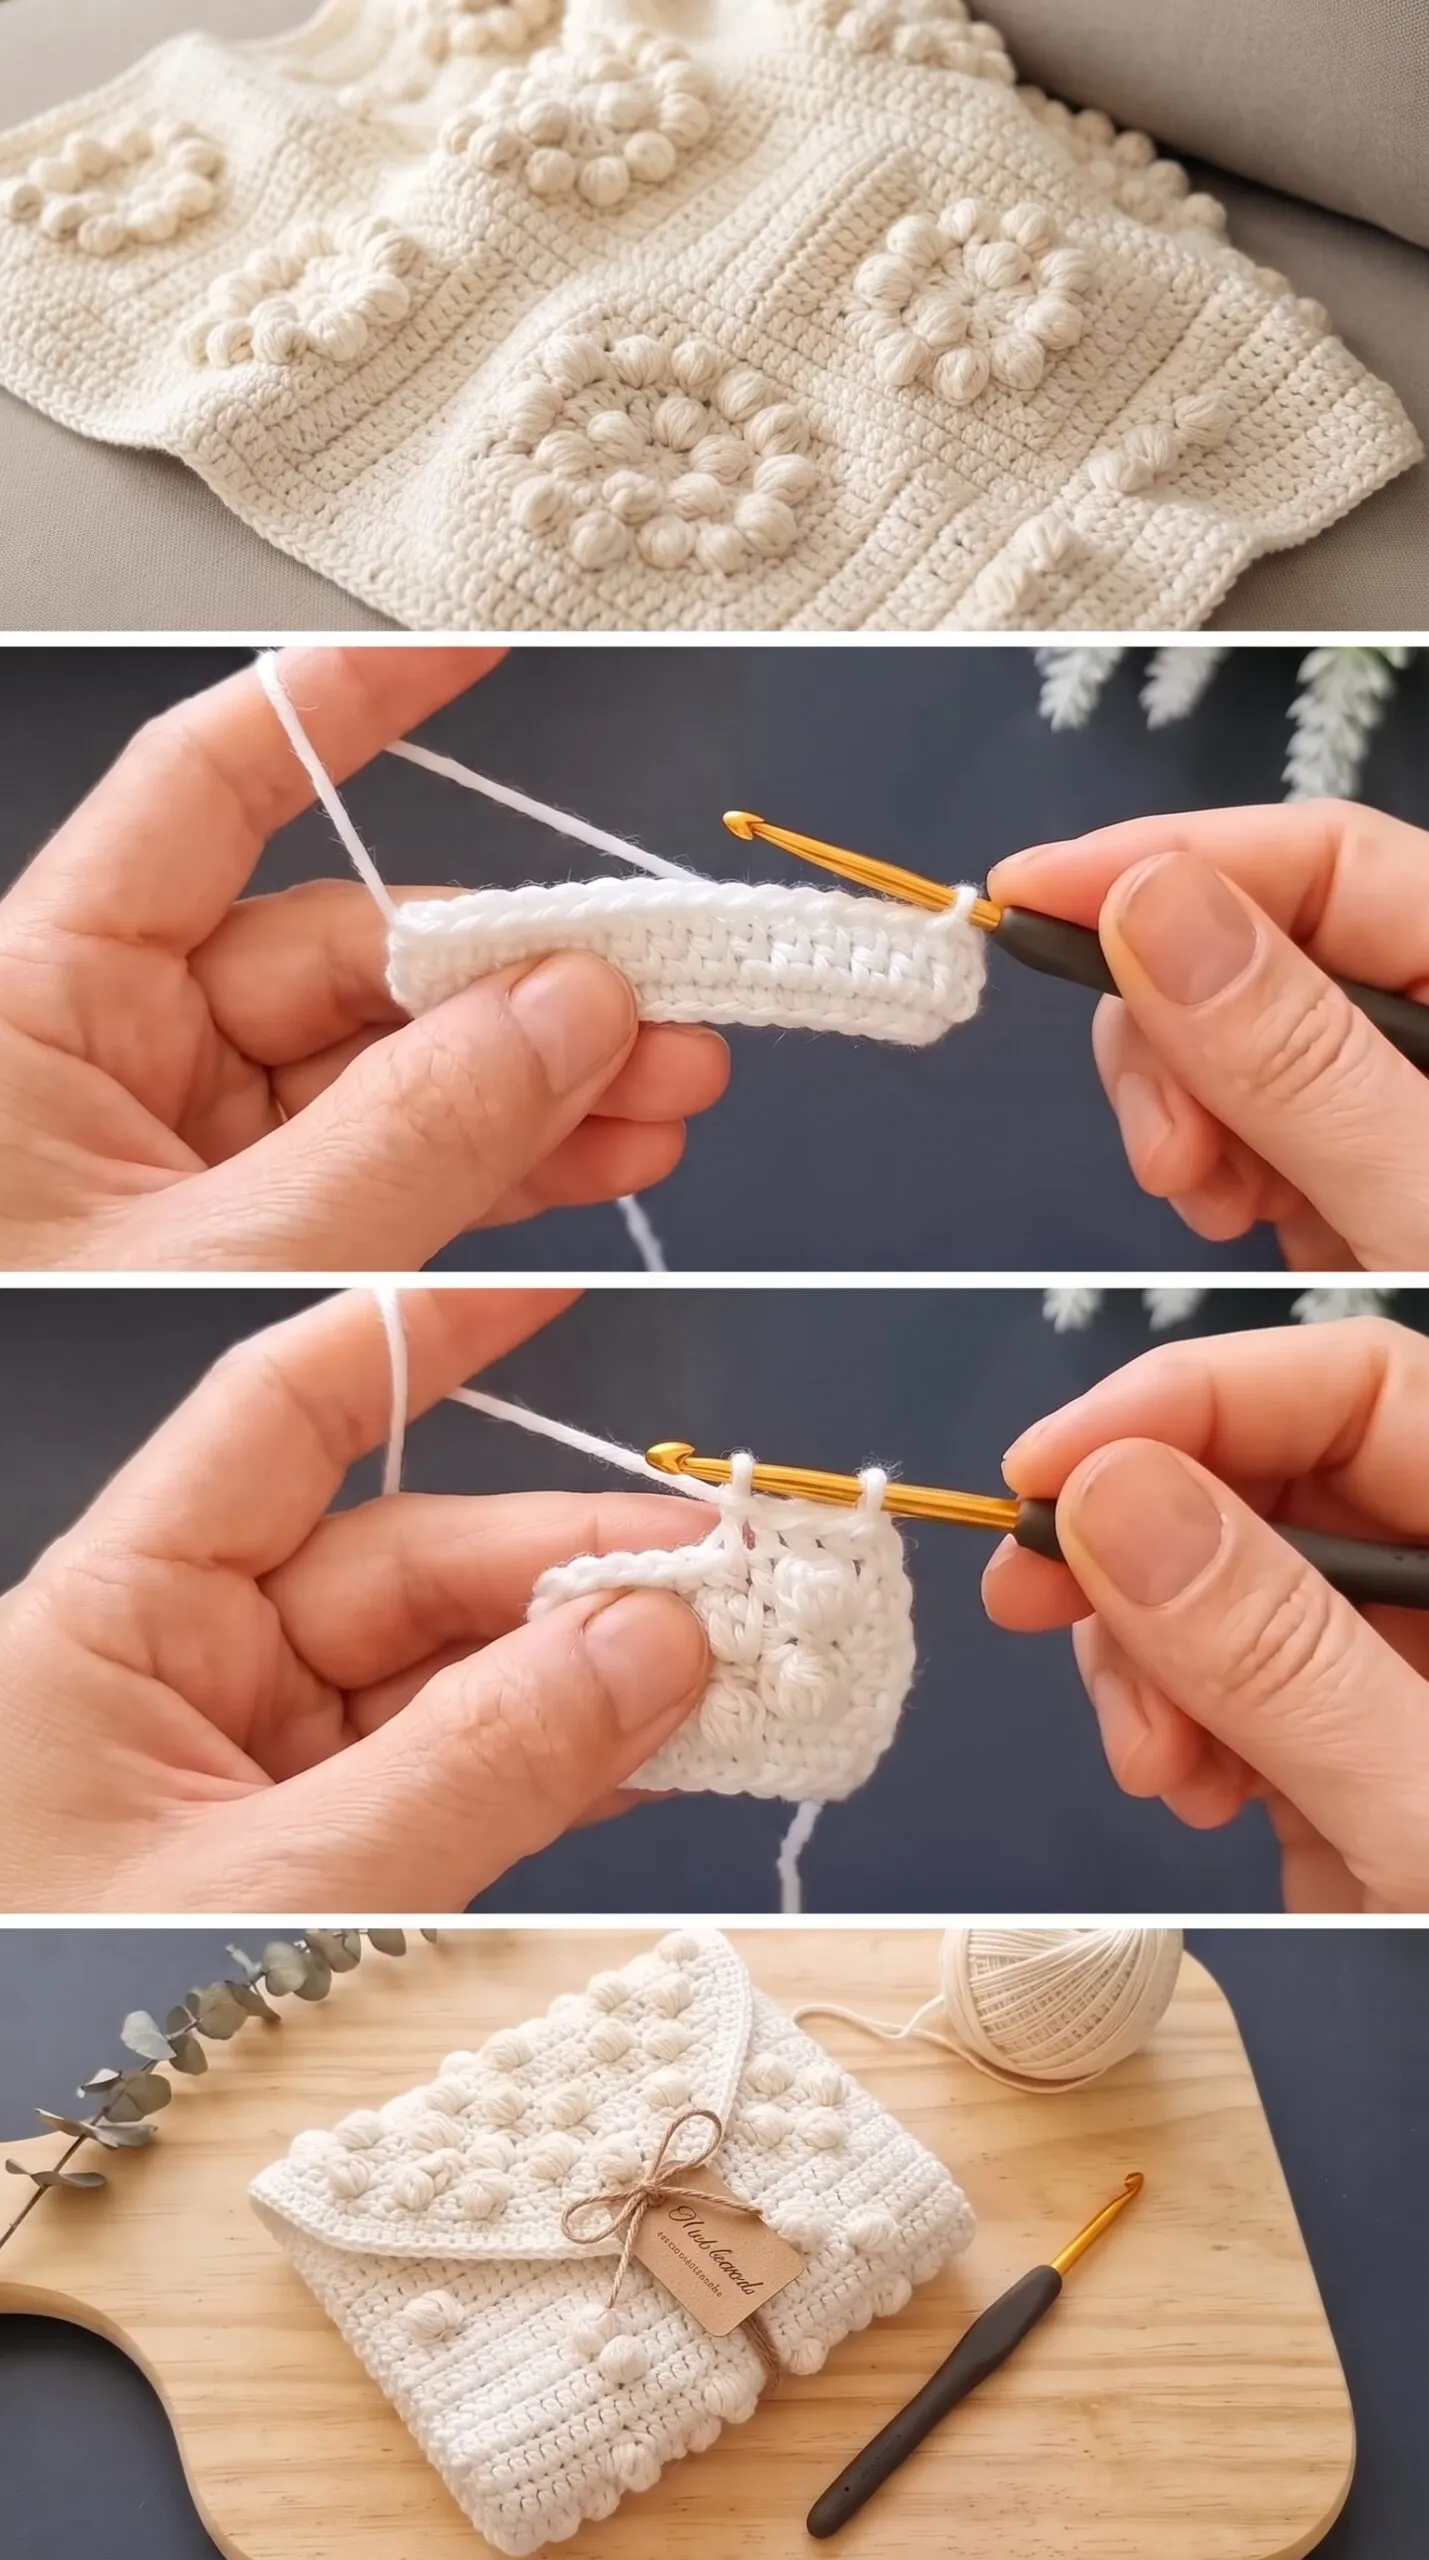
The Crochet Art Stitch relies on a small, beautifully combined set of techniques that any beginner can learn within a single practice swatch.
BULLET:SC (Single Crochet) This forms the firm, even ground fabric that anchors every bobble and gives the finished piece its clean, structured edges.
BULLET:YO (Yarn Over) The essential motion threaded through the bobble construction, pulled multiple times to build the cluster before it is closed off into one raised stitch.
BULLET:DC (Double Crochet) Used within the bobble cluster itself, each DC is worked partially and left open on the hook until all loops are drawn through together in one closing pull.
BULLET:CH (Chain Stitch) A brief chain at the top of each bobble locks the cluster closed and gives it that rounded, popcorn-like crown that defines the visual character of this stitch.
Once you find the meditative rhythm of alternating your SC rows with your bobble rows, the pattern settles into a calm, almost musical repetition that makes an evening of crafting feel genuinely restorative.
Construction
The Crochet Art Stitch is worked flat in rows, which makes it wonderfully approachable for beginners who are not yet comfortable working in the round. You begin with a foundation chain of your chosen width, work several rows of SC to establish the base, and then introduce your bobble rows at regular intervals as shown in the video tutorial, where the full row-by-row guidance is laid out clearly. Turning chains are kept minimal to preserve the flat, even edge of the fabric, and because the work lies flat throughout, you can block each panel before seaming if you are constructing something larger like a blanket or a poncho. To customize the density of the texture, simply increase or decrease the number of SC rows between each bobble row for a more open or more densely clustered surface.
Wearing Your Art Stitch
A scarf or wrap worked in the Crochet Art Stitch becomes something you reach for every single grey morning, the raised surface catching lamplight in a way that makes even an errand run feel considered and beautiful. Lay a wide panel version over your shoulders as a shawl with wide-leg trousers and a linen shirt, or finish a smaller rectangle into a cowl that tucks inside the collar of a wool coat. As a cushion cover for a reading chair or a lap blanket folded across the arm of a sofa, it brings the same quiet handmade warmth to a room that it brings to an outfit.
Keeping Your Art Stitch Piece Soft and Shaped
Because the bobble clusters give this fabric its entire personality, blocking is the most important finishing step you can give a completed Crochet Art Stitch piece. Wet block wool or wool-blend versions by submerging in cool water, pressing out the excess gently in a towel, and pinning the piece flat to let the bobbles set in their natural rounded form as they dry. For acrylic or cotton blends, a light steam block held a few centimeters above the surface will encourage the fabric to relax and the edges to lie flat without flattening the texture. Store folded rather than hung to preserve the bobble shape, and hand wash in cool water with a gentle detergent to keep the fiber soft through seasons of use.
Every piece you finish in the Crochet Art Stitch is a small act of making something the world cannot mass-produce, and that matters more than any single stitch count. Save this article to your crochet Pinterest board so you can find the tutorial whenever you are ready to cast on.
Follow us on Pinterest and subscribe to the Newsletter so you don’t miss a thing!
Tutorial and photos of this art stitch by: Crochet workshop.
