
A free video tutorial is available to guide you through every step of making this Crochet Bonnet with Bow, so you can follow along at your own pace! The ribbed tie and sculptural bow give this piece a fairy-tale softness that feels completely unlike anything you can find in a shop!
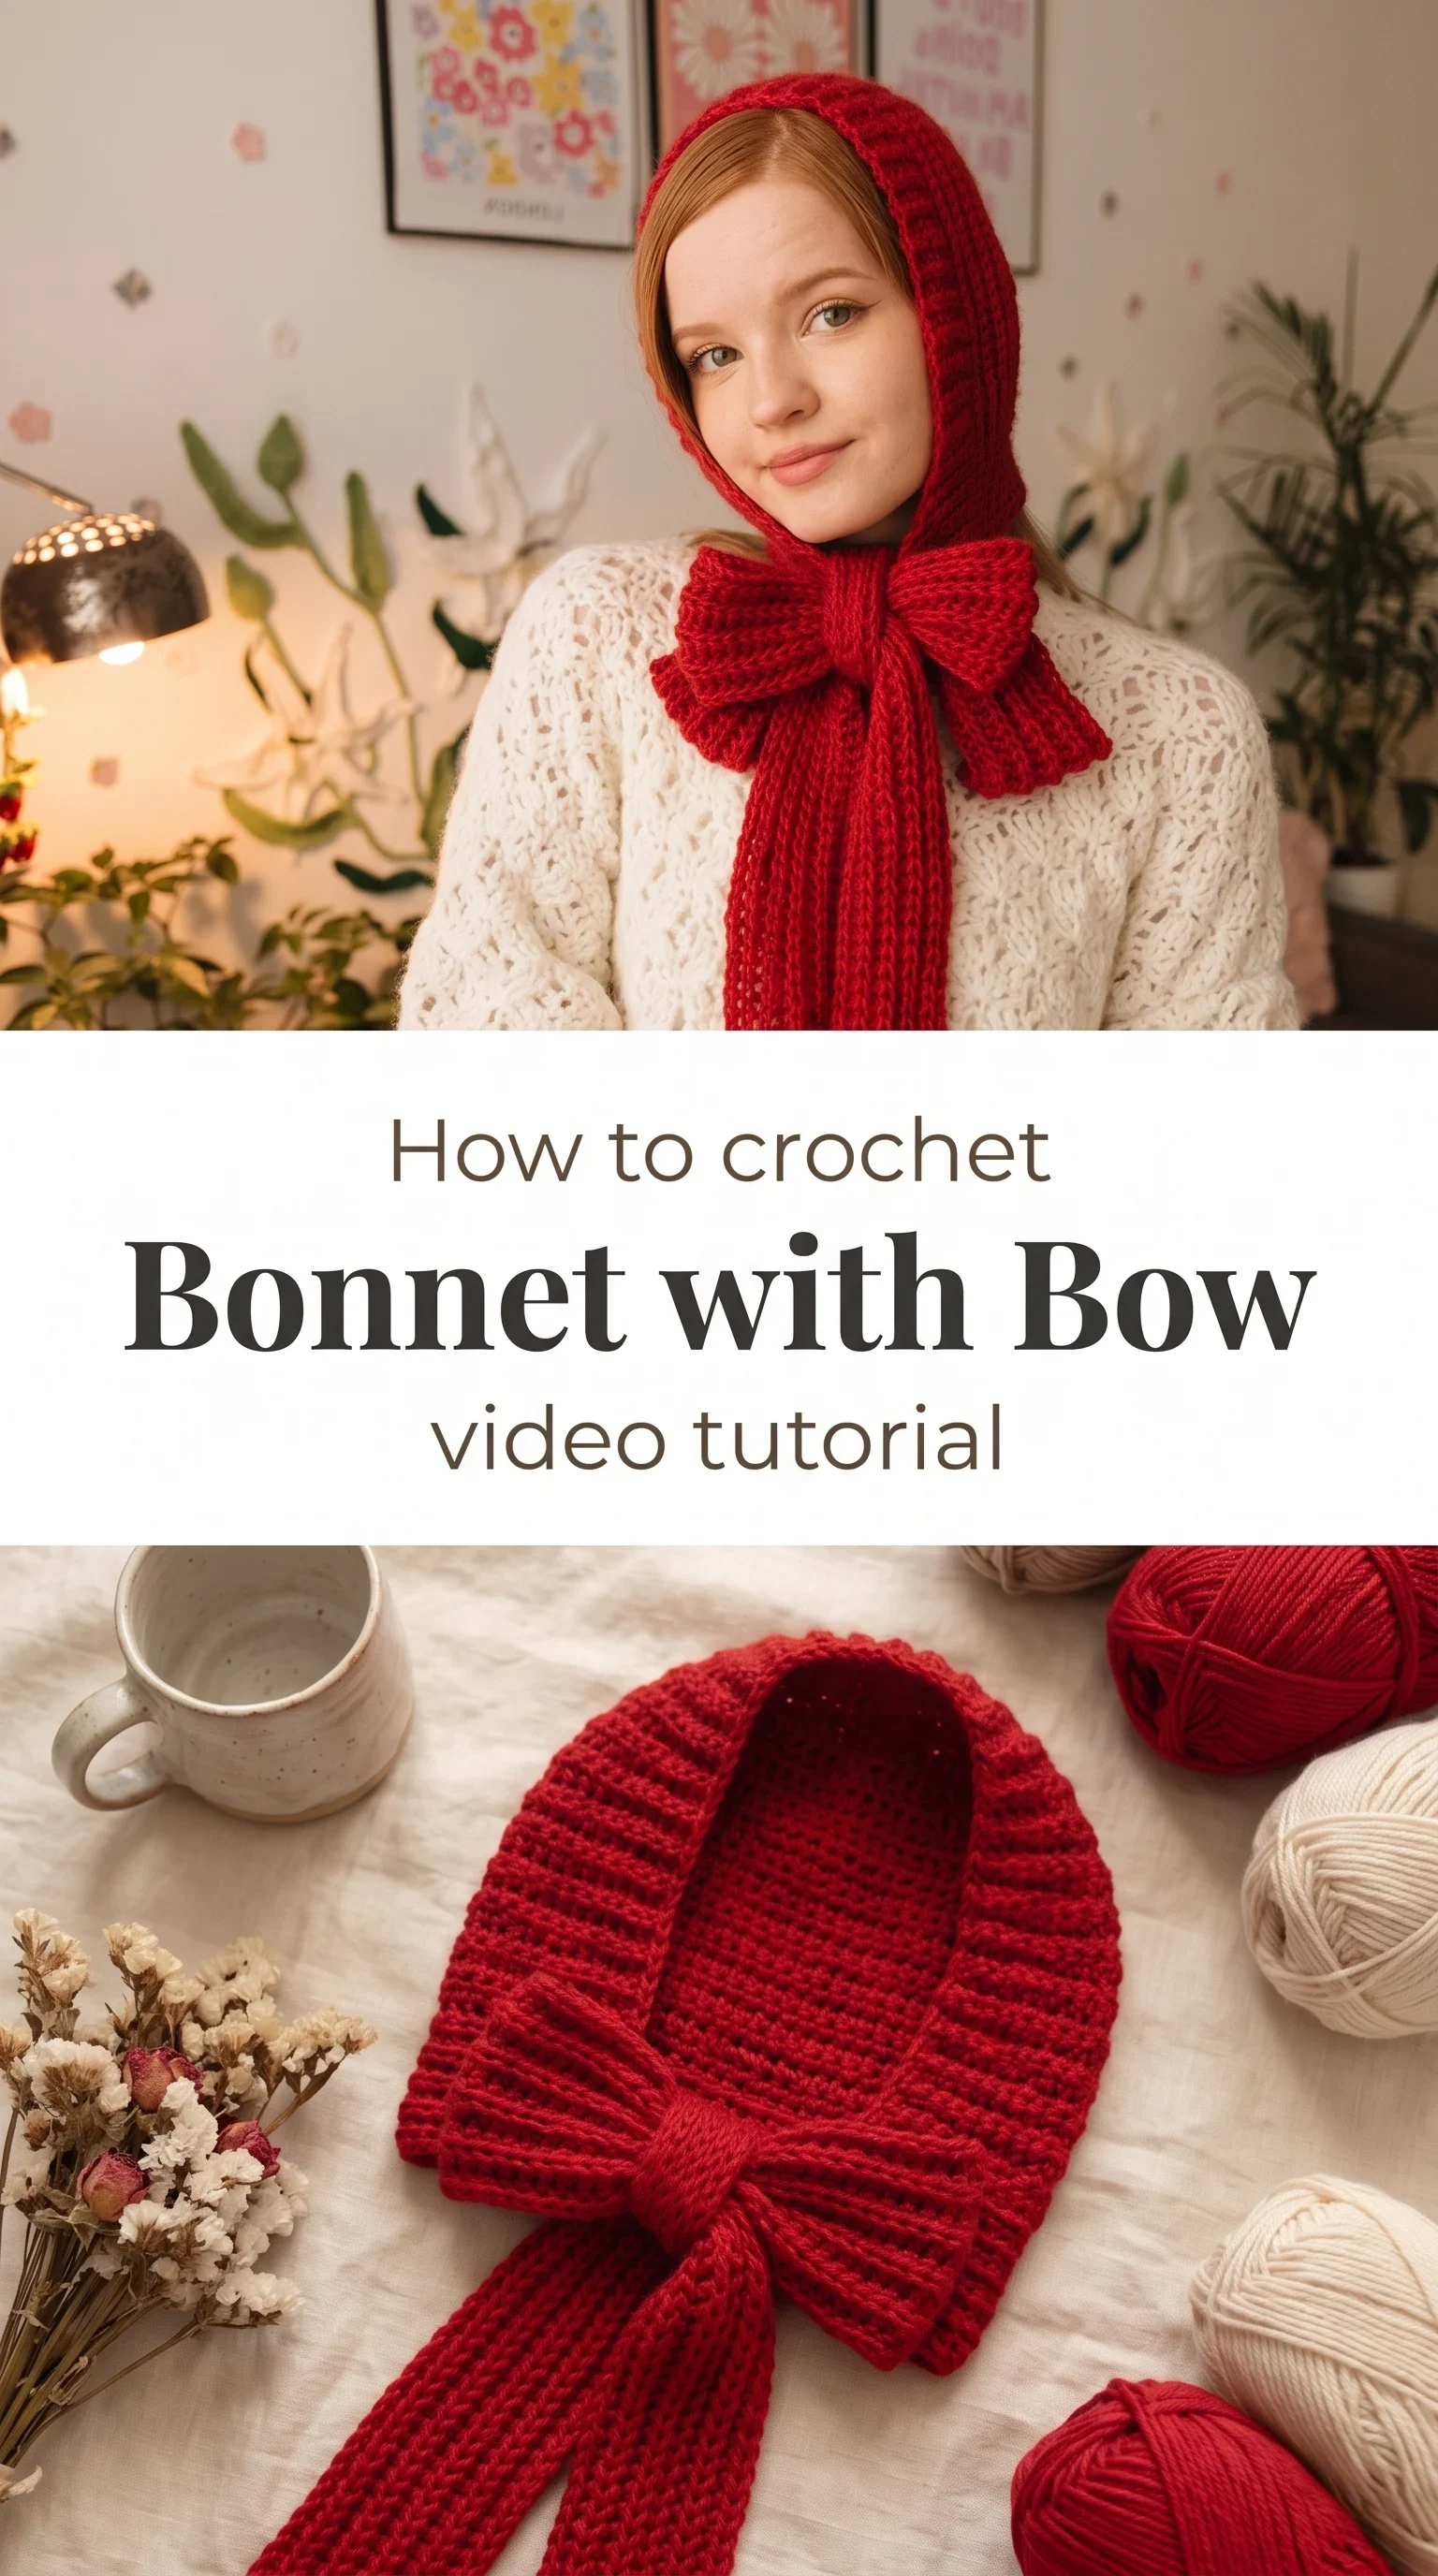
The Bonnet with Bow
This Crochet Bonnet with Bow is the kind of accessory that makes you feel like you stepped out of a storybook winter scene. It frames the face with a close, cozy fit, while the oversized knotted bow at the throat adds a flourish of whimsy that is equal parts vintage and completely current. It is airy yet structured, draping over the crown of the head with a gentleness that feels almost like wearing a soft whisper. Whether you are a seasoned crafter or someone finishing their first handful of projects, this design meets you with warmth and generosity.
with Bow Related Posts:
- Crochet Summer Top: A Breezy Handmade Essential
- Crochet Star Stitch Phone Bag: A Chic Everyday Accessory
- Crochet Heart Applique: A Sweet Romantic Detail
- Crochet Half Moon Bag: A Chic and Modern Accessory
Classic red is the natural choice here, evoking everything from Christmas mornings to countryside walks in the frost, but this bonnet translates beautifully into deep forest green, warm ivory, or a dusty rose for a more romantic mood. Pair it with a chunky lace cardigan and mittens as seen in the reference images, and you have an outfit that looks entirely considered and handmade in the best possible way. It is one of those pieces that layers effortlessly over long hair, a bun, or tucked beneath a coat collar.
Materials and Tools
To make this Crochet Bonnet with Bow, you will want a bulky weight yarn, ideally in a wool or wool-blend fiber that has a little halo or loft to give the bonnet that soft, plush texture visible in the finished piece. A chunky single-ply or a fluffy merino-acrylic blend works beautifully, as it creates that cozy, pillowy fabric without being stiff or heavy on the head. Reach for a 6mm or 6.5mm crochet hook, which gives you the ideal tension for the ribbing and the body of the hat. A yarn needle for weaving in ends and a few stitch markers to keep track of your rounds will complete your toolkit nicely.
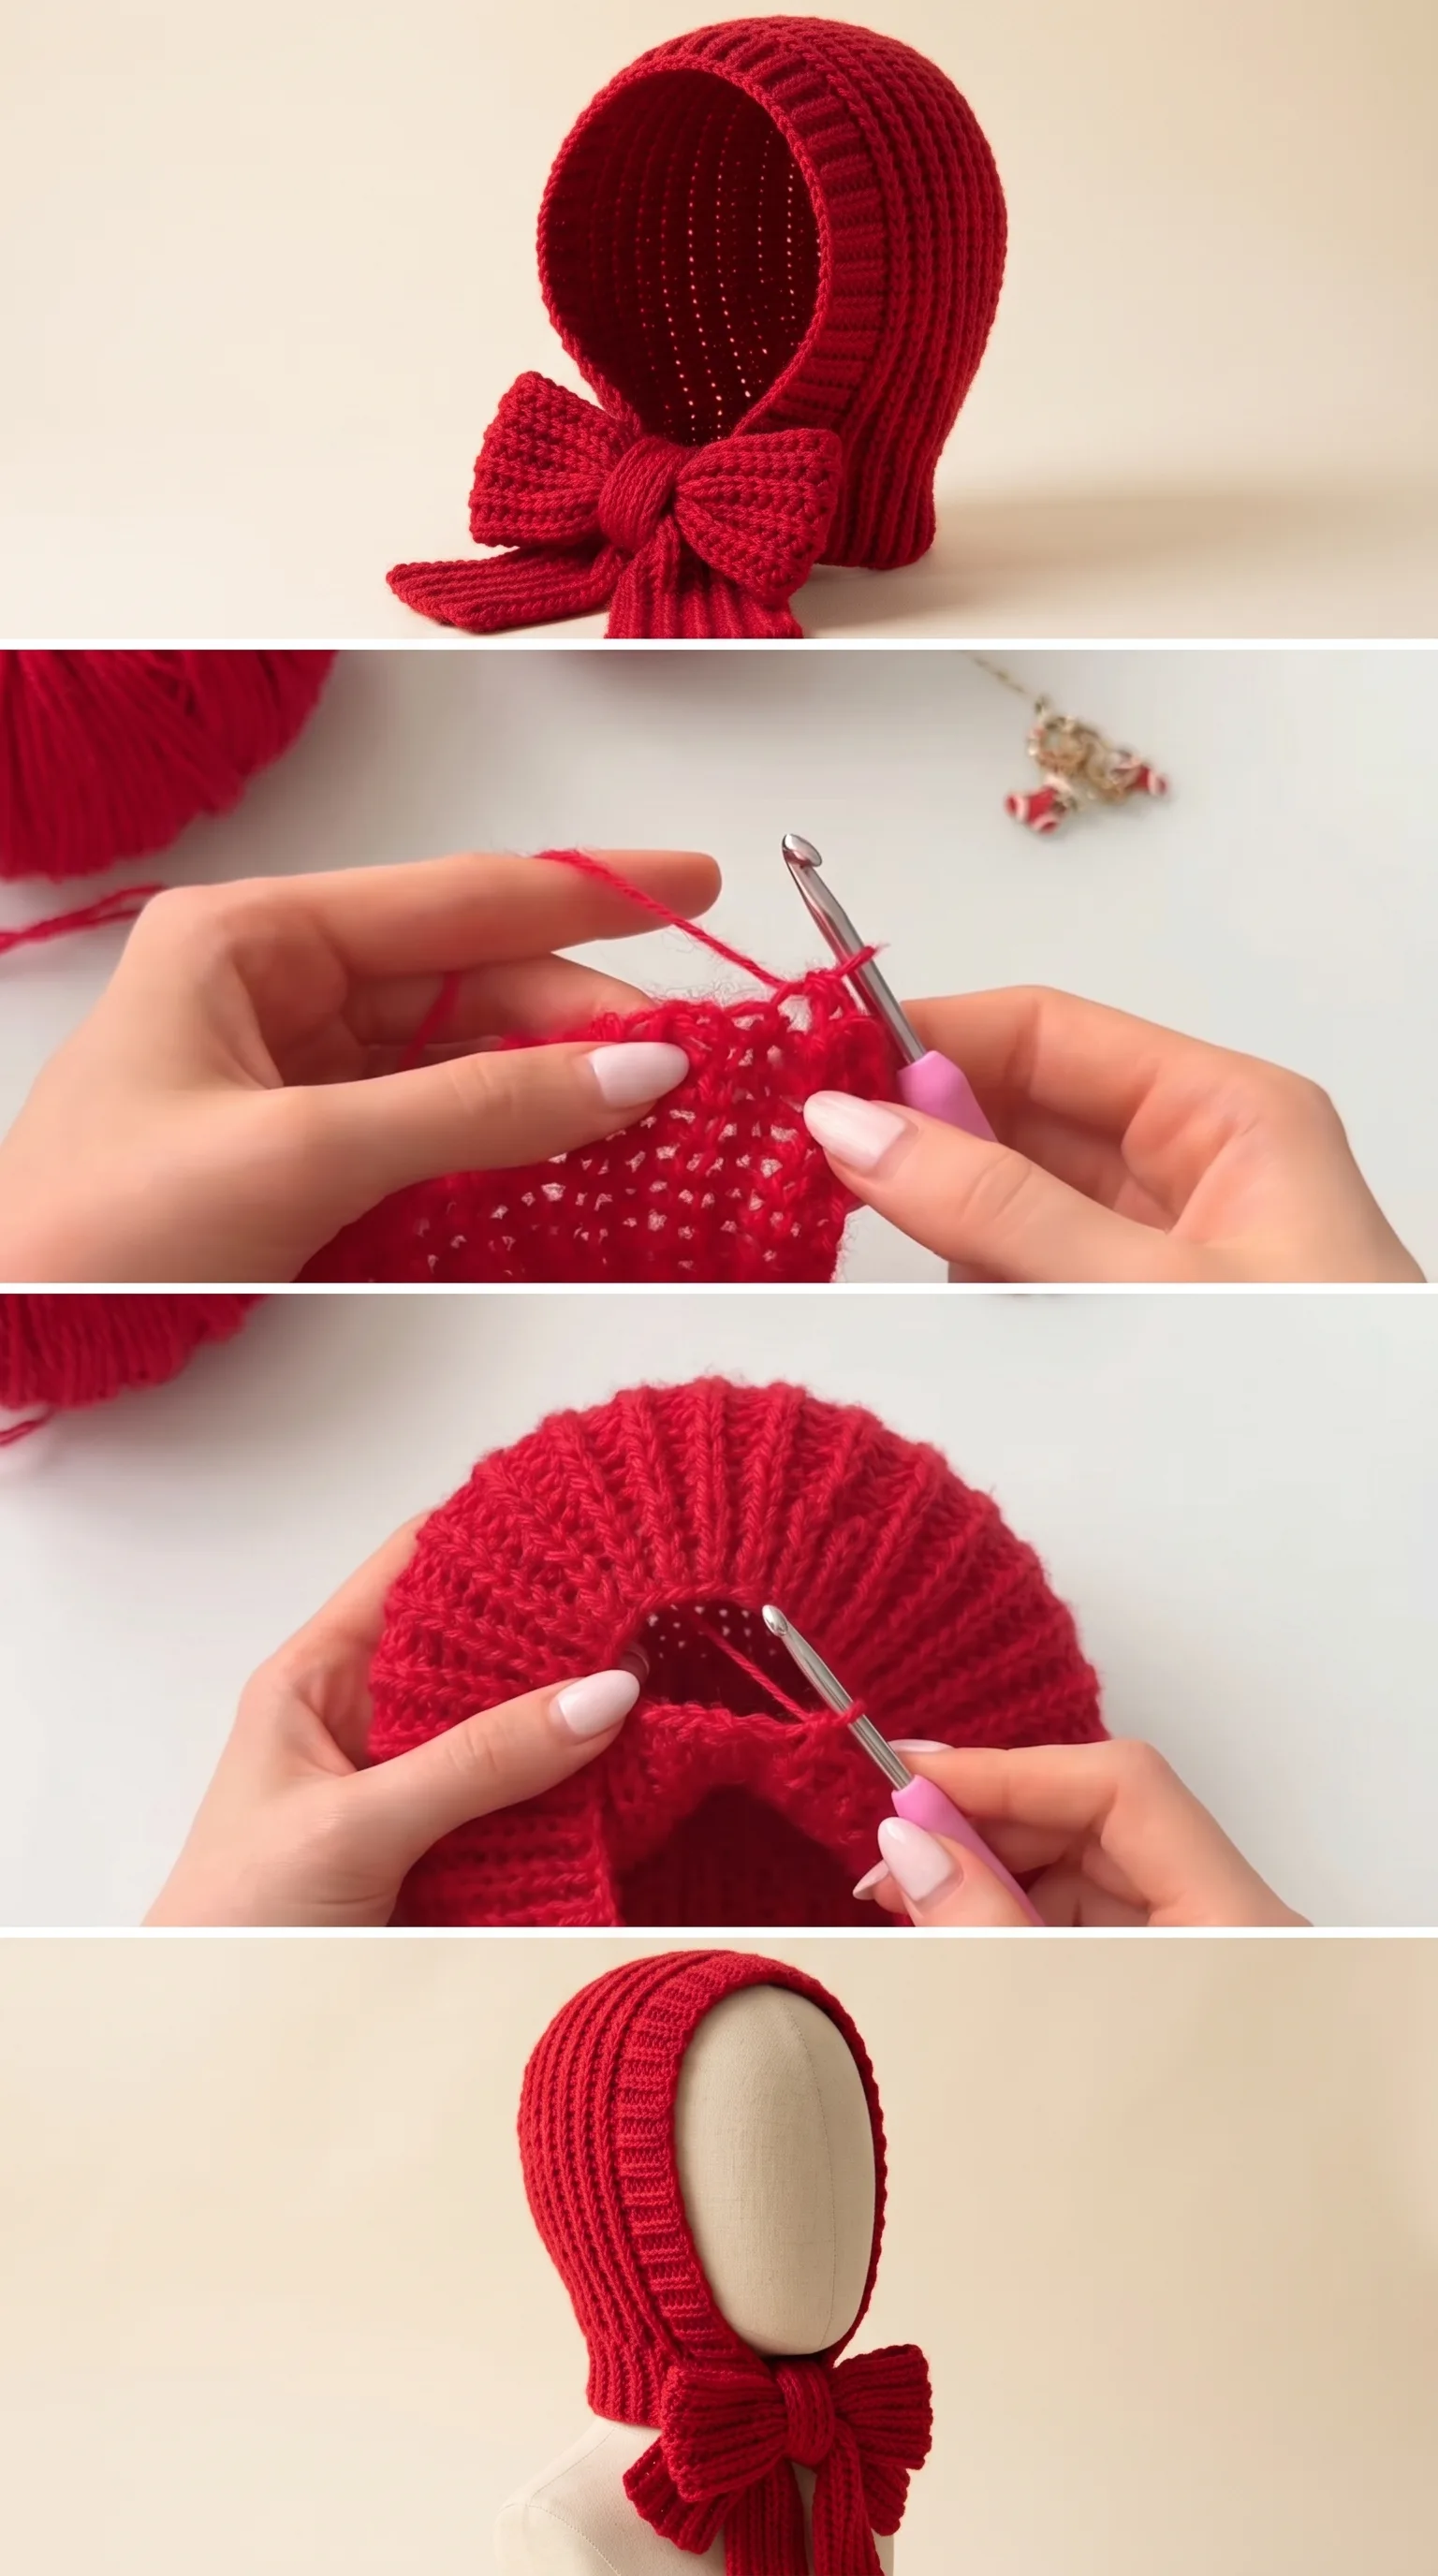
Stitch by Stitch
This bonnet uses a small, approachable collection of stitches that builds into something genuinely beautiful.
BULLET:SC (Single Crochet) The foundational stitch that forms the close, dense body of the bonnet cap, giving it that snug and warm fit around the head.
BULLET:DC (Double Crochet) Used to create height and slight openness in certain sections, adding that airy quality to the structure without losing shape.
BULLET:FLO / BLO (Front Loop Only / Back Loop Only) Working into only one loop of the stitch creates the ribbed texture seen on the tie and bow sections, giving that stretchy, tailored finish.
BULLET:CH (Chain) The chain stitch forms the foundation row and is used to create the long ties that wrap into the signature bow at the front.
There is something genuinely meditative about the rhythm of this pattern, especially once you settle into the ribbing rows, where the repetition of FLO single crochets carries you forward with a steady, almost musical pulse.
Construction
The Crochet Bonnet with Bow is worked in a relatively straightforward sequence that begins with the cap section, typically constructed from the back of the head forward, either flat and seamed or shaped with strategic increases and decreases to cup the crown. The tie and bow are worked separately as a long ribbed strip, then folded and attached at the chin, creating that full, dimensional bow that is the centerpiece of the design. Because the pieces are made in sections and joined, it is forgiving for beginners who want to try again if a section does not come out quite right. You can also customize the tie length to suit your preferred bow size, making it smaller and more understated or enormous and theatrical depending on your mood.
Wearing Your Bonnet with Bow
This bonnet was made for layering over a loose lace or crochet cardigan, tied softly at the throat with the bow resting just below the chin for that effortless, nostalgic look. It also works beautifully tucked over the ears beneath a wool coat on city walks, or worn at home during creative afternoons as a purely joyful, expressive accessory. Once you finish yours, you will find yourself reaching for it constantly because it makes every ordinary day feel a little more intentional.
Keeping Your Crochet Bonnet with Bow Looking Beautiful
Because this bonnet is likely made from a wool or wool-blend yarn, hand washing in cool water with a gentle wool wash is the safest and kindest approach after wear. Avoid wringing the piece; instead, press it gently between two clean towels to remove excess water before laying it flat to dry, which helps it hold its shape and keeps the bow full and rounded. If you notice the ribbing on the tie looking slightly stretched, a light steam block over that section with an iron held just above the surface will coax it back beautifully. Store it folded loosely or laid flat in a drawer rather than hung, so the tie does not stretch out of shape over time.
Every Crochet Bonnet with Bow you make carries the quiet confidence of something truly made by hand, and that is worth celebrating every single time you tie that bow. If you make yours, share a photo on Pinterest or Instagram and tag it so the whole community can admire what you created.
Follow us on Pinterest and subscribe to the Newsletter so you don’t miss a thing!
Tutorial and photos of this bonnet with bow by: WONDER NETTING.
