
A teal crossbody bag shaped like a half-moon, trimmed in blush ruffles and crowned with two plump red cherries, sits somewhere between cottage charm and vintage whimsy. This pattern unlocks a whole collection of possibilities: gifts for friends, summer market bags, festival accessories, or the kind of handmade piece that stops strangers mid-street to ask where you bought it.
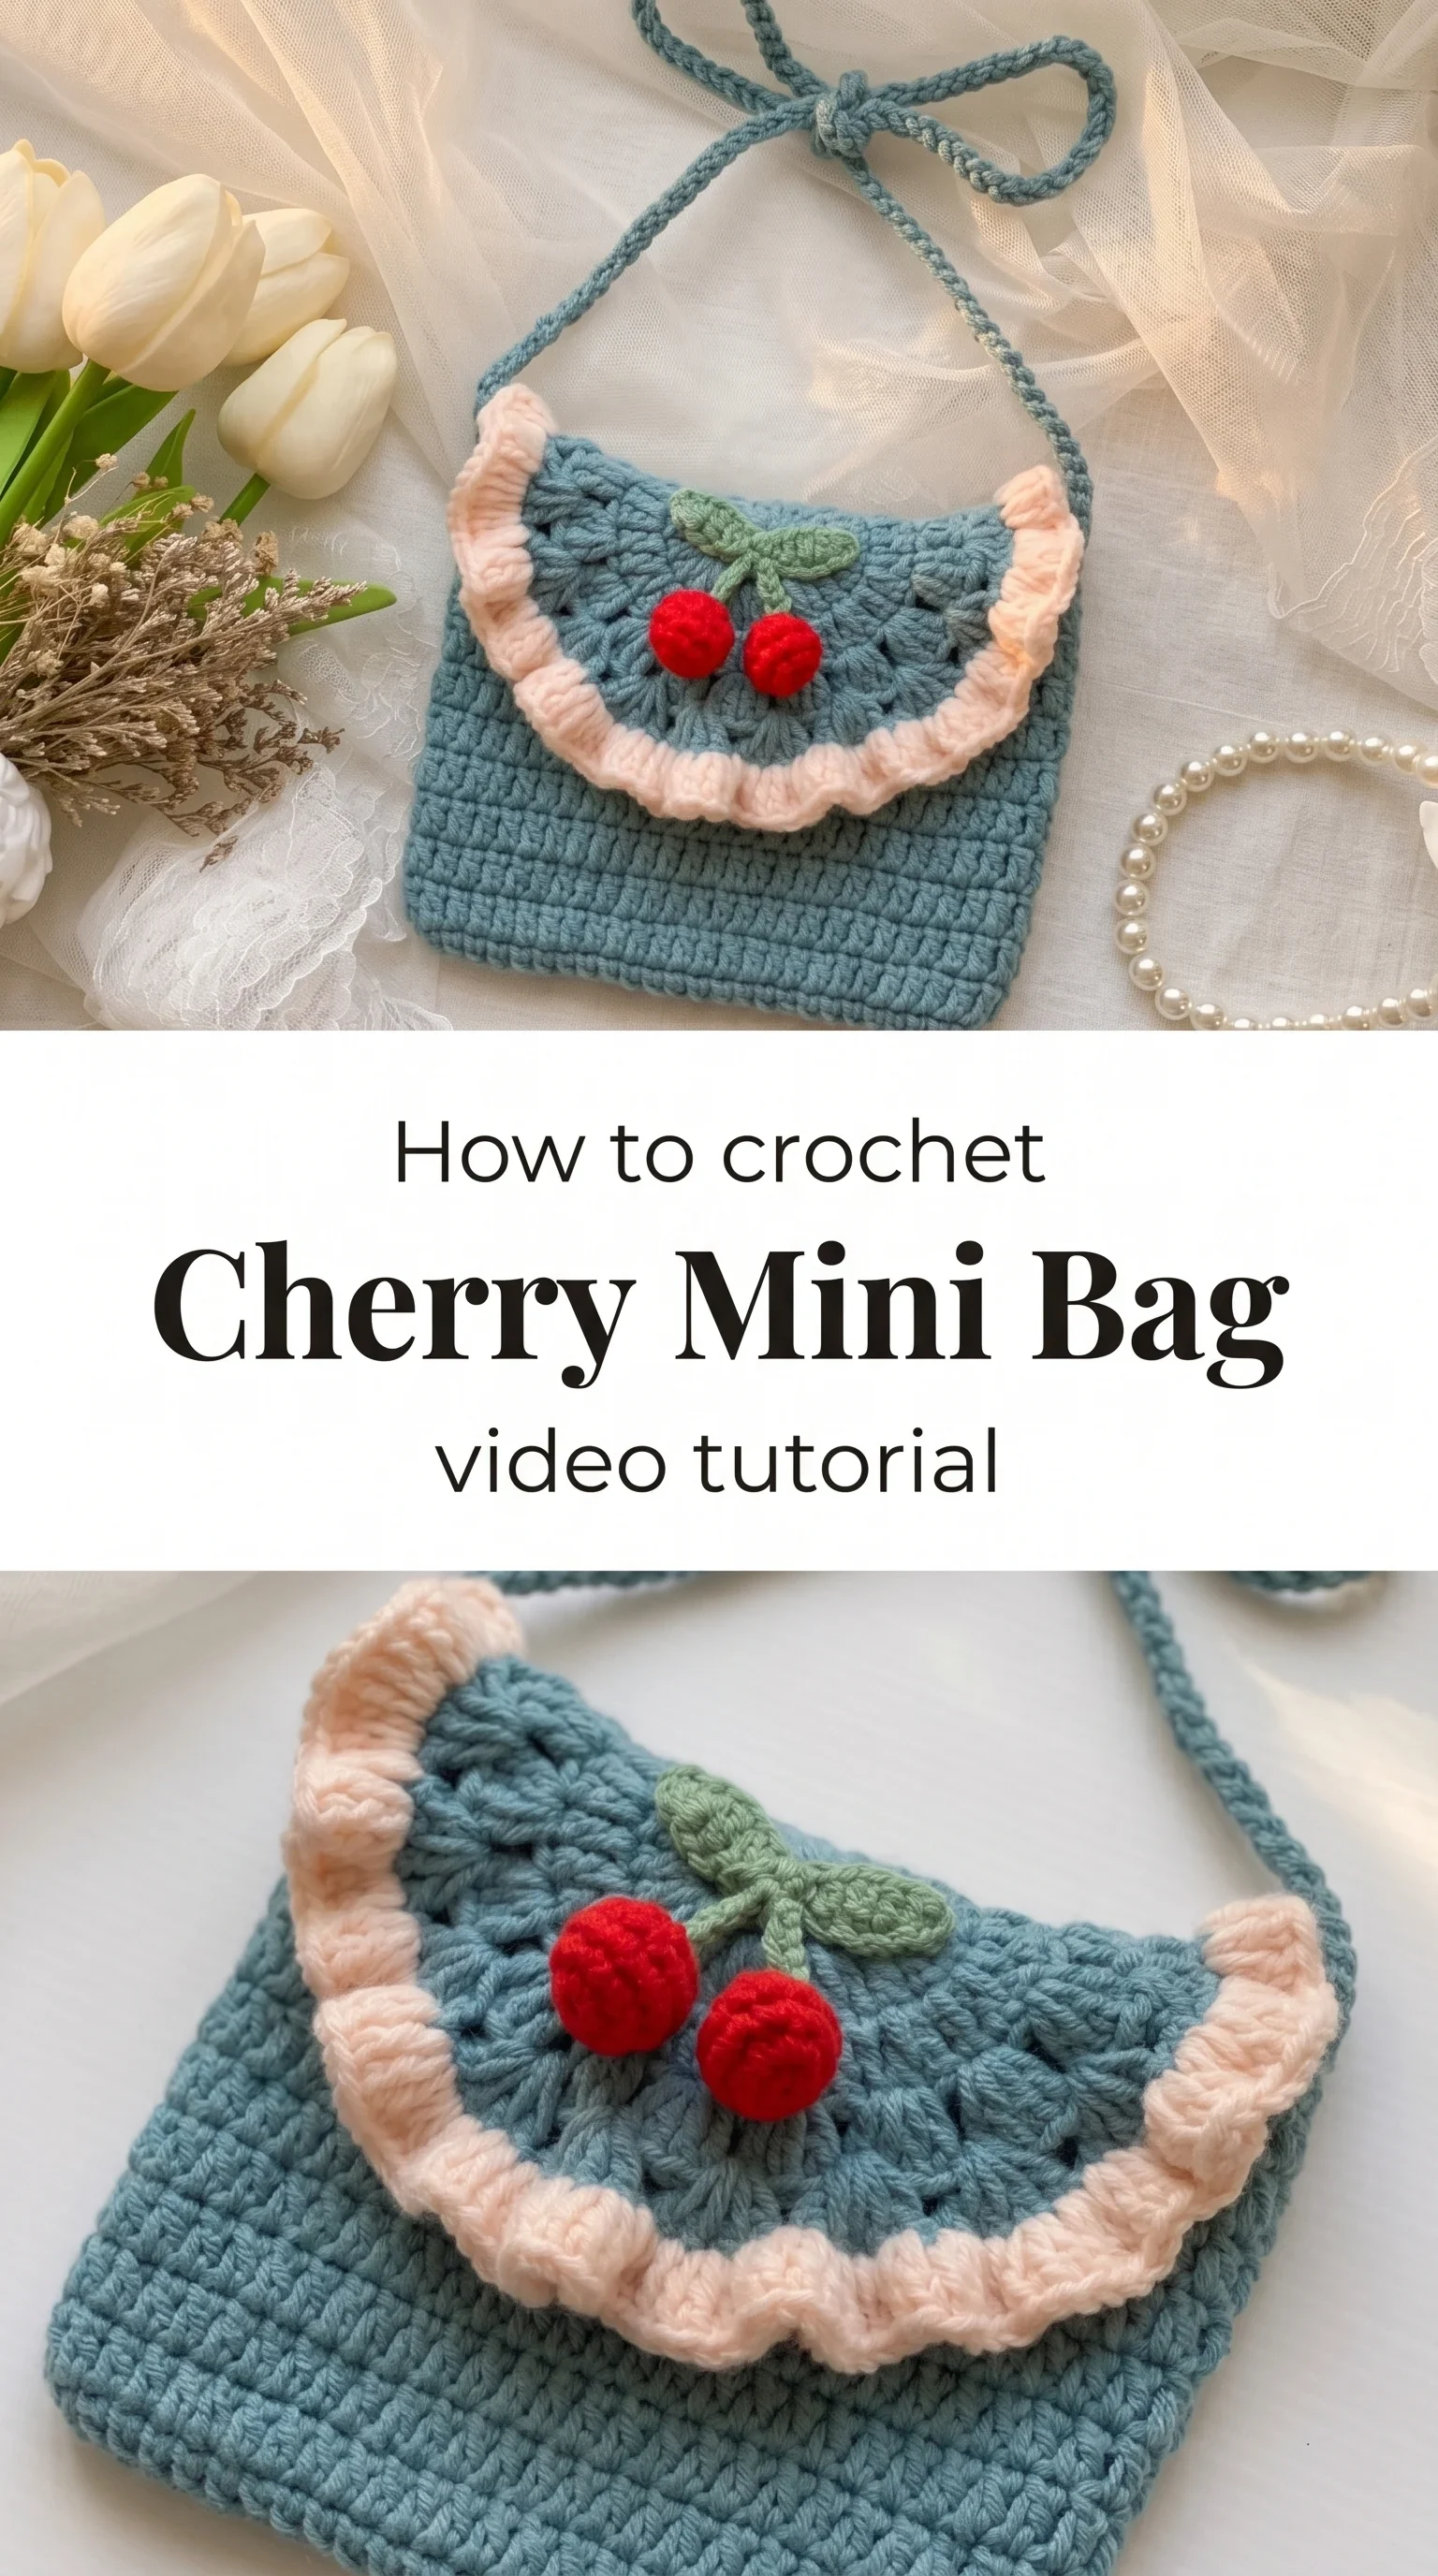
The Cherry Mini Bag
The Crochet Cherry Mini Bag is the sort of piece that makes you slow down and smile before you even pick up your hook. It carries the feeling of sun-warmed afternoons, of cherry-print dresses and flea market finds, of things made with intention rather than convenience. The fan-shaped flap with its scalloped blush border and sculptural cherry embellishments gives the bag a softness that is both playful and considered. It is for the maker who wants their craft to feel like self-expression, not just productivity.
Mini Bag Related Posts:
- Crochet Magic Circle: A Fundamental Technique Essential
- Crochet Hook Organizer: A Practical Crafter’s Companion
- Crochet Lace Stitch: A Delicate and Timeless Design
- Crochet Marshmallow Bag: A Colorful Statement Piece
The version shown in the tutorial uses a soft teal, which reads beautifully against the pale pink ruffle and the deep red of the cherry pom details, but this colorway is only the beginning. Imagine the same structure in dusty sage with cream trim, or terracotta with a golden-yellow ruffle for autumn. The Crochet Cherry Mini Bag adapts to your wardrobe the way a good accessory always should: quietly, generously, and without fuss.
Materials and Tools
For the Crochet Cherry Mini Bag, you will want a DK weight cotton yarn in your main color, something with a slight sheen that holds stitch definition without being stiff. Cotton is ideal here because it gives the bag structure while remaining breathable, and it photographs beautifully for all those flat-lays you will inevitably want to take. A 3.5mm hook works well for achieving a firm, even fabric that will not lose its shape when the bag is carried. You will also need a yarn needle for weaving in ends and attaching the cherry embellishments, plus a small amount of red and green yarn for the decorative cherries.
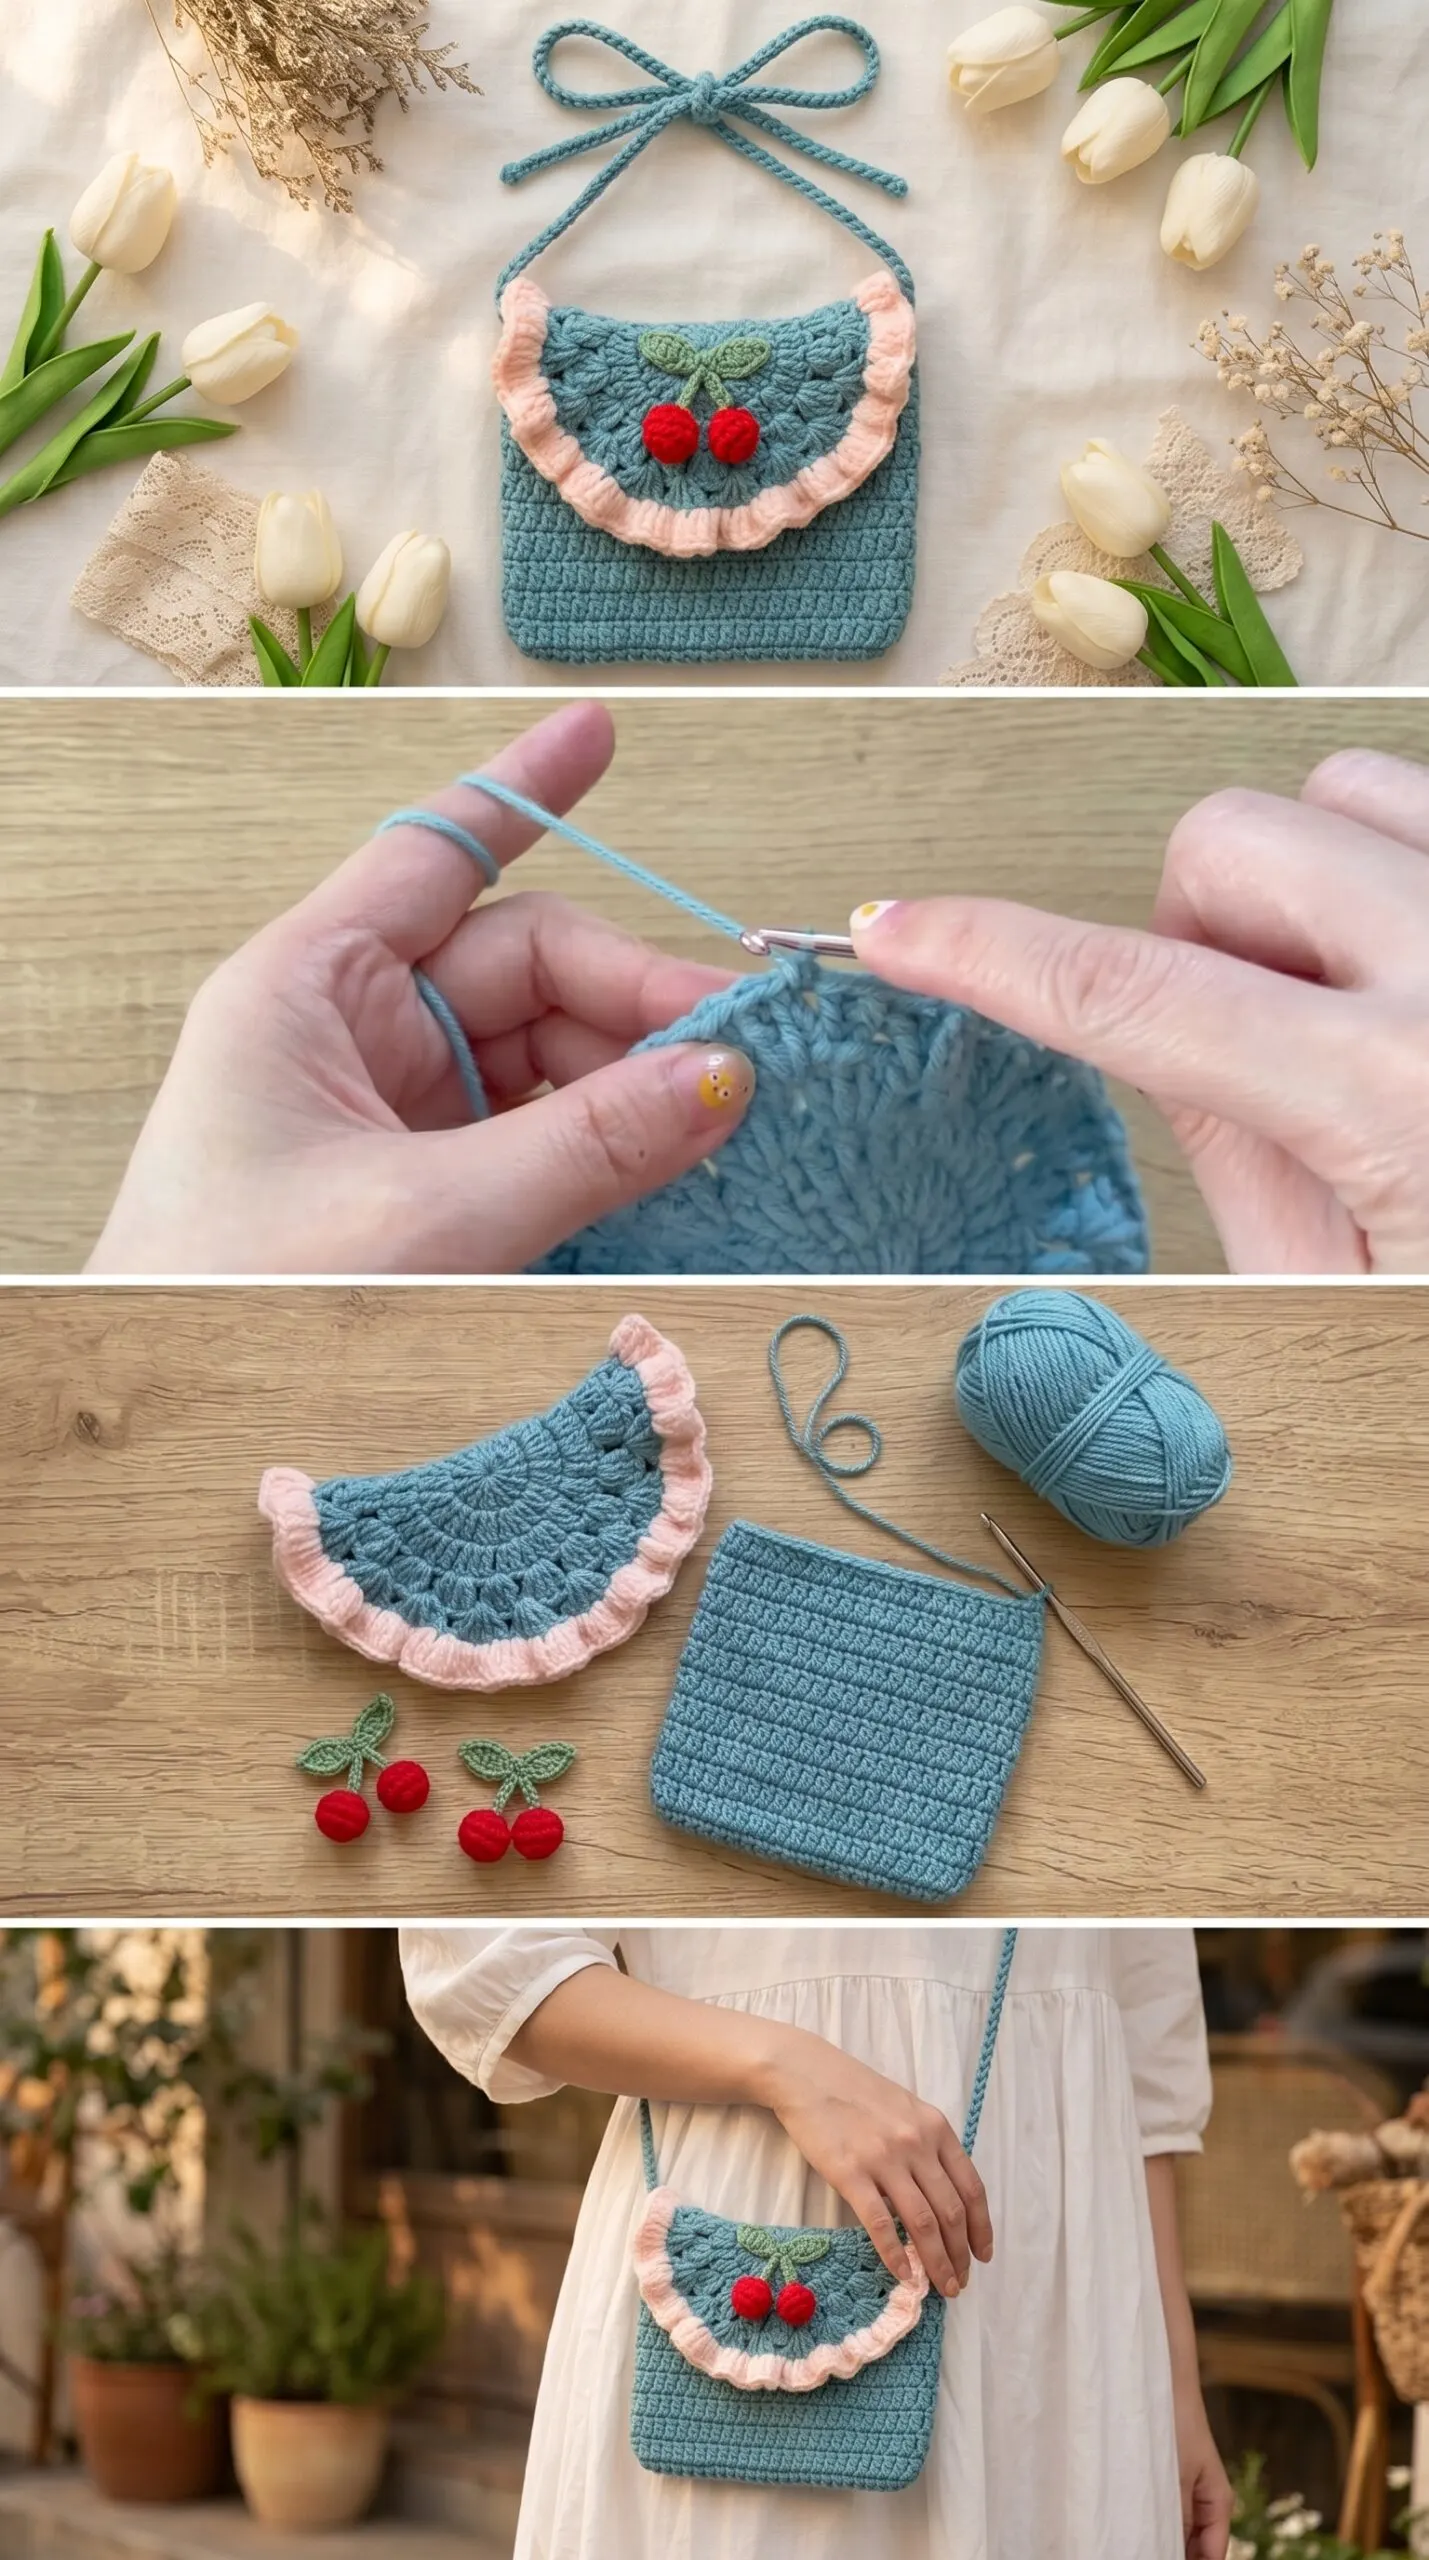
Stitch by Stitch
The Crochet Cherry Mini Bag draws on a small, approachable stitch vocabulary that rewards repetition and builds confidence with every row.
BULLET:SC (Single Crochet) The foundation stitch used throughout the body of the bag, creating a tight, structured fabric that holds its rectangular shape.
BULLET:DC (Double Crochet) Used in the fan-stitch pattern across the flap, this stitch opens up the fabric into those graceful, radiating arcs that give the lid its half-moon character.
BULLET:CH (Chain) Works both as a foundation and as the drawstring strap, crocheted into a long, twisted cord that ties at the top.
BULLET:SL ST (Slip Stitch) Used to join rounds cleanly and to work the ruffle edging along the flap with a seamless, polished finish.
There is something quietly meditative about working the fan stitch repeat across the flap, the way the DCs open and close in a rhythm that becomes almost automatic after the first few repeats, leaving your thoughts free to wander.
Construction
The bag is worked in two distinct parts: a rectangular body crocheted flat in rows of SC, and a separate half-moon flap worked in the round from a central point outward using DC fan clusters. Once both sections are complete, the flap is sewn onto the top of the body and the blush ruffle is crocheted directly along its curved edge in a series of SC and DC increases that naturally frill and gather. Beginners will find the body section a confidence-building starting point before moving into the slightly more textured flap construction. If you want to personalise your bag, try working the body in a stripe sequence or swapping the ruffle color to match a favorite outfit.
Wearing Your Cherry Mini Bag
The Crochet Cherry Mini Bag sits beautifully against a floral smocked top and denim shorts for a summer afternoon look, as the lifestyle shots from the tutorial show so well. It also works over a simple linen dress for something a little more considered, or clipped onto a tote as an outer pocket for festivals and markets. Finishing this piece means carrying something you made with your own hands every single day, which is reason enough to cast on tonight.
Keeping Your Cherry Mini Bag Looking Its Best
Because the bag is worked in cotton, hand washing in cool water with a gentle soap is the kindest approach, and it will keep the teal from fading and the blush ruffle from losing its body. Lay it flat on a clean towel to dry, gently reshaping the half-moon flap so it holds its curve as the yarn sets. If the ruffle begins to look a little limp after wear, a light blocking with a damp cloth and a cool iron held just above the surface will revive it without distorting the stitches. Store the bag stuffed loosely with tissue paper if you are putting it away for a season, so the structure of the body stays true.
Every Crochet Cherry Mini Bag you make is a small, wearable piece of handmade culture, the kind of thing that carries a story in its stitches and a season in its colors. Watch the full video tutorial for the complete pattern, pick up your 3.5mm hook, and then share your finished bag on Pinterest so other makers can find the pattern and fall in love with it too.
Follow us on Pinterest and subscribe to the Newsletter so you don’t miss a thing!
Tutorial and photos of this cherry mini bag by: Vivi Crochet 🌷.
