
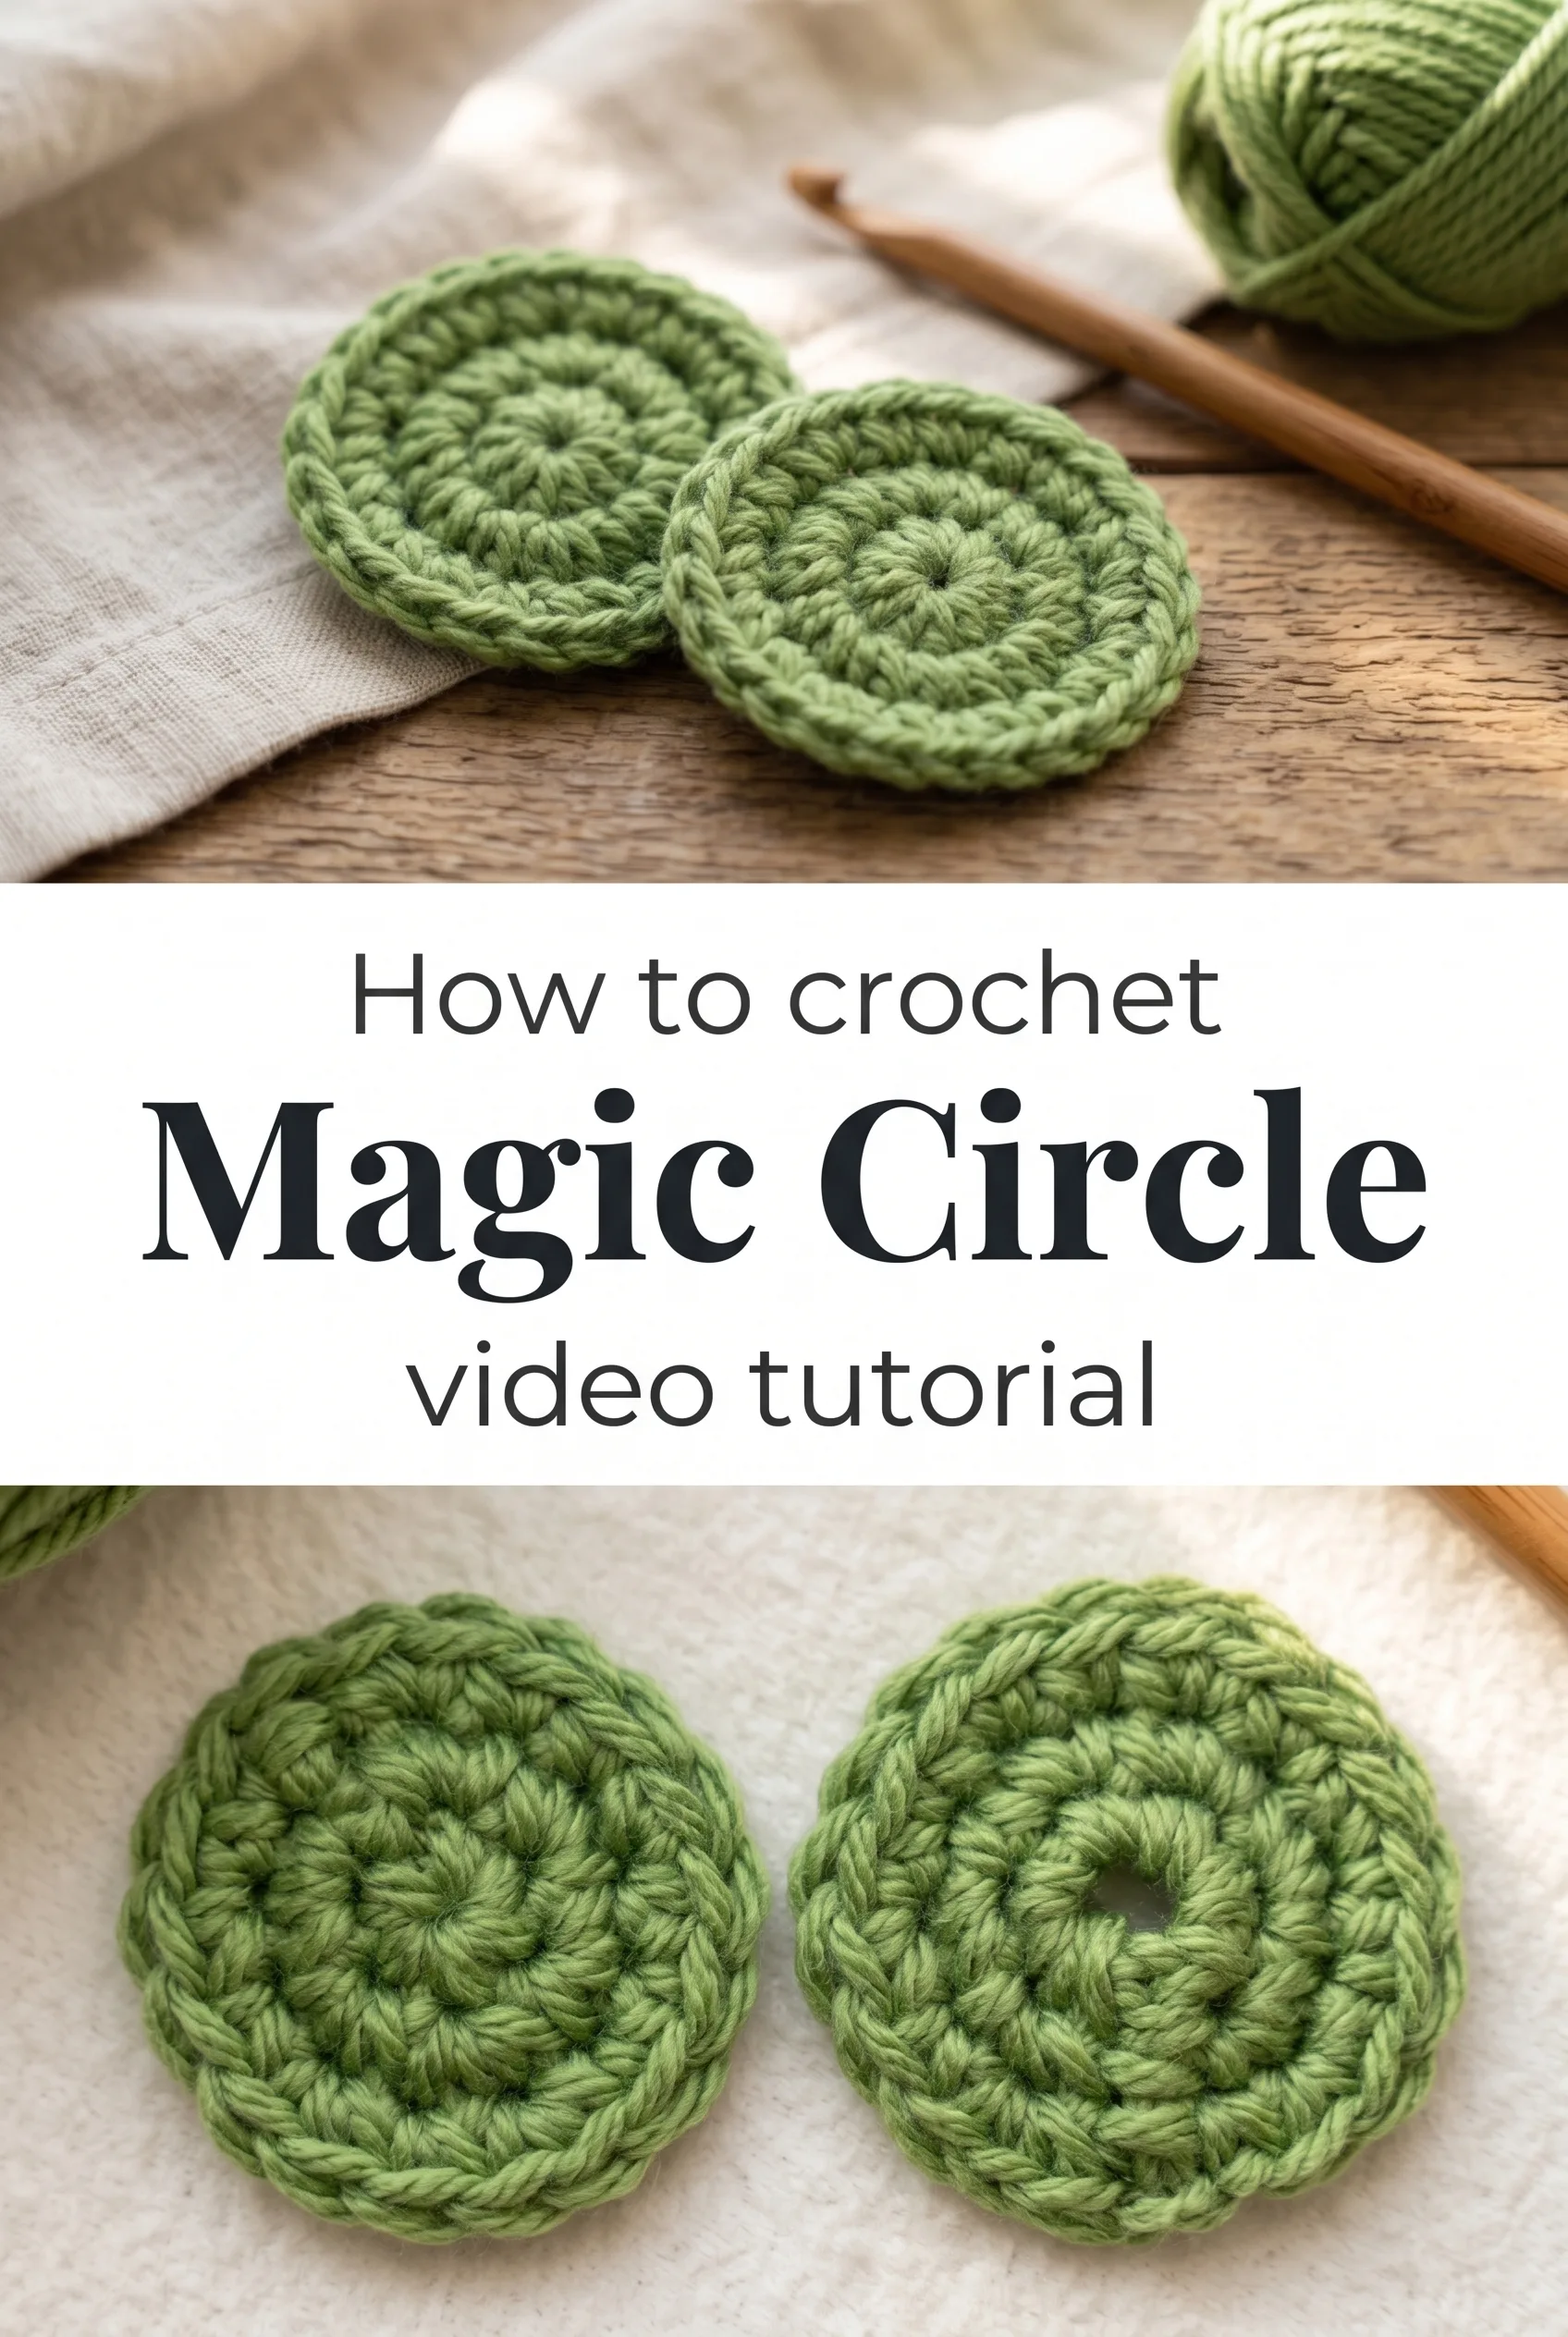
I am absolutely obsessed with this tutorial and could not wait to share it with you because the Crochet Magic Circle is one of those techniques that genuinely changes how you crochet forever. Once you learn it, every circular project you make will have that clean, tight centre that looks like it was crafted by someone who has been doing this for decades.
The Magic Circle
The Crochet Magic Circle is the kind of foundation that feels almost like a small act of witchcraft the first time you pull it closed. That centre, so impossibly neat and flat, with no gap, no hole, no awkward little space where the yarn refuses to behave. It is for anyone who has ever started a granny square or an amigurumi piece and felt that quiet frustration at an untidy beginning. This technique transforms that frustration into something that feels genuinely satisfying, both in the making and in the finished result.
Magic Circle Related Posts:
- Crochet Sea Turtle: A Charming Ocean Companion
- Crochet Perfect Fit Hat: A Timeless Winter Essential
- Crochet Hair Scrunchie: A Sweet and Playful Accessory
- Crochet Handbag: A Chic and Timeless Accessory
Green is having a full moment right now, and the warm, earthy medium green shown in this tutorial feels right at home alongside terracotta, cream, rust, and deep forest tones. Whether you are building a flat circle for a coaster, a base for a basket, or the first round of an amigurumi figure, the Crochet Magic Circle works across every colour mood and every project type you can imagine. It is the kind of technique that quietly sits at the heart of so many things you already love to make.
Materials and Tools
For practising the Crochet Magic Circle, a smooth worsted weight yarn is your best friend because it allows you to clearly see each stitch as it forms, which makes the learning process so much more forgiving and enjoyable. The tutorial uses a green worsted weight yarn, and if you want that same satisfying density and clear stitch definition, look for a cotton or cotton-blend in the same weight, as it holds its shape beautifully without too much stretch. A 4mm crochet hook is ideal here, giving you enough control to work the initial loop and pull tight without fighting the yarn. Keep a stitch marker on hand to track your rounds, because once you are working in a continuous spiral, that little clip becomes your most trusted tool.
Stitch by Stitch
The Crochet Magic Circle relies on just a handful of stitches, all of which you will use again and again across hundreds of future projects.
BULLET:MR (Magic Ring) The adjustable loop that forms the centre of your work, pulled closed after the first round of stitches is complete to eliminate any gap.
BULLET:SC (Single Crochet) The tightest and most compact of the basic stitches, used here to build a flat, dense circle with excellent stitch definition.
BULLET:DC (Double Crochet) A taller stitch created with a YO before inserting the hook, which adds height and a slightly more open texture to your rounds.
BULLET:YO (Yarn Over) The motion of wrapping the yarn over the hook before pulling through, used in every DC and essential to the rhythm of working in the round.
There is something quietly meditative about working in a continuous spiral, each SC or DC settling into place with a soft, even pull, the circle growing beneath your fingers in a way that feels almost like breathing.
Construction
The Crochet Magic Circle is worked entirely in the round from the very centre outward, which means there are no seams, no sewing together, and no panels to worry about. You begin by forming the adjustable loop, working your first round of stitches directly into that loop, and then pulling the tail end to close the centre completely before continuing to build each subsequent round. For beginners, the most important thing to remember is to keep your tension even as you pull the ring closed, because a loose pull will leave a small opening while too tight a pull can distort the first few stitches. If you want to customise the size of your finished circle, simply add or reduce increase rounds, and the shape will remain flat and even as long as your stitch count increases consistently with each round.
Wearing Your Magic Circle
A finished flat circle made with the Crochet Magic Circle technique can become so many things depending on where your imagination takes you. Use a larger version as a textured wall hanging or a chunky coaster styled on a linen-covered coffee table alongside a ceramic mug. Work several in graduating sizes and layer them as botanical decorations or stitch them into the base of a market bag that you carry to the farmers market every Saturday morning.
Keeping Your Crocheted Circle Flat and Fresh
Cotton and cotton-blend worsted weight yarns wash beautifully on a gentle cool cycle inside a mesh laundry bag, and this is almost always the safest first step for any crocheted circle you have worked hard on. After washing, reshape the piece by hand while it is still damp, smoothing it flat against a blocking mat and pinning the outer edges gently if you want the circle to be perfectly round rather than slightly ruffled. Avoid wringing or twisting the piece as this can distort the tension of those carefully worked rounds. Store finished circles flat, not folded, to keep that neat centre and even shape looking as good as the day you pulled the magic ring closed.
Learning the Crochet Magic Circle is one of those moments in your crochet life that quietly shifts everything forward, and you should feel genuinely proud every time that centre pulls closed without a single gap. Save this to your Pinterest crochet board so you can find it again the next time a circular project calls your name.
Follow us on Pinterest and subscribe to the Newsletter so you don’t miss a thing!
Tutorial and photos of this magic circle by: ElyseCrochets 💌.
