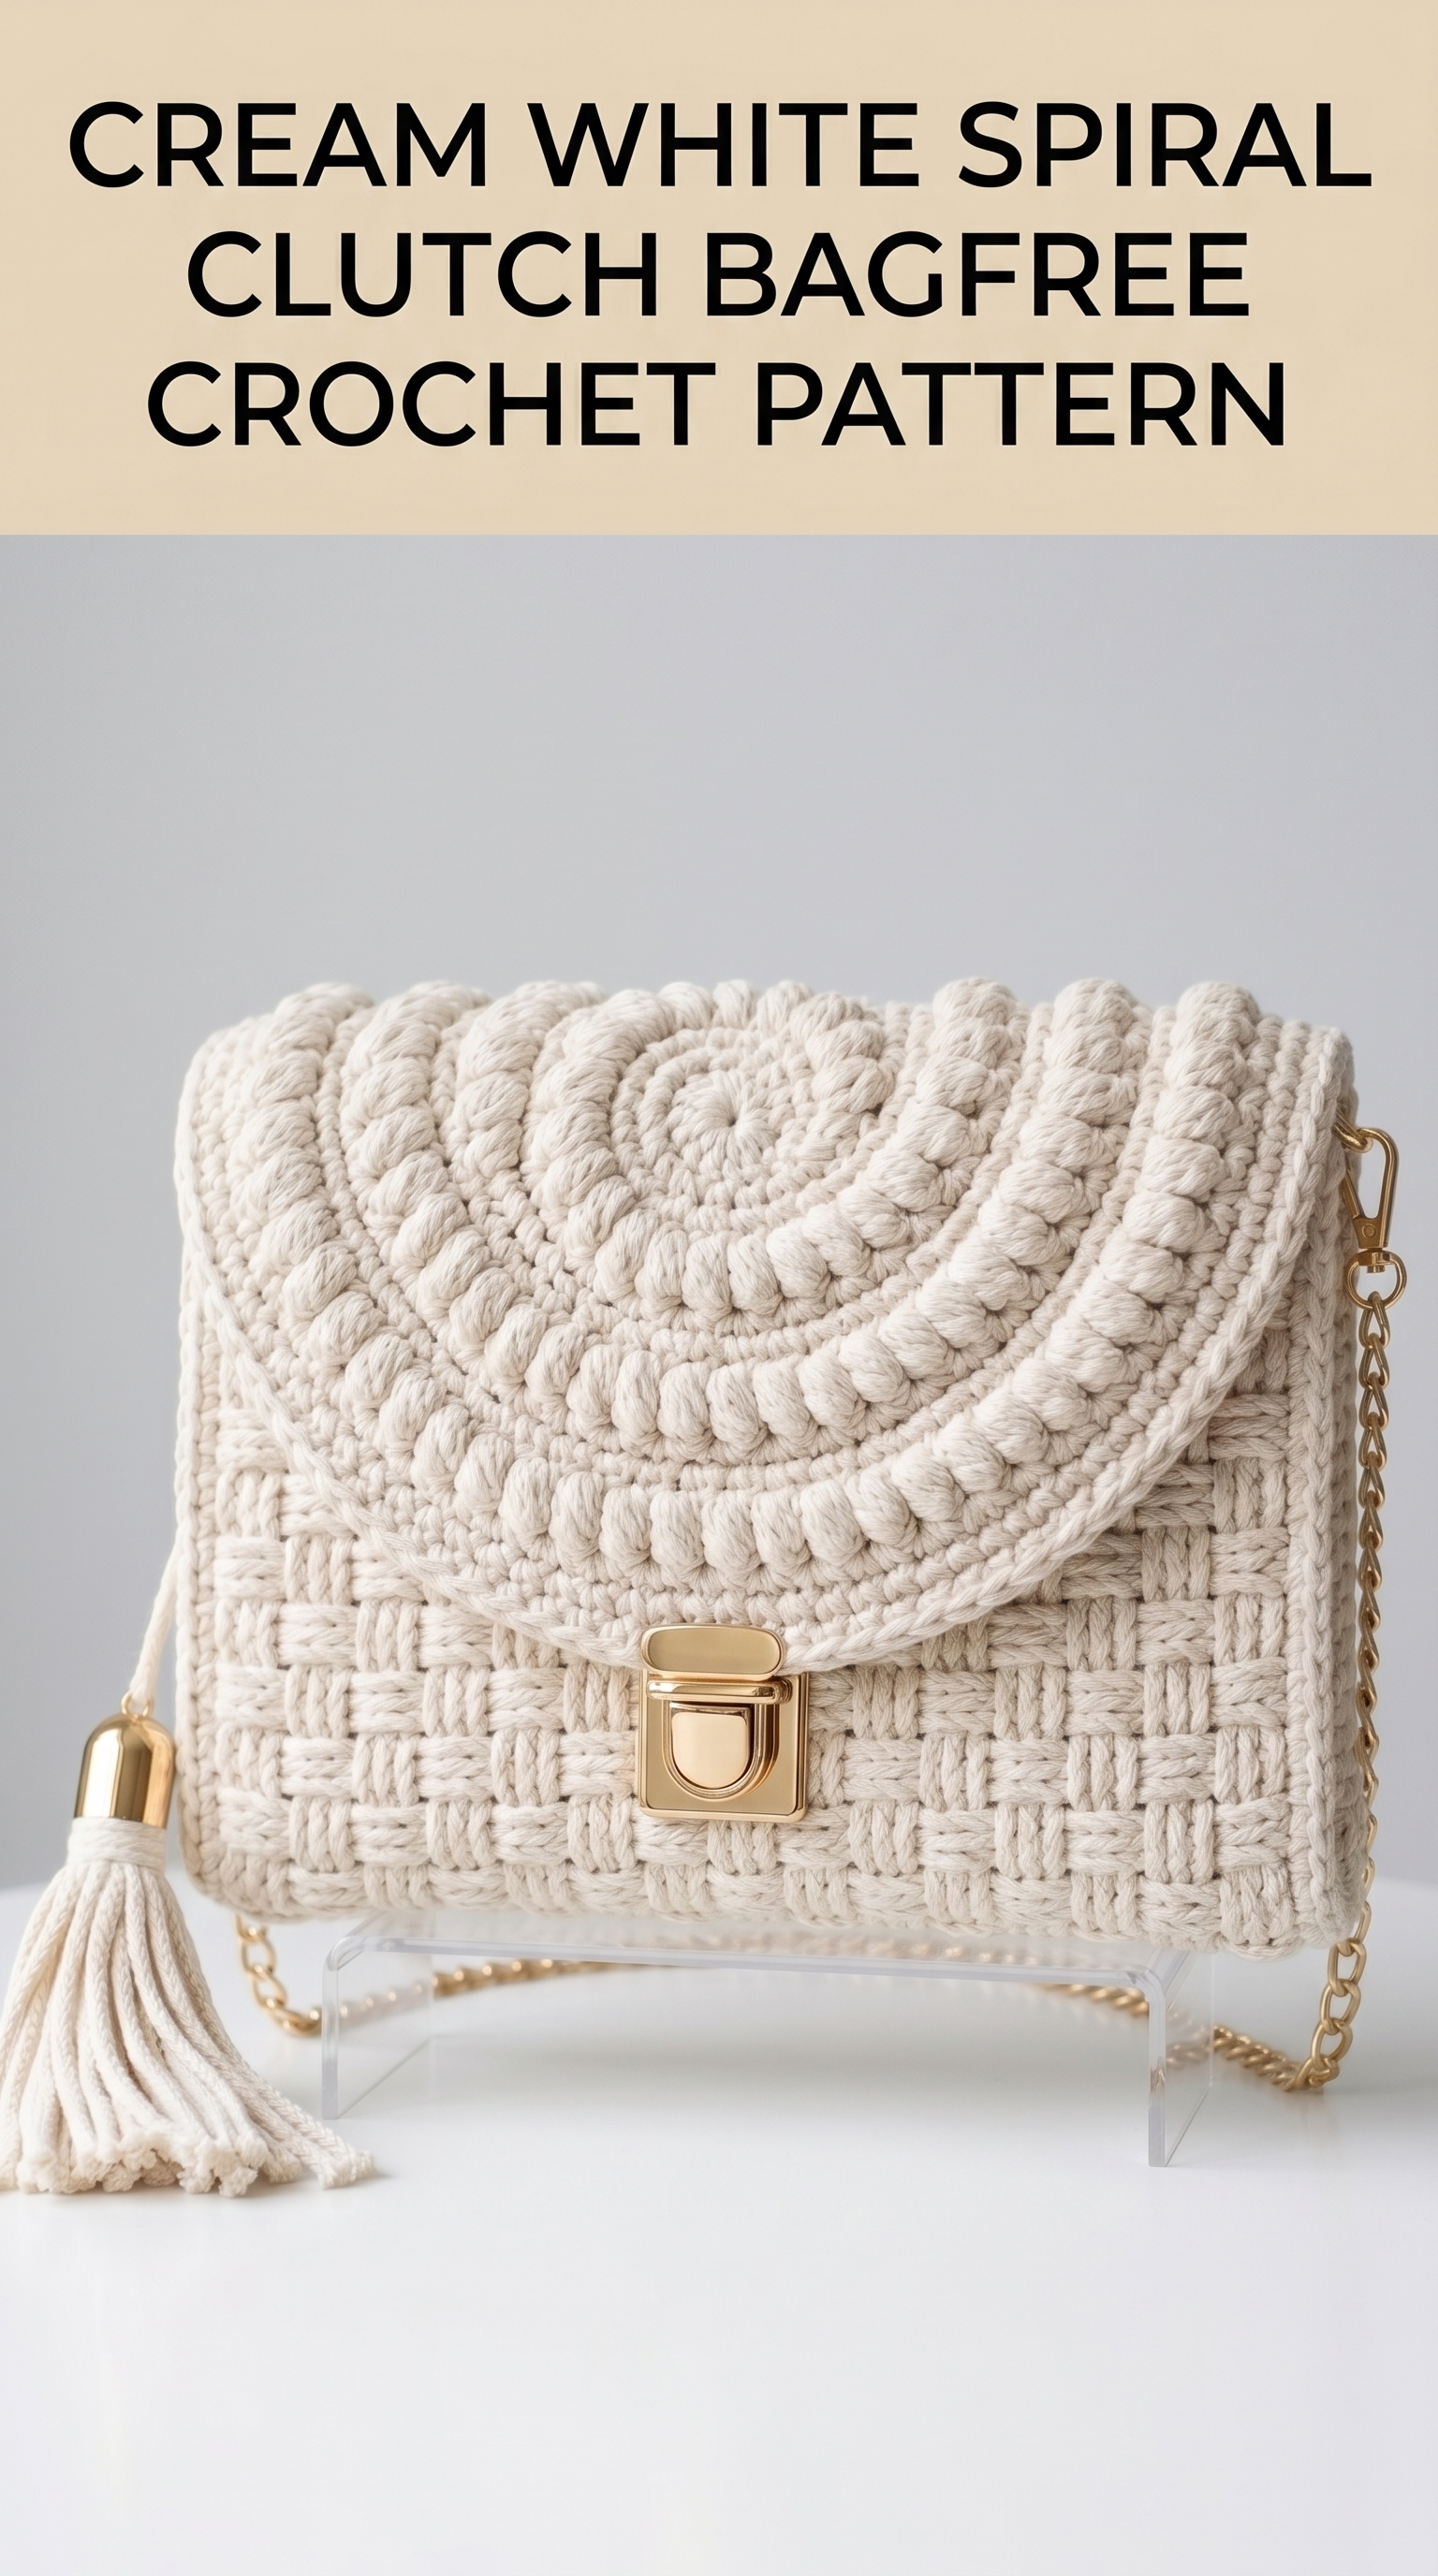
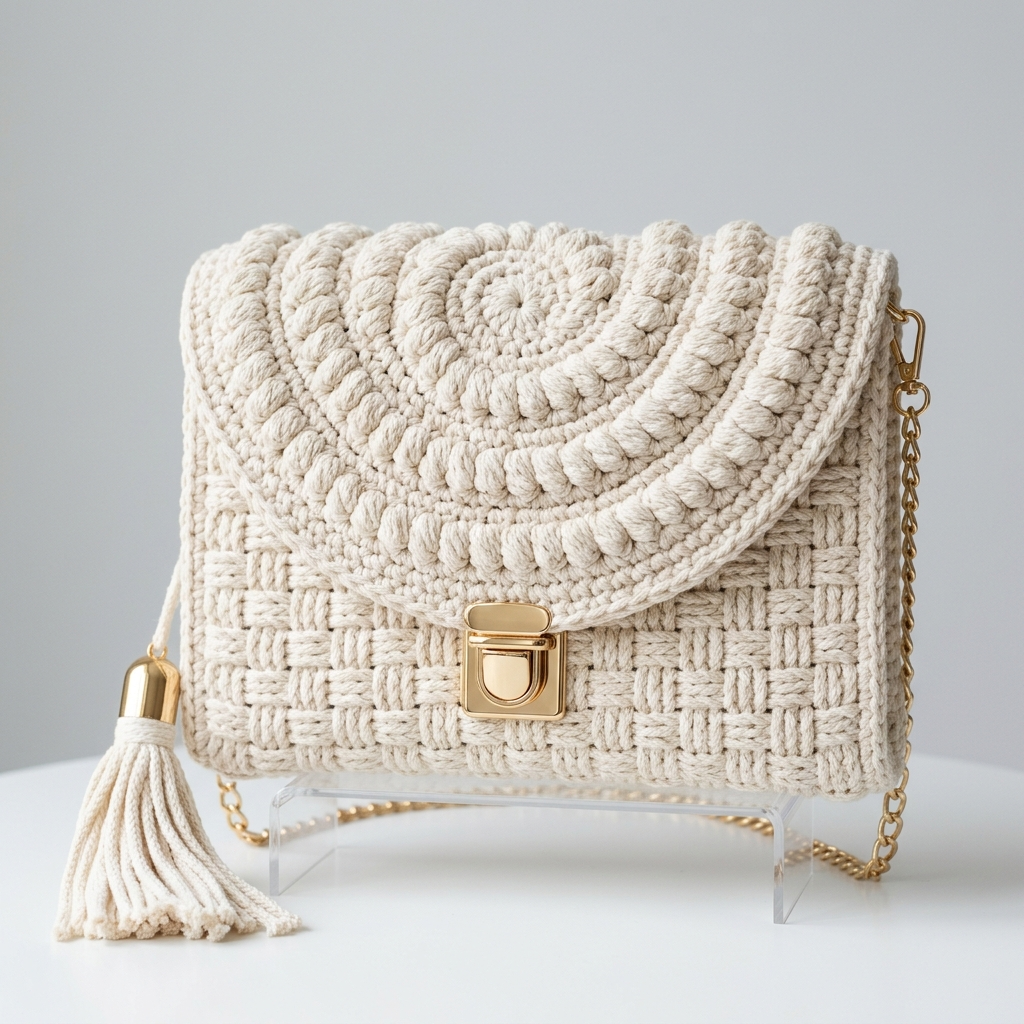
This stunning cream white spiral clutch bag might just be the most elegant crochet accessory you ever make. I fell in love with the combination of the textured basketweave body and that gorgeous spiral bobble flap. It looks boutique-bought, but I promise you can absolutely make this yourself.
If you know your basic stitches and have tackled a few projects before, you are ready. This crochet pattern walks you through every single step. The construction is simpler than it appears because we work the pieces flat and join them at the end.
Let me show you exactly how to create this beautiful clutch bag from start to finish.
Why This Spiral Clutch Bag Pattern Works So Well
The magic of this design comes from combining two very different textures. The body features a classic basketweave stitch that creates those woven-looking squares. The flap showcases a spiral bobble pattern that radiates out from the center like a flower blooming.
Together, they create visual interest without competing with each other. The cream white yarn keeps everything cohesive and lets the textures do all the talking.
The gold hardware elevates this from craft project to actual accessory you will reach for constantly. Date nights, weddings, brunches with friends. This clutch goes everywhere.
Materials You Will Need
Yarn:
Hook:
Notions:
Finished Dimensions
Gauge Check
Work 16 stitches and 12 rows in single crochet to get a 10cm x 10cm (4 inch x 4 inch) square.
Gauge matters for bags because you want a tight, sturdy fabric that will not stretch out of shape when you put things inside. If your gauge swatch feels floppy, go down a hook size.
Abbreviations and Stitch Definitions
Let me explain every stitch before we begin so you can reference this section anytime.
ch – chain: Yarn over, pull through loop on hook. The foundation of most crochet.
sl st – slip stitch: Insert hook, yarn over, pull through stitch AND loop on hook in one motion. Used for joining and moving across stitches invisibly.
sc – single crochet: Insert hook, yarn over, pull up loop (2 loops on hook), yarn over, pull through both loops. Your shortest basic stitch.
dc – double crochet: Yarn over, insert hook, yarn over, pull up loop (3 loops on hook), yarn over, pull through 2 loops, yarn over, pull through remaining 2 loops. Creates a taller stitch.
FPdc – front post double crochet: Yarn over, insert hook from front to back to front around the POST (vertical part) of the stitch below, complete as regular double crochet. This pushes the stitch forward creating texture.
BPdc – back post double crochet: Yarn over, insert hook from back to front to back around the post of the stitch below, complete as regular double crochet. This pushes the stitch backward.
bob – bobble: Work 5 double crochets into the same stitch but stop each one before the final yarn over (leaving 6 loops on hook), then yarn over and pull through all 6 loops at once. Creates a rounded bump.
inc – increase: Work 2 stitches into 1 stitch.
Special Techniques
Basketweave Stitch Pattern
This stitch creates the woven appearance on the bag body. You alternate between front post and back post double crochets in groups of 4, then shift the pattern every few rows.
Do not worry if this sounds complicated. I break it down row by row in the instructions.
Spiral Bobble Pattern
The flap works in continuous rounds from the center outward. Bobbles appear in a spiral formation, which happens naturally when you increase at regular intervals.
The trick is counting carefully and placing markers at the start of each round.
Cream White Spiral Clutch Bag Crochet Pattern Instructions
Part 1: The Bag Body (Front and Back Worked Together)
We work the body as one flat rectangle, then fold and seam the sides.
Foundation Row: Ch 39.
Row 1 (WS): Dc in 4th ch from hook and in each ch across. Turn. (36 dc)
Row 2 (RS): Ch 2 (does not count as stitch throughout), *FPdc around next 4 sts, BPdc around next 4 sts* repeat across. Turn. (36 sts)
Row 3: Ch 2, *BPdc around next 4 sts, FPdc around next 4 sts* repeat across. Turn. (36 sts)
Rows 4-5: Repeat Rows 2-3.
Row 6: Ch 2, *BPdc around next 4 sts, FPdc around next 4 sts* repeat across. Turn. (36 sts)
Here is where the basketweave shifts. You are reversing which posts you work into front versus back.
Row 7: Ch 2, *FPdc around next 4 sts, BPdc around next 4 sts* repeat across. Turn. (36 sts)
Rows 8-9: Repeat Rows 6-7.
Rows 10-13: Repeat Rows 2-5.
Rows 14-17: Repeat Rows 6-9.
Rows 18-21: Repeat Rows 2-5.
Rows 22-25: Repeat Rows 6-9.
Rows 26-29: Repeat Rows 2-5.
Rows 30-33: Repeat Rows 6-9.
Rows 34-37: Repeat Rows 2-5.
Fasten off, leaving a long tail for seaming.
You should now have a rectangle with clear basketweave texture. The squares should look like a checkerboard of raised and recessed sections.
Part 2: The Spiral Bobble Flap
This piece works from the center out in joined rounds.
Magic Ring: Make a magic ring (adjustable loop).
Round 1: Ch 2, work 8 dc into ring, sl st to top of first dc to join. Pull ring tight. (8 dc)
Round 2: Ch 2, 2 dc in each st around, sl st to join. (16 dc)
Round 3: Ch 2, *dc in next st, bob in next st* repeat around, sl st to join. (8 dc, 8 bob)
Round 4: Ch 2, *2 dc in next st, dc in next st* repeat around, sl st to join. (24 dc)
Round 5: Ch 2, *dc in next 2 sts, bob in next st* repeat around, sl st to join. (16 dc, 8 bob)
Round 6: Ch 2, *dc in next 2 sts, 2 dc in next st* repeat around, sl st to join. (32 dc)
Round 7: Ch 2, *dc in next 3 sts, bob in next st* repeat around, sl st to join. (24 dc, 8 bob)
Round 8: Ch 2, *dc in next 3 sts, 2 dc in next st* repeat around, sl st to join. (40 dc)
Round 9: Ch 2, *dc in next 4 sts, bob in next st* repeat around, sl st to join. (32 dc, 8 bob)
Round 10: Ch 2, *dc in next 4 sts, 2 dc in next st* repeat around, sl st to join. (48 dc)
Round 11: Ch 2, *dc in next 5 sts, bob in next st* repeat around, sl st to join. (40 dc, 8 bob)
Round 12: Ch 2, *dc in next 5 sts, 2 dc in next st* repeat around, sl st to join. (56 dc)
The circle should now lay flat. If it cups or ruffles, adjust your tension.
Shaping the Flap into a Rectangle
Now we work back and forth to create straight edges.
Row 1: Ch 2, dc in next 36 sts. Turn. Leave remaining sts unworked. (36 dc)
Row 2: Ch 2, *FPdc around next 4 sts, BPdc around next 4 sts* repeat across. Turn. (36 sts)
Row 3: Ch 2, *BPdc around next 4 sts, FPdc around next 4 sts* repeat across. Turn. (36 sts)
Rows 4-5: Repeat Rows 2-3.
Fasten off, leaving a long tail.
Part 3: Bag Bottom (Optional Structured Base)
Foundation Row: Ch 39.
Row 1: Sc in 2nd ch from hook and in each ch across. Turn. (38 sc)
Rows 2-5: Ch 1, sc in each st across. Turn. (38 sc)
Fasten off.
This creates a sturdy base. You can also skip this and just fold the body rectangle to create a natural bottom crease.
Assembly Instructions
Step 1: Fold the Body
Fold your basketweave rectangle in half with wrong sides together. The fold becomes your bag bottom.
Step 2: Seam the Sides
Using your tapestry needle and long tail, whipstitch or mattress stitch both side edges closed. Work through both layers, keeping stitches even and tight.
Step 3: Attach the Flap
Position the flap at the back top edge of the bag. The spiral center should face outward. Pin in place.
Whipstitch the straight edge of the flap to the back panel. The basketweave border rows on the flap help it blend seamlessly with the bag body.
Step 4: Install Hardware
Push lock clasp: Mark center of flap front and center of bag front where they meet when flap is closed. Follow your specific clasp instructions. Most require small holes poked through the fabric with an awl, then posts pushed through and secured with washers.
D-rings for strap: Attach one D-ring to each side seam at the top. You can crochet small tabs (ch 10, sl st to attach) or hand sew them in place.
Chain strap: Clip your chain to both D-rings using lobster clasps.
Tassel: Create a tassel from matching yarn by wrapping yarn around a 10cm card about 40 times, tying at top, cutting at bottom, and wrapping just below the top to create the tassel head. Attach to one side near the clasp.
Optional Fabric Lining
Cut two pieces of cotton fabric slightly smaller than your bag panels. Hem edges. Hand stitch inside the bag to hide yarn ends and create a polished interior. A lining also protects the crochet from items inside your bag.
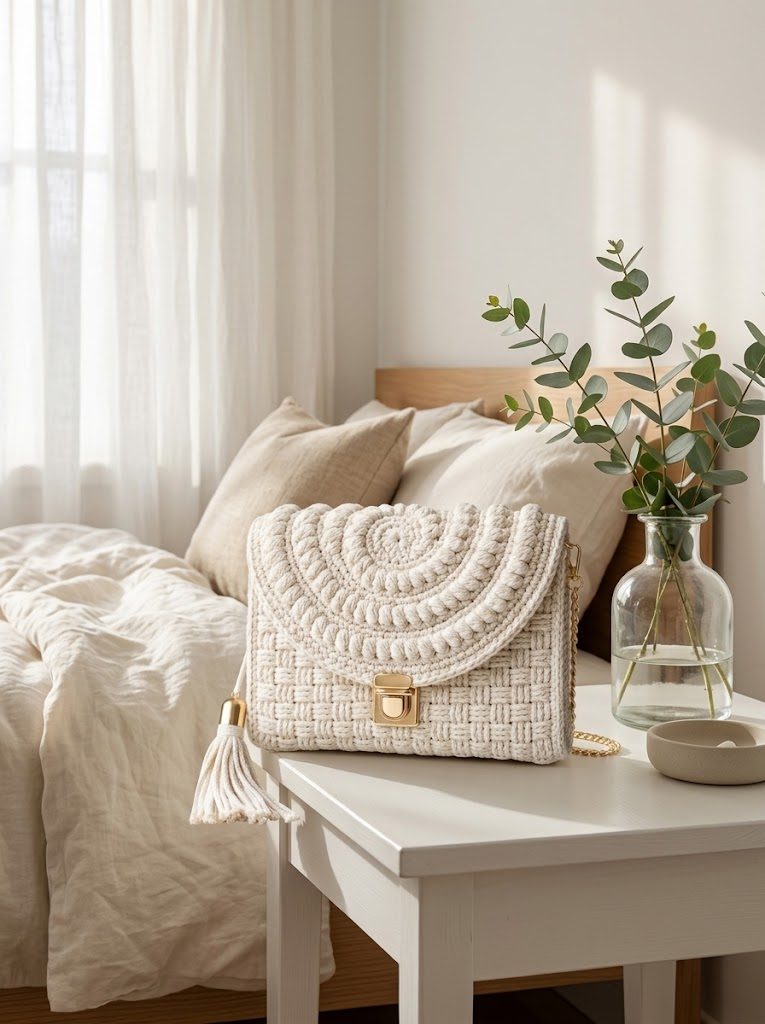
Styling Your Finished Clutch
This cream white spiral clutch bag works beautifully with:
The neutral color matches everything while the texture makes it special.
Helpful Tips for Success
Tension matters. A too-loose gauge creates a floppy bag. Keep your stitches firm and even.
Block before assembly. Wet blocking or steam blocking your pieces helps them lay flat and makes seaming easier.
Count religiously. The basketweave and spiral patterns require consistent stitch counts. Place markers every 10 stitches if helpful.
Take breaks on the bobbles. They are more time consuming than regular stitches. Work a few rounds, rest your hands.
You Did It
Thank you so much for making this spiral clutch bag crochet pattern with me. I genuinely hope you love your finished bag as much as I love mine. There is something incredibly satisfying about carrying an accessory you made yourself.
I would absolutely love to see your finished clutch. Tag me on Instagram or share in my Facebook group. Seeing your makes is honestly the best part of sharing patterns.
Happy crocheting, friend. You have got this.
