I absolutely love when a crochet project combines beauty and function. This lavender three-tier hanging wall basket does exactly that. It is a stunning vertical organizer that works up quickly using basic stitches and chunky yarn. Whether you want to display small succulents, store craft supplies, or organize mail by the door, this wall basket has you covered.
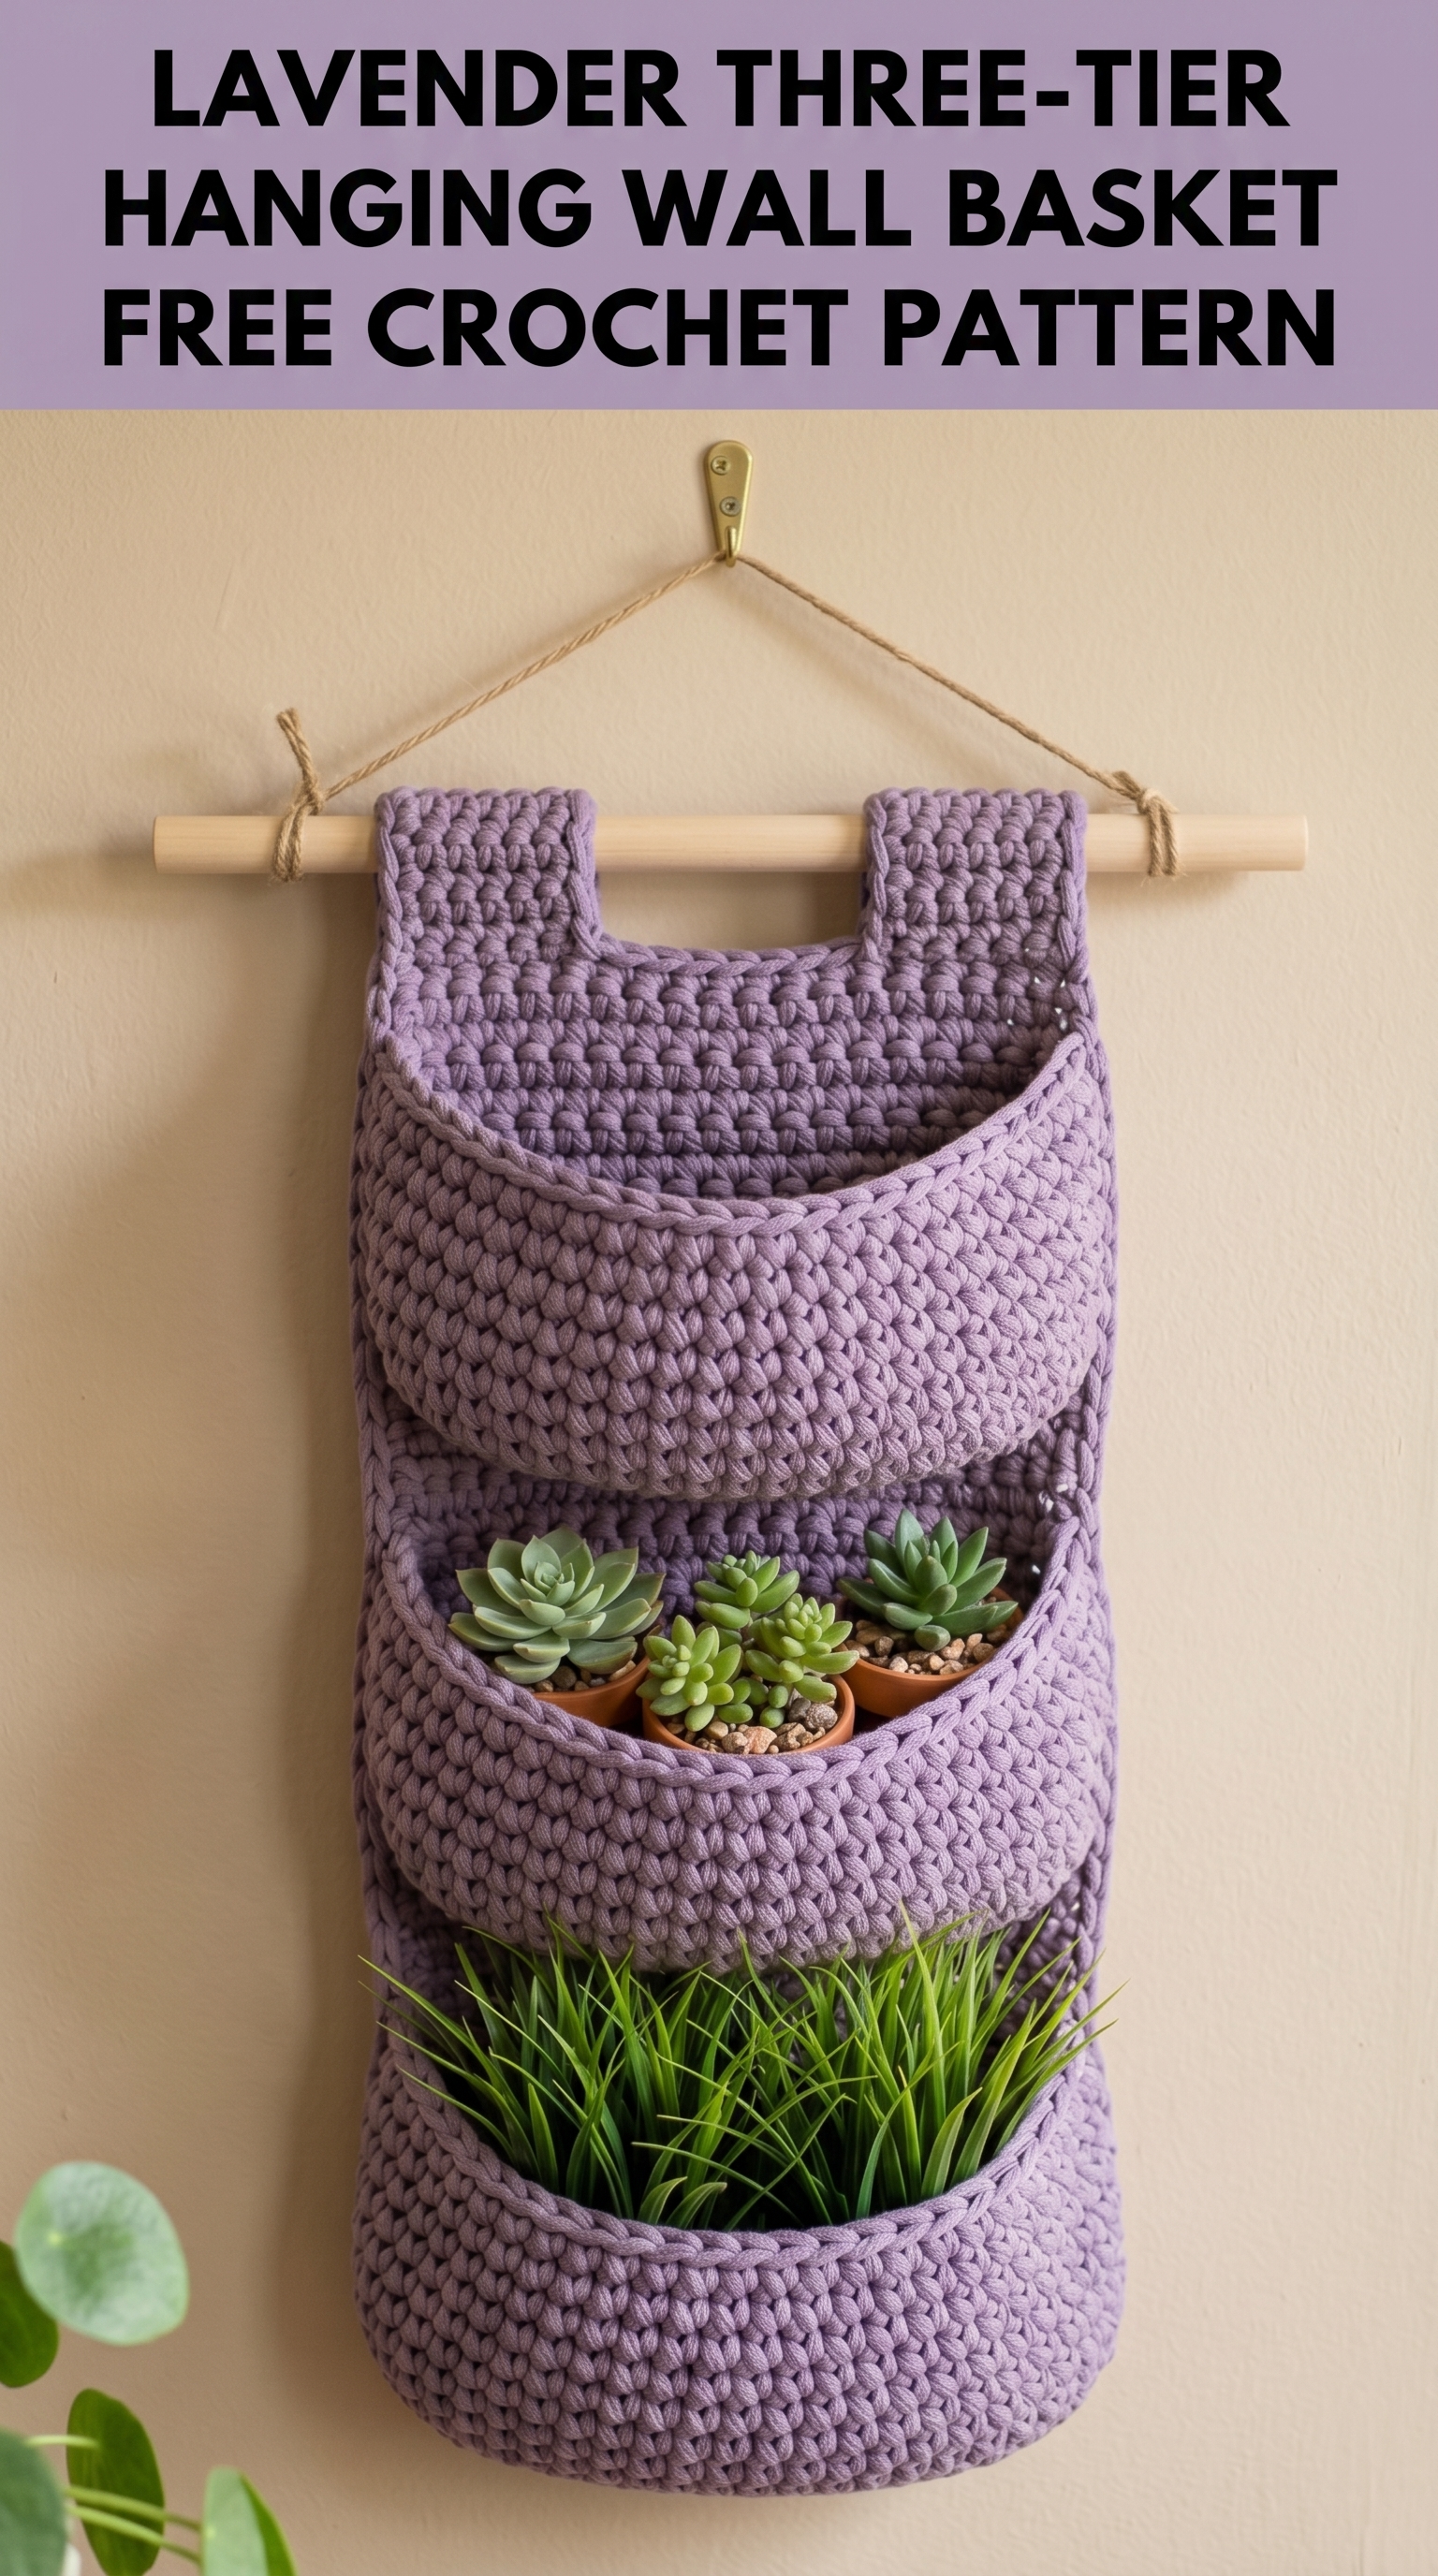
The best part? If you can crochet in rows and rounds, you can make this. I promise. The construction looks more complicated than it actually is. We are basically making a flat back panel and then attaching three pocket baskets. That is it. Let me walk you through every single step.
Why You Will Love This Crochet Wall Basket Pattern
This crochet wall organizer pattern checks so many boxes for me. First, the textured stitch pattern creates a beautiful woven look without any complicated techniques. Second, the chunky yarn means it works up fast. You could finish this in a weekend. Third, it is genuinely useful. I have mine holding small potted plants in my kitchen, and it makes me smile every time I walk by.
The lavender color in this project is soft and calming. But honestly, this pattern would look gorgeous in any color. Think dusty rose for a nursery, sage green for a bathroom, or natural cream for a boho living room. Make it yours.
Skill Level
Beginner to intermediate. You need to be comfortable crocheting in rows, crocheting in the round, and joining pieces together. If those words made you nervous, take a breath. I will explain everything as we go.
Finished Dimensions
These measurements assume you match gauge. Your finished piece may vary slightly, and that is perfectly okay for this project.
Materials Needed
Here is everything you need to gather before starting this crochet hanging basket tutorial:
Yarn
Hook
Notions
Gauge
10 single crochet stitches and 10 rows = 4 inches in single crochet using chunky yarn and 8.0 mm hook.
Gauge matters here because it affects the overall size and structure of your baskets. Take a few minutes to check. If your stitches are too loose, your pockets will sag. If too tight, your piece will be stiff and small.
Abbreviations and Stitch Definitions
Let me define every stitch and term before we begin. Refer back to this section anytime you need a refresher.
Pattern Notes Before You Begin
A few things to keep in mind as you work through this step by step crochet pattern:
1. The back panel is worked flat in rows. The pockets are worked in the round as separate pieces, then sewn on.
2. The turning chain does NOT count as a stitch unless otherwise noted. This keeps your edges neat.
3. Work through both loops unless the pattern says BLO.
4. Stitch counts are given at the end of each row or round in parentheses. Count your stitches. It saves heartache later.
5. The hanging tabs are worked directly onto the back panel. No separate pieces to attach here.
The Pattern
Back Panel
The back panel is the foundation of your wall basket. We work it flat from bottom to top.
Foundation: Ch 26.
Row 1: Sc in 2nd ch from hook and in each ch across, turn. (25 sc)
Row 2: Ch 1, sc in each st across, turn. (25 sc)
Rows 3 through 60: Repeat Row 2. (25 sc each row)
You should now have a rectangular panel approximately 10 inches wide and 24 inches tall. Adjust row count if needed to reach desired length.
Do not fasten off. We will continue directly into the hanging tabs.
Hanging Tabs (Make 2, worked onto back panel)
The tabs create loops for your wooden dowel to slide through. We work them directly onto the top edge of the back panel.
First Tab:
Row 1: Ch 1, sc in first 8 sts only, turn. Leave remaining stitches unworked for now. (8 sc)
Rows 2 through 8: Ch 1, sc in each st across, turn. (8 sc)
Fasten off, leaving a long tail.
Fold the tab down toward the back of the panel, creating a loop. Use your yarn needle to whip stitch the edge to the back panel, securing the loop. The dowel will slide through this loop.
Second Tab:
Join yarn to the opposite side of the top edge, leaving 9 center stitches free between tabs.
Skip 9 sts from first tab, join yarn in next st.
Row 1: Ch 1, sc in same st and next 7 sts, turn. (8 sc)
Rows 2 through 8: Ch 1, sc in each st across, turn. (8 sc)
Fasten off, leaving a long tail. Fold and secure as you did for the first tab.
Pocket Baskets (Make 3)
Each pocket is worked in continuous rounds from the bottom up. Use a stitch marker to track the beginning of each round if helpful.
Round 1: Create a magic ring. Work 6 sc into ring, pull tight. Do not join. (6 sc)
Round 2: Work 2 sc in each st around. (12 sc)
Round 3: *Sc in next st, 2 sc in next st* repeat around. (18 sc)
Round 4: *Sc in next 2 sts, 2 sc in next st* repeat around. (24 sc)
Round 5: *Sc in next 3 sts, 2 sc in next st* repeat around. (30 sc)
Round 6: *Sc in next 4 sts, 2 sc in next st* repeat around. (36 sc)
You now have a flat circle that forms the base of your pocket.
Building the Sides:
Round 7: Working in BLO only this round, sc in each st around. (36 sc)
This creates a defined edge where the base meets the sides.
Rounds 8 through 16: Sc in each st around (working through both loops). (36 sc each round)
Sl st to next st. Fasten off, leaving a 20 inch tail for sewing.
Repeat to make three identical pockets.
Assembly
Now we bring it all together. This is the satisfying part.
Position Your Pockets:
Lay your back panel flat with the hanging tabs at the top. The pockets will be attached to the front of the panel, evenly spaced.
Pin or use stitch markers to hold pockets in place before sewing.
Attach Pockets:
Thread your yarn needle with the long tail from a pocket. Using a whip stitch, sew the back half of the pocket opening to the back panel. You want to attach only the back portion so the front creates an open pocket.
Work through both layers, catching the outer loops of the pocket stitches and the corresponding stitches on the panel. Pull snug but not so tight that it puckers.
Repeat for all three pockets.
Insert Dowel:
Slide your wooden dowel through both hanging tab loops. Center it so equal lengths extend on each side.
Add Hanging Cord:
Cut a length of twine or jute, approximately 24 inches. Tie each end securely to the dowel ends. Adjust length based on where you want to hang your organizer.
Finishing Touches
Weave in all remaining yarn ends using your yarn needle. Work the tails through several stitches on the wrong side, then trim close.
Give your finished wall basket a light steam block if desired. This is optional but helps even out stitches and gives a polished look. Do not apply direct heat to synthetic yarns.
Customization Ideas
Want to make this crochet wall basket pattern your own? Here are some ideas:
Troubleshooting Common Issues
My pockets are floppy: Your gauge may be too loose. Try going down a hook size. Cotton yarn also provides more structure than acrylic.
The back panel is curling: This is normal with single crochet. Blocking helps significantly. You can also add a border of slip stitches around the entire panel.
My pocket circles are not laying flat: You may be increasing too quickly or too slowly. Make sure you are following the increase pattern exactly.
The tabs are not lining up: Measure and count carefully. Both tabs should start the same distance from each edge.
What to Put in Your Hanging Wall Basket
This versatile crochet wall organizer works beautifully for so many purposes:
The pockets are sturdy enough to hold lightweight items. Just avoid anything too heavy that might stretch the crochet fabric over time.
Thank You for Being Here
I really hope you enjoy making this lavender three-tier hanging wall basket crochet pattern as much as I enjoyed designing it. There is something so satisfying about creating home decor with your own hands. Every stitch is a little piece of you.
If you make one, I would absolutely love to see it. Tag me on Instagram or share a photo in my Facebook group. Seeing your versions brings me so much joy, and it helps other crocheters feel confident to try new projects.
Happy crocheting, friend. You have got this.
