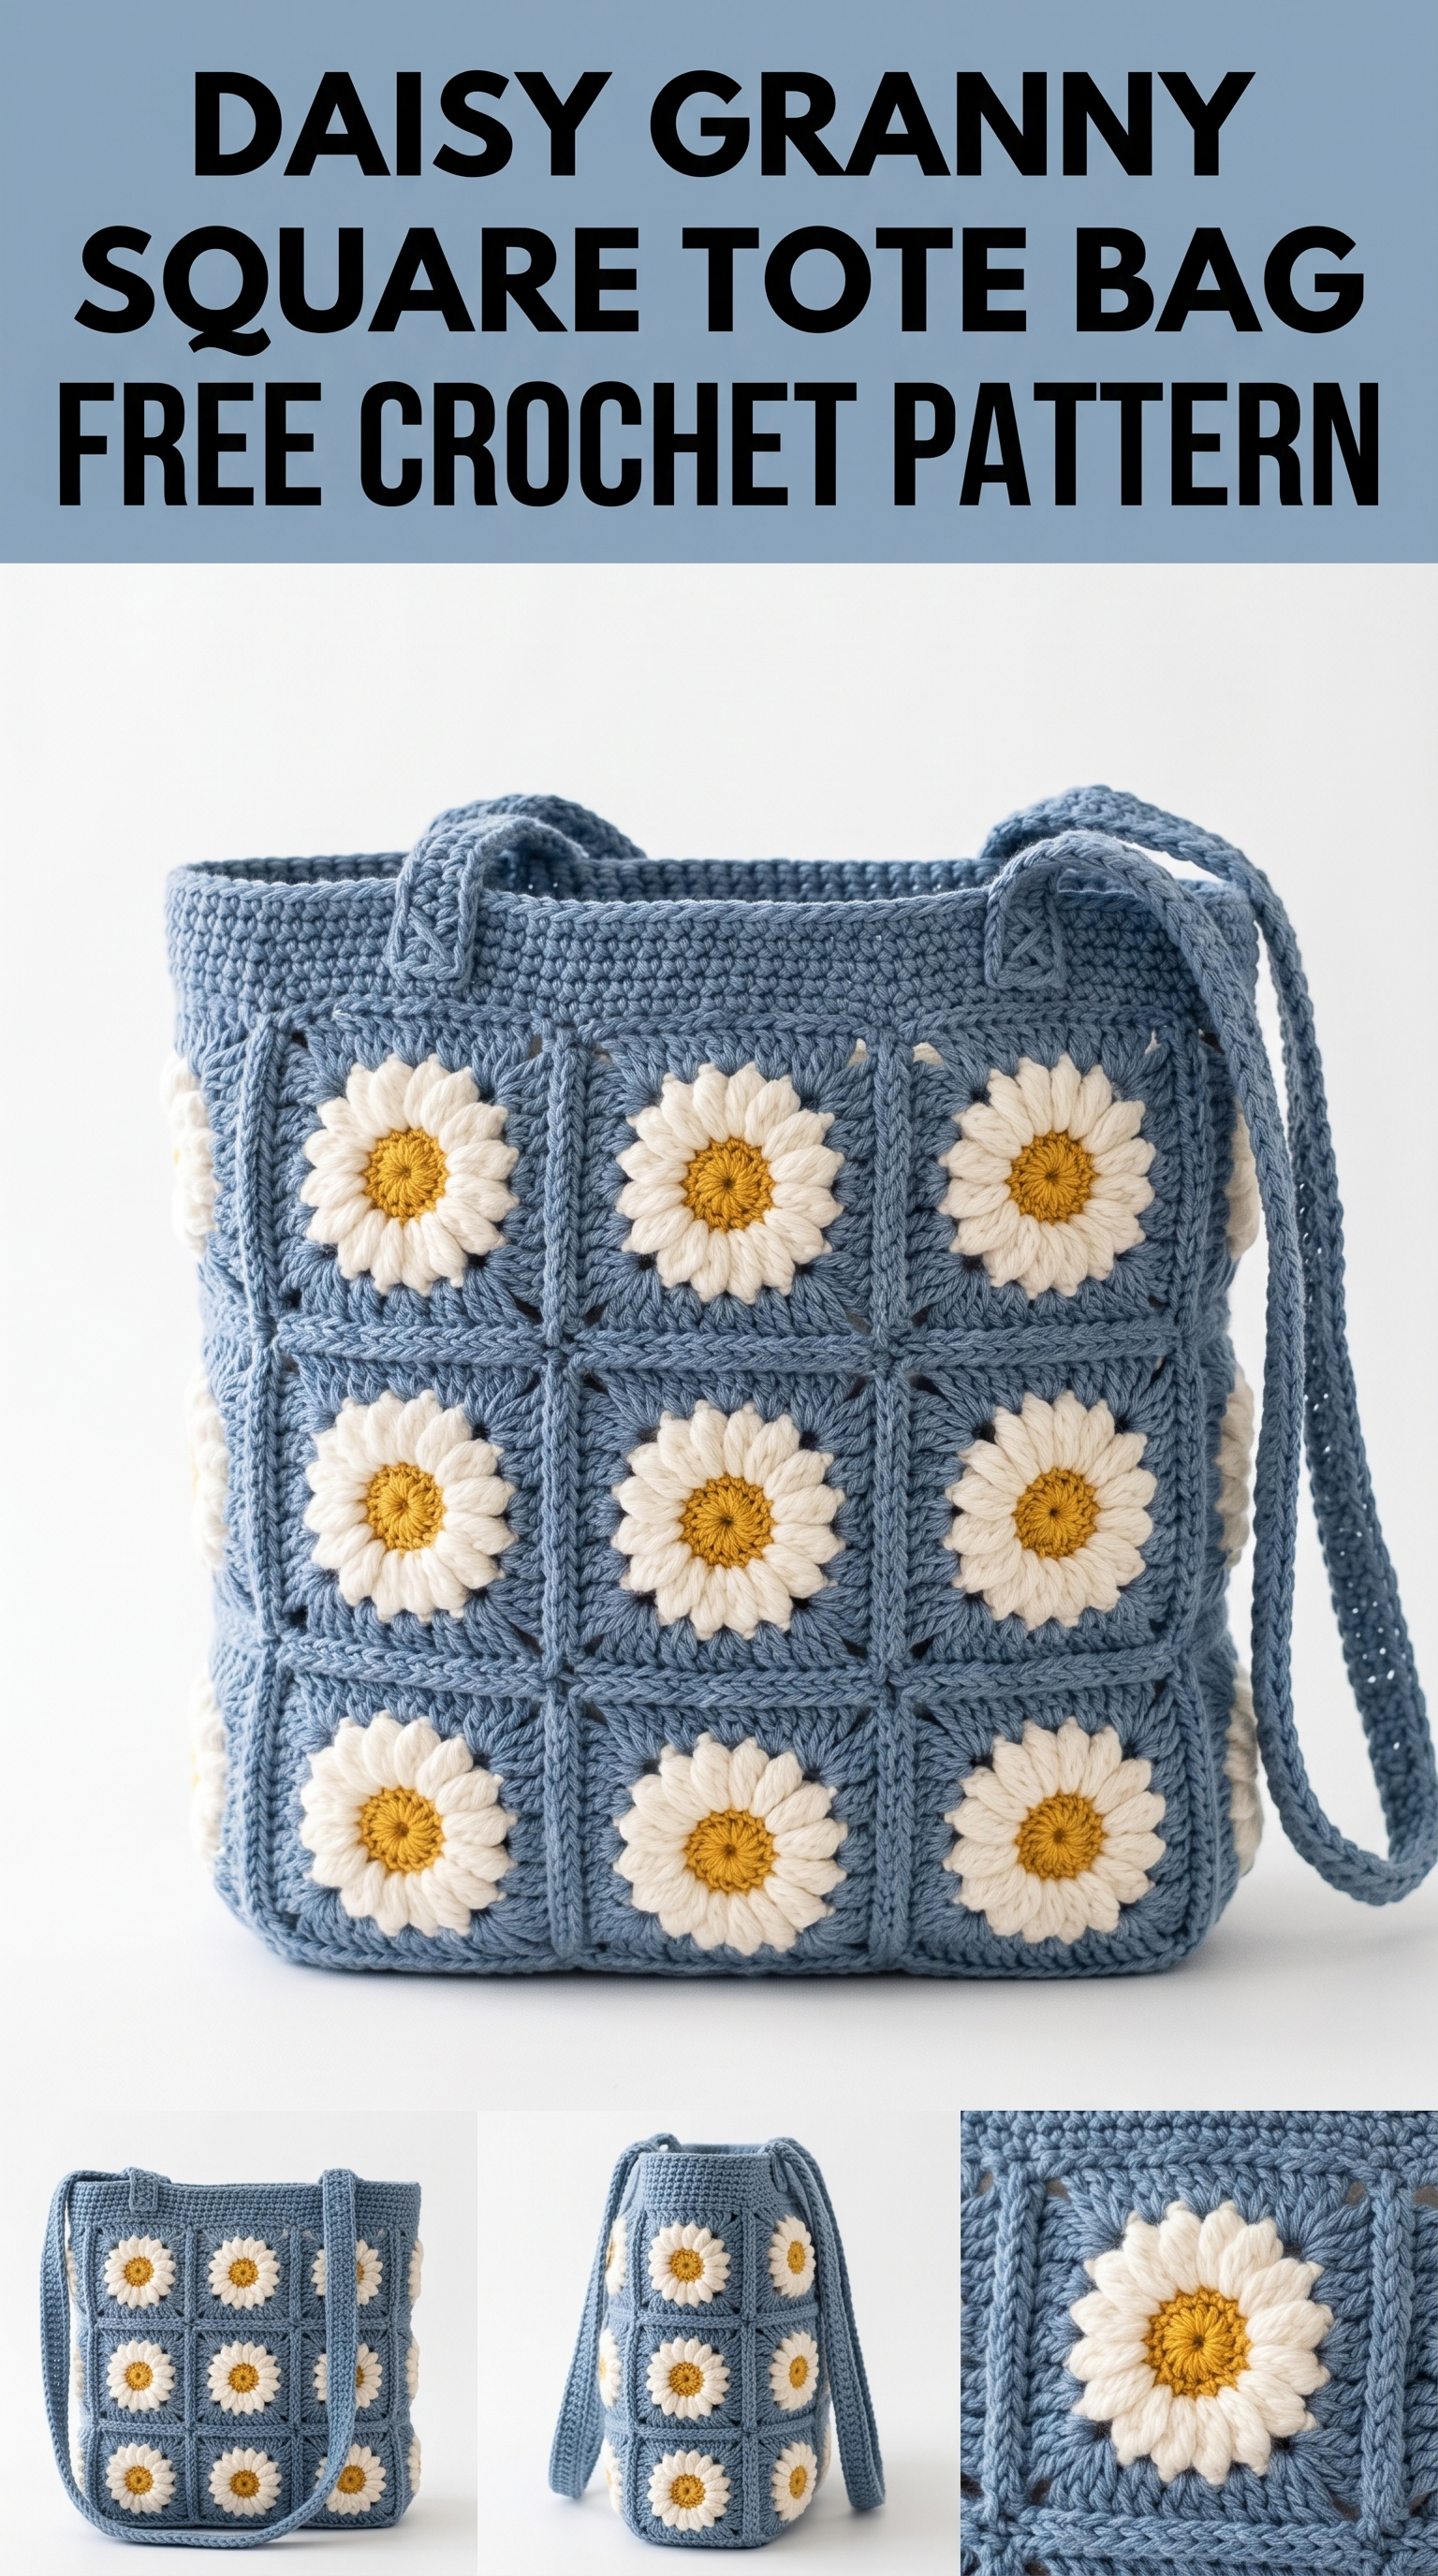
I absolutely love how this project turned out, and I think you will too. This daisy granny square tote bag combines classic granny square construction with sweet floral motifs that never go out of style. The result is a sturdy, beautiful bag perfect for farmers markets, beach trips, or everyday errands.
If you can make a basic granny square and crochet a simple flower, you can absolutely make this bag. I promise. The construction is straightforward, and I will walk you through every single step.
Why This Crochet Pattern Works So Well
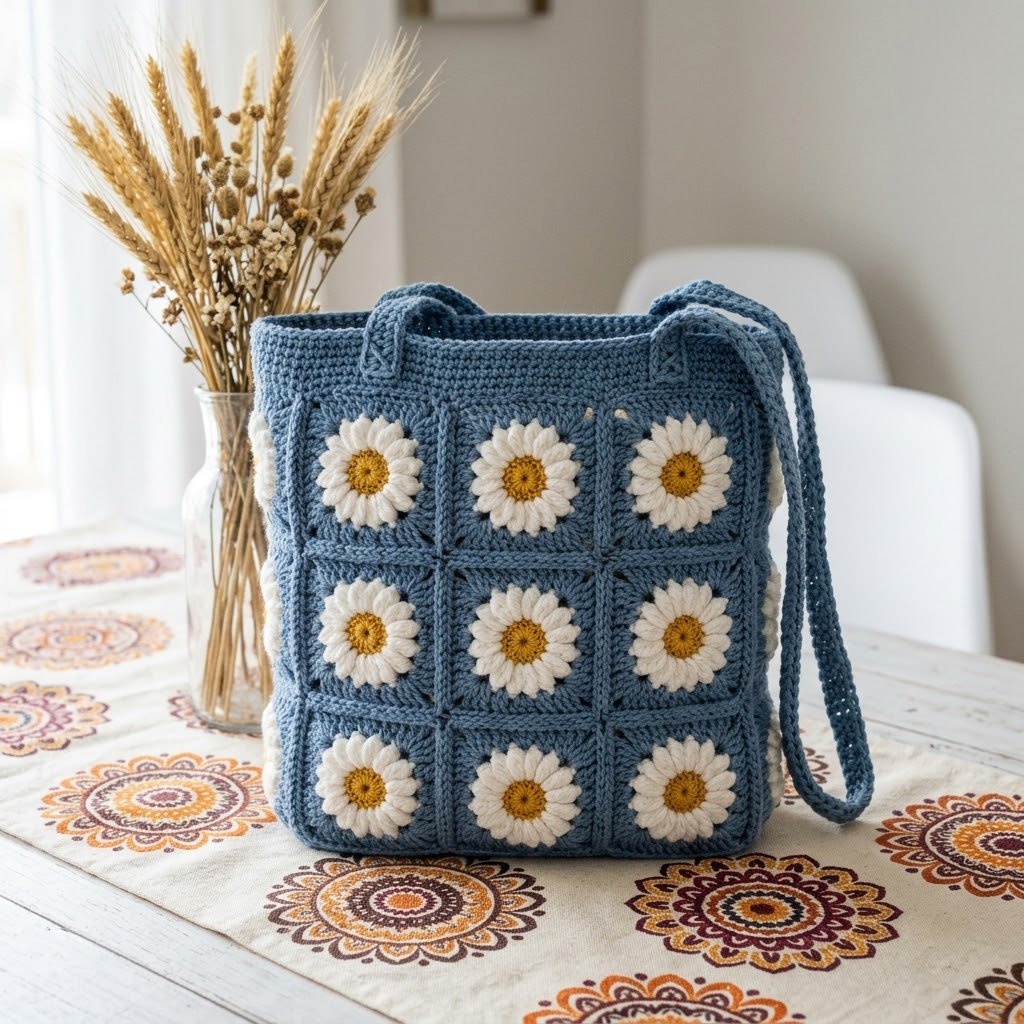
The dusty blue background color makes those cheerful white and yellow daisies really pop. Each side of the bag features a 3×3 grid of daisy granny squares, giving you 18 squares total for the whole bag. The joined squares create a structured shape that holds its form beautifully.
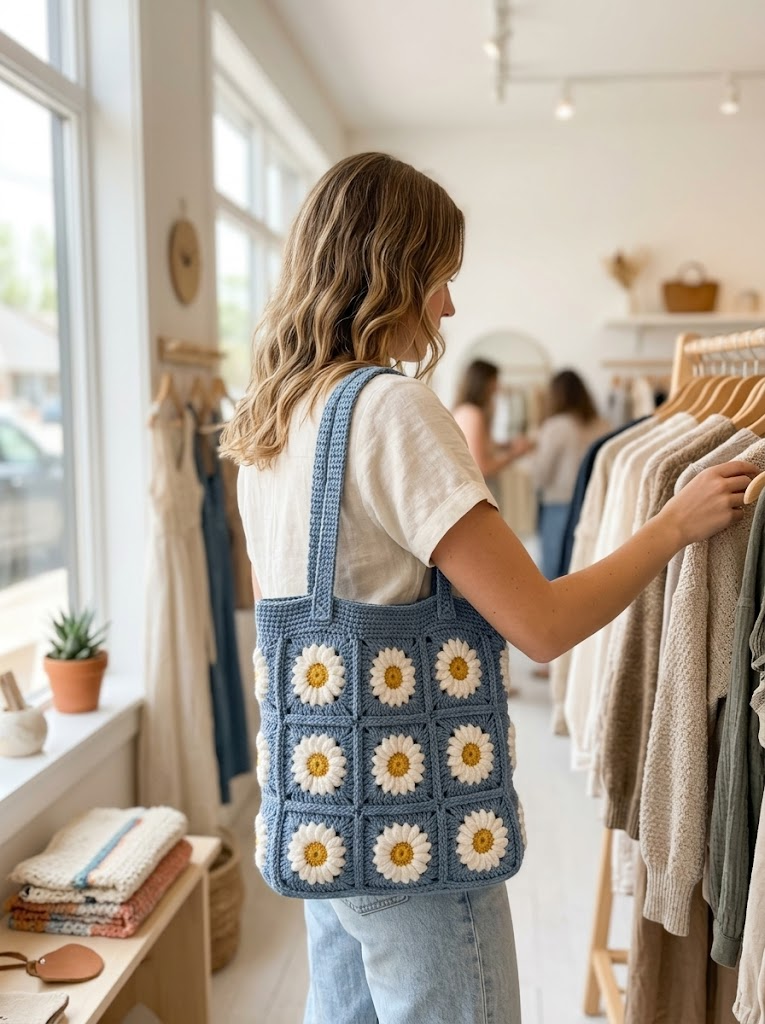
What makes this crochet tote bag pattern special is how the squares connect seamlessly. You get that classic granny square texture with the bonus of adorable dimensional flowers. The long crossbody strap means hands stay free while you shop or explore.
This is an intermediate level project. If you have made granny squares before and feel comfortable joining motifs, you are ready. Complete beginners might want to practice a few plain granny squares first.
Materials You Will Need
Yarn:
I recommend 100% cotton yarn for this project. Cotton gives the bag structure, washes well, and handles the weight of whatever you carry. Acrylic works too but may stretch over time with heavy loads.
Hook:
Notions:
Gauge and Finished Measurements
Gauge: Each completed daisy granny square measures approximately 4 inches x 4 inches (10cm x 10cm).
Finished bag dimensions:
Always check your gauge before starting. If your squares come out smaller, go up a hook size. If they come out larger, go down a hook size. Consistent square size matters here because you need them to join neatly.
Abbreviations and Stitch Definitions
Let me break down every stitch you will use. Read through these even if you feel confident. Different patterns sometimes use terms differently.
ch = chain: Wrap yarn over hook, pull through loop on hook. This creates your foundation and is used for spacing.
sl st = slip stitch: Insert hook, yarn over, pull through both the stitch and the loop on your hook in one motion. Used for joining rounds.
sc = single crochet: Insert hook into stitch, yarn over and pull up a loop (2 loops on hook), yarn over and pull through both loops. A short, tight stitch.
dc = double crochet: Yarn over, insert hook into stitch, yarn over and pull up a loop (3 loops on hook), yarn over and pull through 2 loops, yarn over and pull through remaining 2 loops. Taller than single crochet.
hdc = half double crochet: Yarn over, insert hook, yarn over and pull up a loop (3 loops on hook), yarn over and pull through all 3 loops at once.
sk = skip: Pass over the indicated stitch without working into it.
sp = space: The gap created between stitches, often a chain space.
st(s) = stitch(es)
Step by Step Crochet Pattern Instructions
Part 1: Making the Daisy Center (Make 18)
Start with yellow yarn and a magic ring. If magic rings intimidate you, chain 4 and slip stitch to form a ring instead. Both work fine.
Round 1: Into the magic ring, work 8 sc. Pull the ring closed. Sl st to the first sc to join. (8 sts)
Round 2: Ch 1 (does not count as a stitch). Work 2 sc in each st around. Sl st to first sc to join. (16 sts)
Fasten off yellow, leaving a 6 inch tail for weaving in later. You now have a slightly puffy yellow center.
Part 2: Adding the Daisy Petals
Join white yarn to any stitch of the yellow center with a sl st.
Making the petals: You will create 8 petals around the center. Each petal is worked in a chain and then stitches back down that chain.
Petal instructions (repeat 8 times):
1. Ch 6
2. Starting in the 2nd ch from hook: sc in first ch, hdc in next ch, dc in next 2 ch, hdc in last ch
3. Sl st into the next 2 sts of the yellow center
This creates one petal. The chain curves naturally into a petal shape as you work the stitches back toward the center.
After completing all 8 petals, sl st to join. Fasten off white yarn, leaving a tail.
Your daisy should have 8 evenly spaced white petals radiating from the yellow center. The petals will overlap slightly, and that is exactly right. They should look full and dimensional.
Part 3: Creating the Granny Square Border
Now you will turn each daisy into a proper granny square. Join your main color (dusty blue) yarn to any petal tip.
Round 1 (joining round):
Working around the daisy, you will create the foundation for your granny square corners and sides.
Round 2:
Round 3:
Each finished square should measure approximately 4 inches. Make 18 total squares.
Part 4: Joining the Squares
Lay out your squares in a pleasing arrangement. You need two panels of 9 squares each (3 squares wide by 3 squares tall).
Joining method: I recommend the slip stitch join for this project because it creates a visible ridge that adds nice texture.
Hold two squares with right sides together. Working through both layers, sl st through the back loops only across one edge. This creates a raised seam on the right side.
Join squares into rows of 3 first. Then join the rows together to create your two panels.
Take your time here. Consistent joining makes the finished bag look polished.
Part 5: Assembling the Bag Body
Place your two panels with wrong sides facing out (right sides together). You will join three sides: both vertical edges and the bottom.
Using the same slip stitch joining method, connect the panels along the left side, across the bottom, and up the right side. Leave the top open.
Turn the bag right side out. Your seams should create a neat ridge on the outside of the bag.
Part 6: Top Border
Join main color yarn at any corner of the bag opening.
Round 1: Sc evenly around the entire top opening, working approximately 3 sc per square edge. Sl st to join. (approximately 72 sts)
Round 2: Ch 1, sc in each st around. Sl st to join.
Round 3: Repeat Round 2.
Fasten off.
Part 7: Creating the Strap
The strap is worked in rows of single crochet for durability and minimal stretch.
Ch 9 with main color yarn.
Row 1: Sc in 2nd ch from hook and in each ch across. Ch 1, turn. (8 sts)
Rows 2 through approximately 200: Sc in each st across. Ch 1, turn. (8 sts)
Continue until strap measures approximately 40 inches or your desired length. The strap should be long enough to wear crossbody comfortably.
Fasten off, leaving a long tail for attaching.
Part 8: Attaching the Strap
Position one end of the strap at the top inside corner of the bag, on the seam line. Using your yarn needle and the long tail, whip stitch the strap end securely to the bag. Go over the attachment several times for strength.
Attach the other strap end to the opposite top corner, on the same side of the bag. Make sure the strap is not twisted before securing.
For extra durability, you can work a few rows of slip stitch through both the strap and bag fabric at each attachment point.
Finishing Touches
Weave in all remaining yarn tails with your yarn needle. For a bag that will carry weight, weave each tail through at least 2 inches of fabric and in multiple directions.
Optional lining: Adding a fabric lining prevents items from poking through the openwork granny squares and adds structure. Cut fabric slightly smaller than the bag interior, hem edges, and hand stitch inside.
Blocking: Wet blocking your finished bag helps even out the stitches and gives a more polished look. Soak in cool water, gently squeeze out excess, shape on a flat surface, and let dry completely.
Tips for Success
The trickiest part of this daisy granny square crochet pattern is keeping your tension consistent across all 18 squares. Try to work on this project when you are relaxed. Tight shoulders mean tight stitches.
If your daisy petals seem floppy, you may be working too loosely. Try going down a hook size just for the petals.
Count your stitches after every round. Finding a mistake early saves so much frustration.
Make It Your Own
This pattern adapts beautifully to different color schemes. Try:
You can also adjust the size by adding or removing squares. A 4×4 grid per side creates a larger tote. A 2×3 grid makes a smaller crossbody perfect for essentials only.
Thank You for Making With Me
I really appreciate you choosing this crochet tote bag pattern for your next project. There is something so satisfying about carrying a bag you made with your own hands.
I would absolutely love to see your finished daisy tote. Tag me on Instagram or share in my Facebook group. Seeing your color choices and personal touches is honestly the best part of sharing patterns.
Happy crocheting, friend. You have got this.
