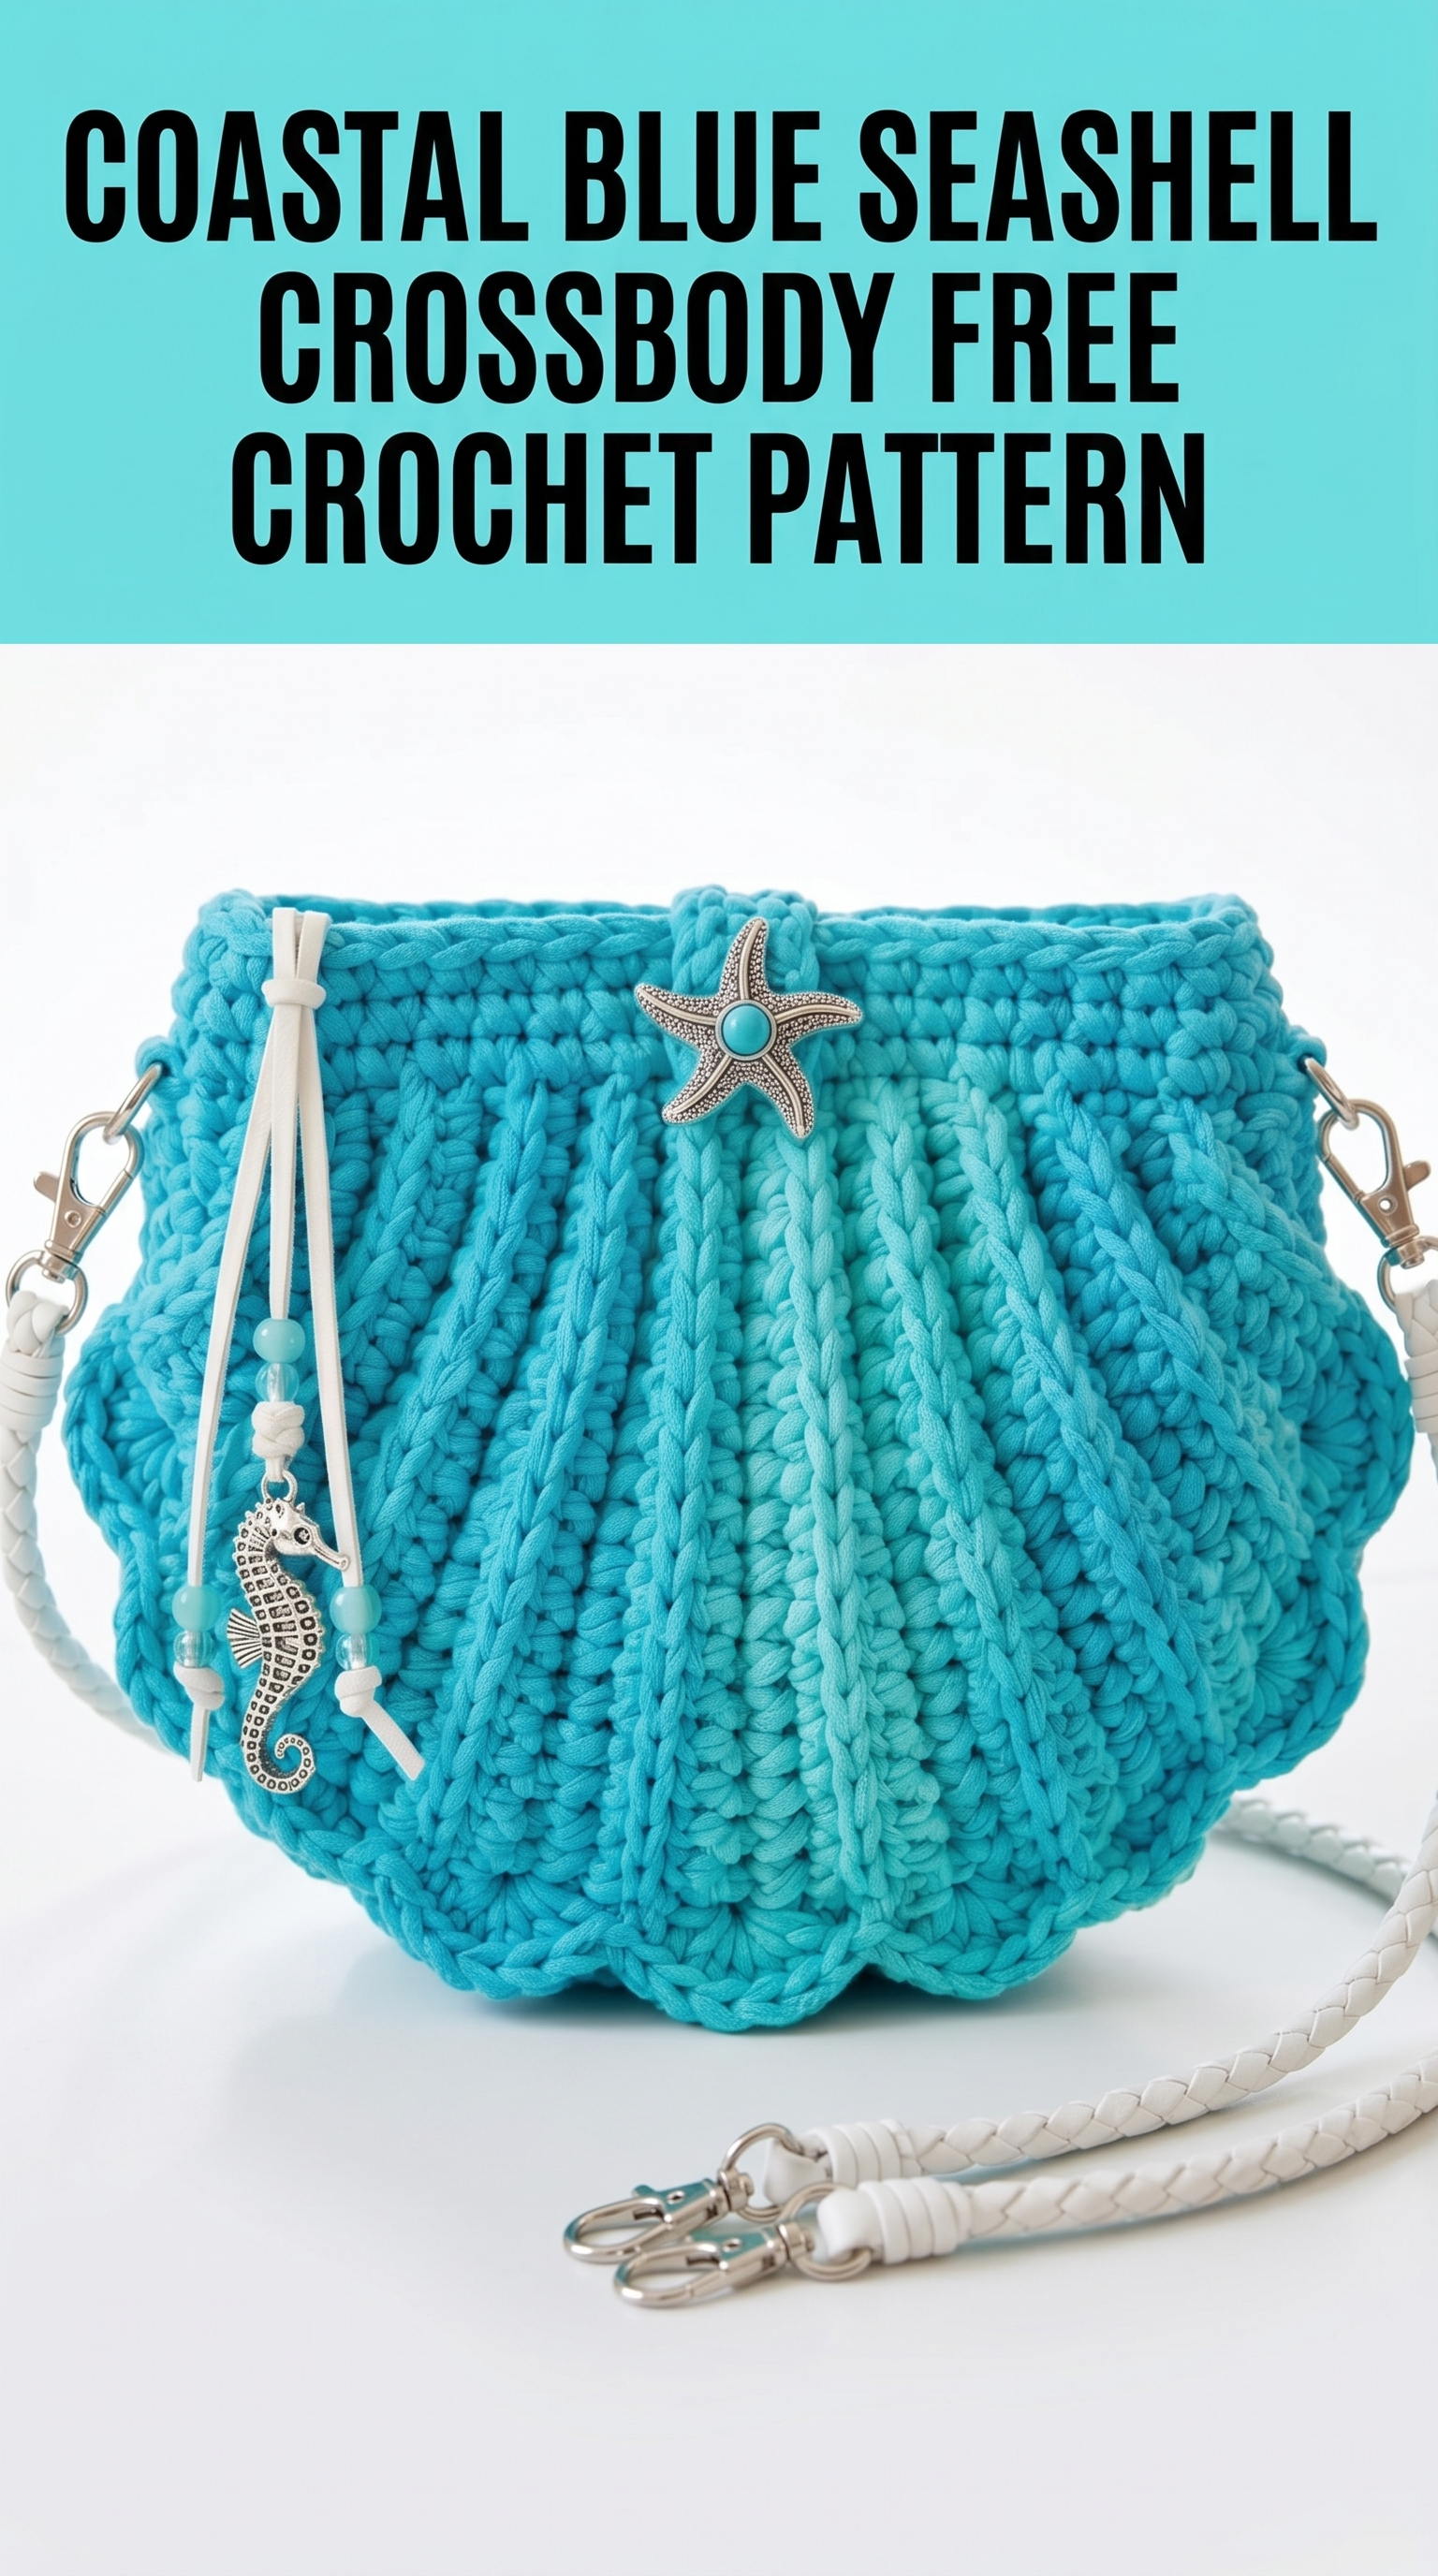
I absolutely fell in love with this bag the moment I finished the last stitch. This Coastal Blue Seashell Crossbody captures everything magical about beach days and ocean breezes. The scalloped shell shape, the beautiful ribbed texture radiating from the center, those gorgeous turquoise and aqua tones. It looks far more complicated than it actually is, I promise.
If you can crochet basic stitches and work in the round, you can make this bag. The construction is clever but straightforward. We build two identical shell panels, seam them together, and add hardware for the strap. The whole project works up quickly because we are using bulky yarn and a larger hook.
Let me walk you through exactly how I made this crochet seashell bag pattern so you can create your own coastal treasure.
Why This Seashell Crossbody Bag Works So Well
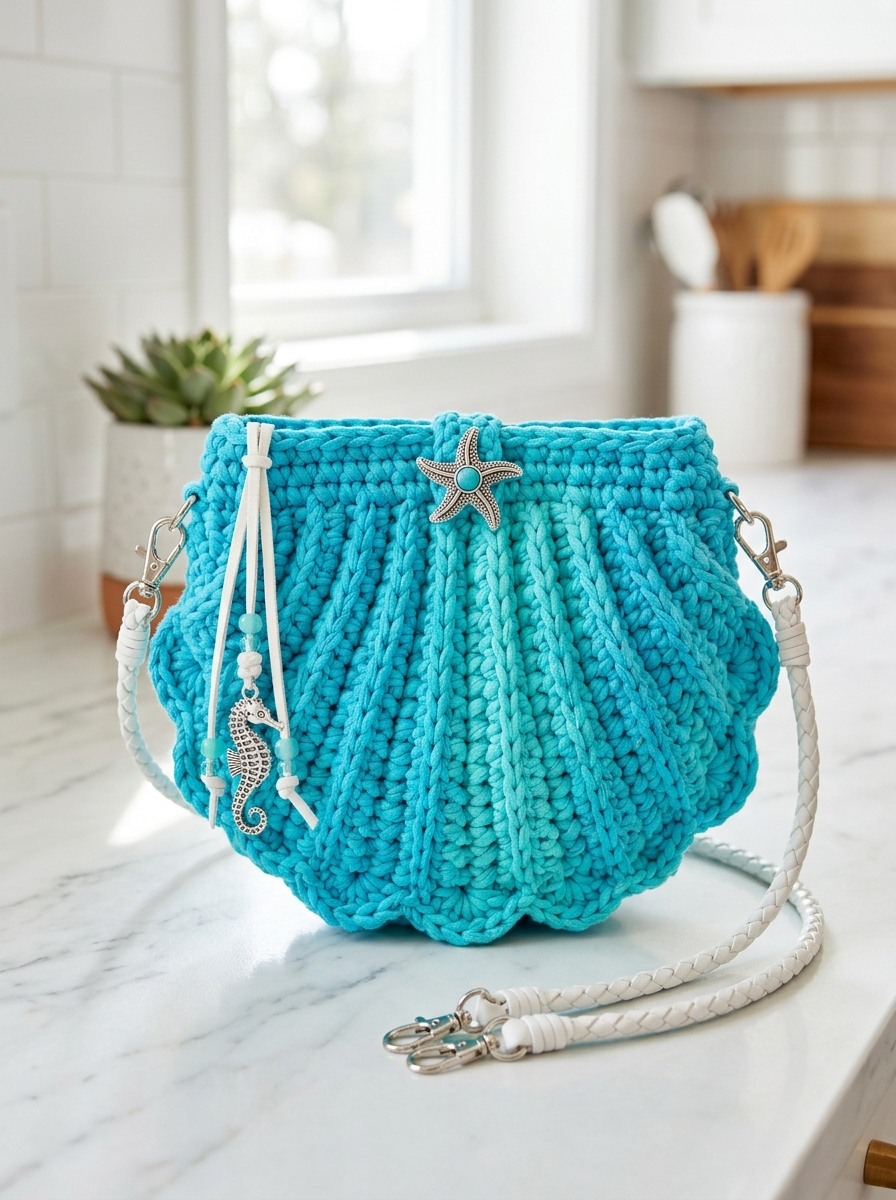
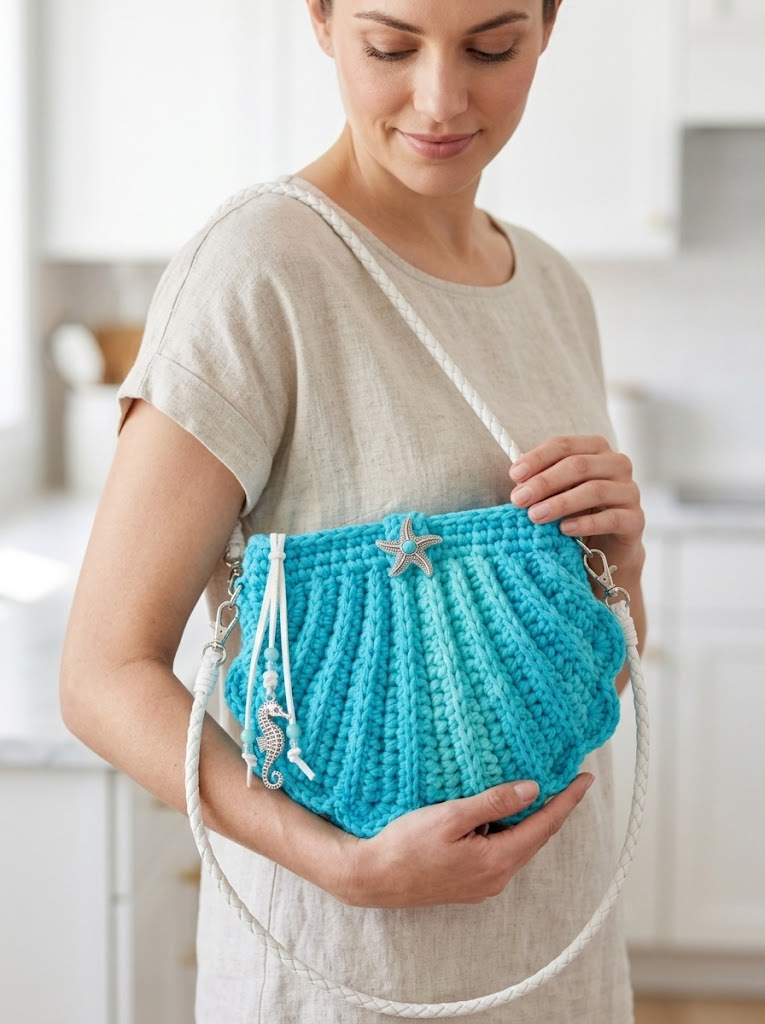
This is not just a pretty accessory. The design is genuinely functional. The shell shape creates a roomy interior that fits your phone, wallet, keys, and sunglasses with space to spare. The crossbody strap keeps your hands free for collecting actual seashells or holding an iced coffee.
The ribbed texture is created using front post stitches, which sounds intimidating but becomes second nature after a few rows. These raised ridges mimic the natural lines of a scallop shell beautifully. Combined with the gradient color shift from aqua to turquoise, the finished piece looks like wearable art.
I designed this as an intermediate level crochet tutorial, but a confident beginner could absolutely tackle it. I will explain every technique step by step.
Materials You Will Need
Gather these supplies before you begin. Having everything ready makes the process so much smoother.
Yarn:
Hook:
Notions:
Gauge Information
Gauge matters for bags because it affects both size and structure. Work a small swatch before diving in.
Gauge: 12 stitches and 10 rows = 4 inches in single crochet using 6.0mm hook
If your swatch is larger, go down a hook size. If smaller, go up. A tighter gauge creates a sturdier bag that holds its shape better.
Stitch Abbreviations and Definitions
Let me break down every stitch we will use. Read through these before starting so nothing catches you off guard.
ch = chain: Wrap yarn over hook, pull through loop. This creates the foundation and adds height.
sl st = slip stitch: Insert hook, yarn over, pull through stitch AND loop on hook in one motion. Used for joining and invisible movement.
sc = single crochet: Insert hook, yarn over, pull up a loop (2 loops on hook), yarn over, pull through both loops. Our most basic stitch.
hdc = half double crochet: Yarn over, insert hook, yarn over, pull up a loop (3 loops on hook), yarn over, pull through all 3 loops. Slightly taller than sc.
dc = double crochet: Yarn over, insert hook, yarn over, pull up a loop, yarn over, pull through 2 loops, yarn over, pull through remaining 2 loops. Creates height and drape.
FPdc = front post double crochet: Yarn over, insert hook from front to back to front around the POST of the stitch below (not into the top), complete as regular dc. Creates raised ridges on the front.
inc = increase: Work 2 stitches into the same stitch. Adds width.
dec = decrease: Work 2 stitches together as one. Reduces width.
sk = skip: Pass over the indicated stitch without working into it.
How to Crochet the Seashell Crossbody Bag
This bag consists of two identical shell panels that we seam together. Each panel is worked from the bottom center point upward, increasing to create the fan shape, then we add the ribbed texture.
Shell Panel (Make 2)
We start at the bottom point of the shell and work upward in rows, increasing to create the scalloped fan shape.
Row 1: Ch 4. Sc in 2nd ch from hook, sc in next ch, 3 sc in last ch. Working along opposite side of foundation chain, sc in next ch, 2 sc in last ch. Do not join. (8 sts)
Row 2: Ch 1, turn. 2 sc in first st, sc in next 2 sts, 3 sc in center st, sc in next 2 sts, 2 sc in last st. (12 sts)
Row 3: Ch 1, turn. 2 sc in first st, sc in next 4 sts, 3 sc in center st, sc in next 4 sts, 2 sc in last st. (16 sts)
Row 4: Ch 1, turn. 2 sc in first st, sc in next 6 sts, 3 sc in center st, sc in next 6 sts, 2 sc in last st. (20 sts)
Row 5: Ch 1, turn. 2 sc in first st, sc in next 8 sts, 3 sc in center st, sc in next 8 sts, 2 sc in last st. (24 sts)
Row 6: Ch 1, turn. 2 sc in first st, sc in next 10 sts, 3 sc in center st, sc in next 10 sts, 2 sc in last st. (28 sts)
Row 7: Ch 1, turn. 2 sc in first st, sc in next 12 sts, 3 sc in center st, sc in next 12 sts, 2 sc in last st. (32 sts)
Row 8: Ch 1, turn. 2 sc in first st, sc in next 14 sts, 3 sc in center st, sc in next 14 sts, 2 sc in last st. (36 sts)
You should now have a semicircle shape. This forms the base of your shell.
Adding the Ribbed Texture
Now we create those beautiful vertical ridges using front post stitches. This is where the shell really comes to life.
Row 9: Ch 2 (counts as first dc), turn. Dc in each st across. (36 sts)
Row 10: Ch 2, turn. *FPdc around next st, dc in next st* repeat across, ending with dc in turning chain. (36 sts)
Row 11: Ch 2, turn. *Dc in next st, FPdc around next FPdc from previous row* repeat across. (36 sts)
Rows 12 through 18: Repeat Rows 10 and 11, maintaining the rib pattern. Your front post stitches should stack directly above each other, creating continuous vertical ridges.
This alternating pattern creates the raised lines that mimic natural shell ridges. Keep your tension consistent for even ribs.
Shaping the Top Opening
Row 19: Ch 1, turn. Sc in each st across. (36 sts)
Row 20: Ch 1, turn. Sc in first 3 sts, *sk 1 st, sc in next 5 sts* repeat across, adjusting final repeat as needed. (30 sts)
This slight decrease gathers the top and creates that cinched look visible in the finished bag.
Row 21: Ch 1, turn. Sc in each st across. (30 sts)
Row 22: Ch 1, turn. Working in back loops only, sc in each st across. This creates a subtle ridge that marks the top edge. (30 sts)
Fasten off and weave in ends. Make a second panel identical to the first.
Assembling Your Seashell Bag
Hold both panels with wrong sides facing each other. The ribbed textures should face outward.
Seaming the Sides:
Using a tapestry needle and matching yarn, whip stitch or mattress stitch along the curved outer edge from one top corner, around the scalloped bottom, to the other top corner. Leave the top edge open for the bag opening.
Take your time here. Neat seaming makes a huge difference in the finished look.
Adding Hardware Tabs (Make 2):
Ch 10. Sl st to first ch to form a loop. Sc 15 sts around the chain loop. Sl st to join. Fasten off.
Thread each tab through a D-ring, fold in half, and stitch securely to the inside corners of the bag opening. These loops will hold your strap hardware.
Finishing Touches
Closure:
Attach your decorative starfish button or charm to the front panel, centered about 1 inch below the top edge. You can sew it directly or add a loop closure behind it.
Strap:
Clip your crossbody strap to the D-rings using the lobster clasps. Adjust length as desired.
Optional Embellishments:
Add a beaded tassel with a seahorse charm to one side for extra coastal charm. Thread beads onto thin cord, attach the charm, and tie to one of the D-rings.
Tips for Success with This Crochet Pattern
Blocking: I recommend wet blocking your panels before seaming. This evens out your stitches and helps the scalloped edges lay flat.
Yarn Choice: Cotton or cotton blend yarns work best for bags. They provide structure and do not stretch out over time like acrylic might. The matte finish also photographs beautifully.
Color Variations: This pattern looks stunning in coral pink, sandy beige, seafoam green, or classic white. You could also work the first half in one color and the ribbed section in another for an ombre effect.
Lining: For a professional finish, consider adding a fabric lining. Cut cotton fabric to match your panel shapes plus seam allowance, sew together, and hand stitch inside the crocheted bag.
Finished Measurements
These dimensions create a bag large enough for everyday essentials without being bulky.
Why I Love This Seashell Bag Pattern
There is something so satisfying about crocheting something both beautiful and useful. Every time I wear this bag, someone asks about it. The shell shape is instantly recognizable and sparks conversations about beach trips and ocean memories.
The step by step construction makes this project approachable even if you have never made a bag before. And because we work in rows rather than complicated shaping, you can easily put it down and pick it back up without losing your place.
You Did It!
Thank you so much for choosing this Coastal Blue Seashell Crossbody crochet pattern for your next project. I genuinely hope you love making it as much as I loved designing it.
When you finish yours, I would absolutely love to see it. Tag me on Instagram or share in our Facebook group. Seeing your creations honestly makes my whole day brighter.
Now go gather your supplies and start stitching your own little piece of the coast. You have got this.
Happy hooking!
